Elizabeth White
Slip Casting Ceramics
Beginning to end
I took my second semester of Ceramics at Woodbury in Fall of 2020. During this semester I was able to learn the art of slip casting.
First I designed the final object that I wanted to create in Rhino, being sure to add an extra 1/2 inch of height to account for the loss due to the plaster mold creation, then I 3D printed my model.
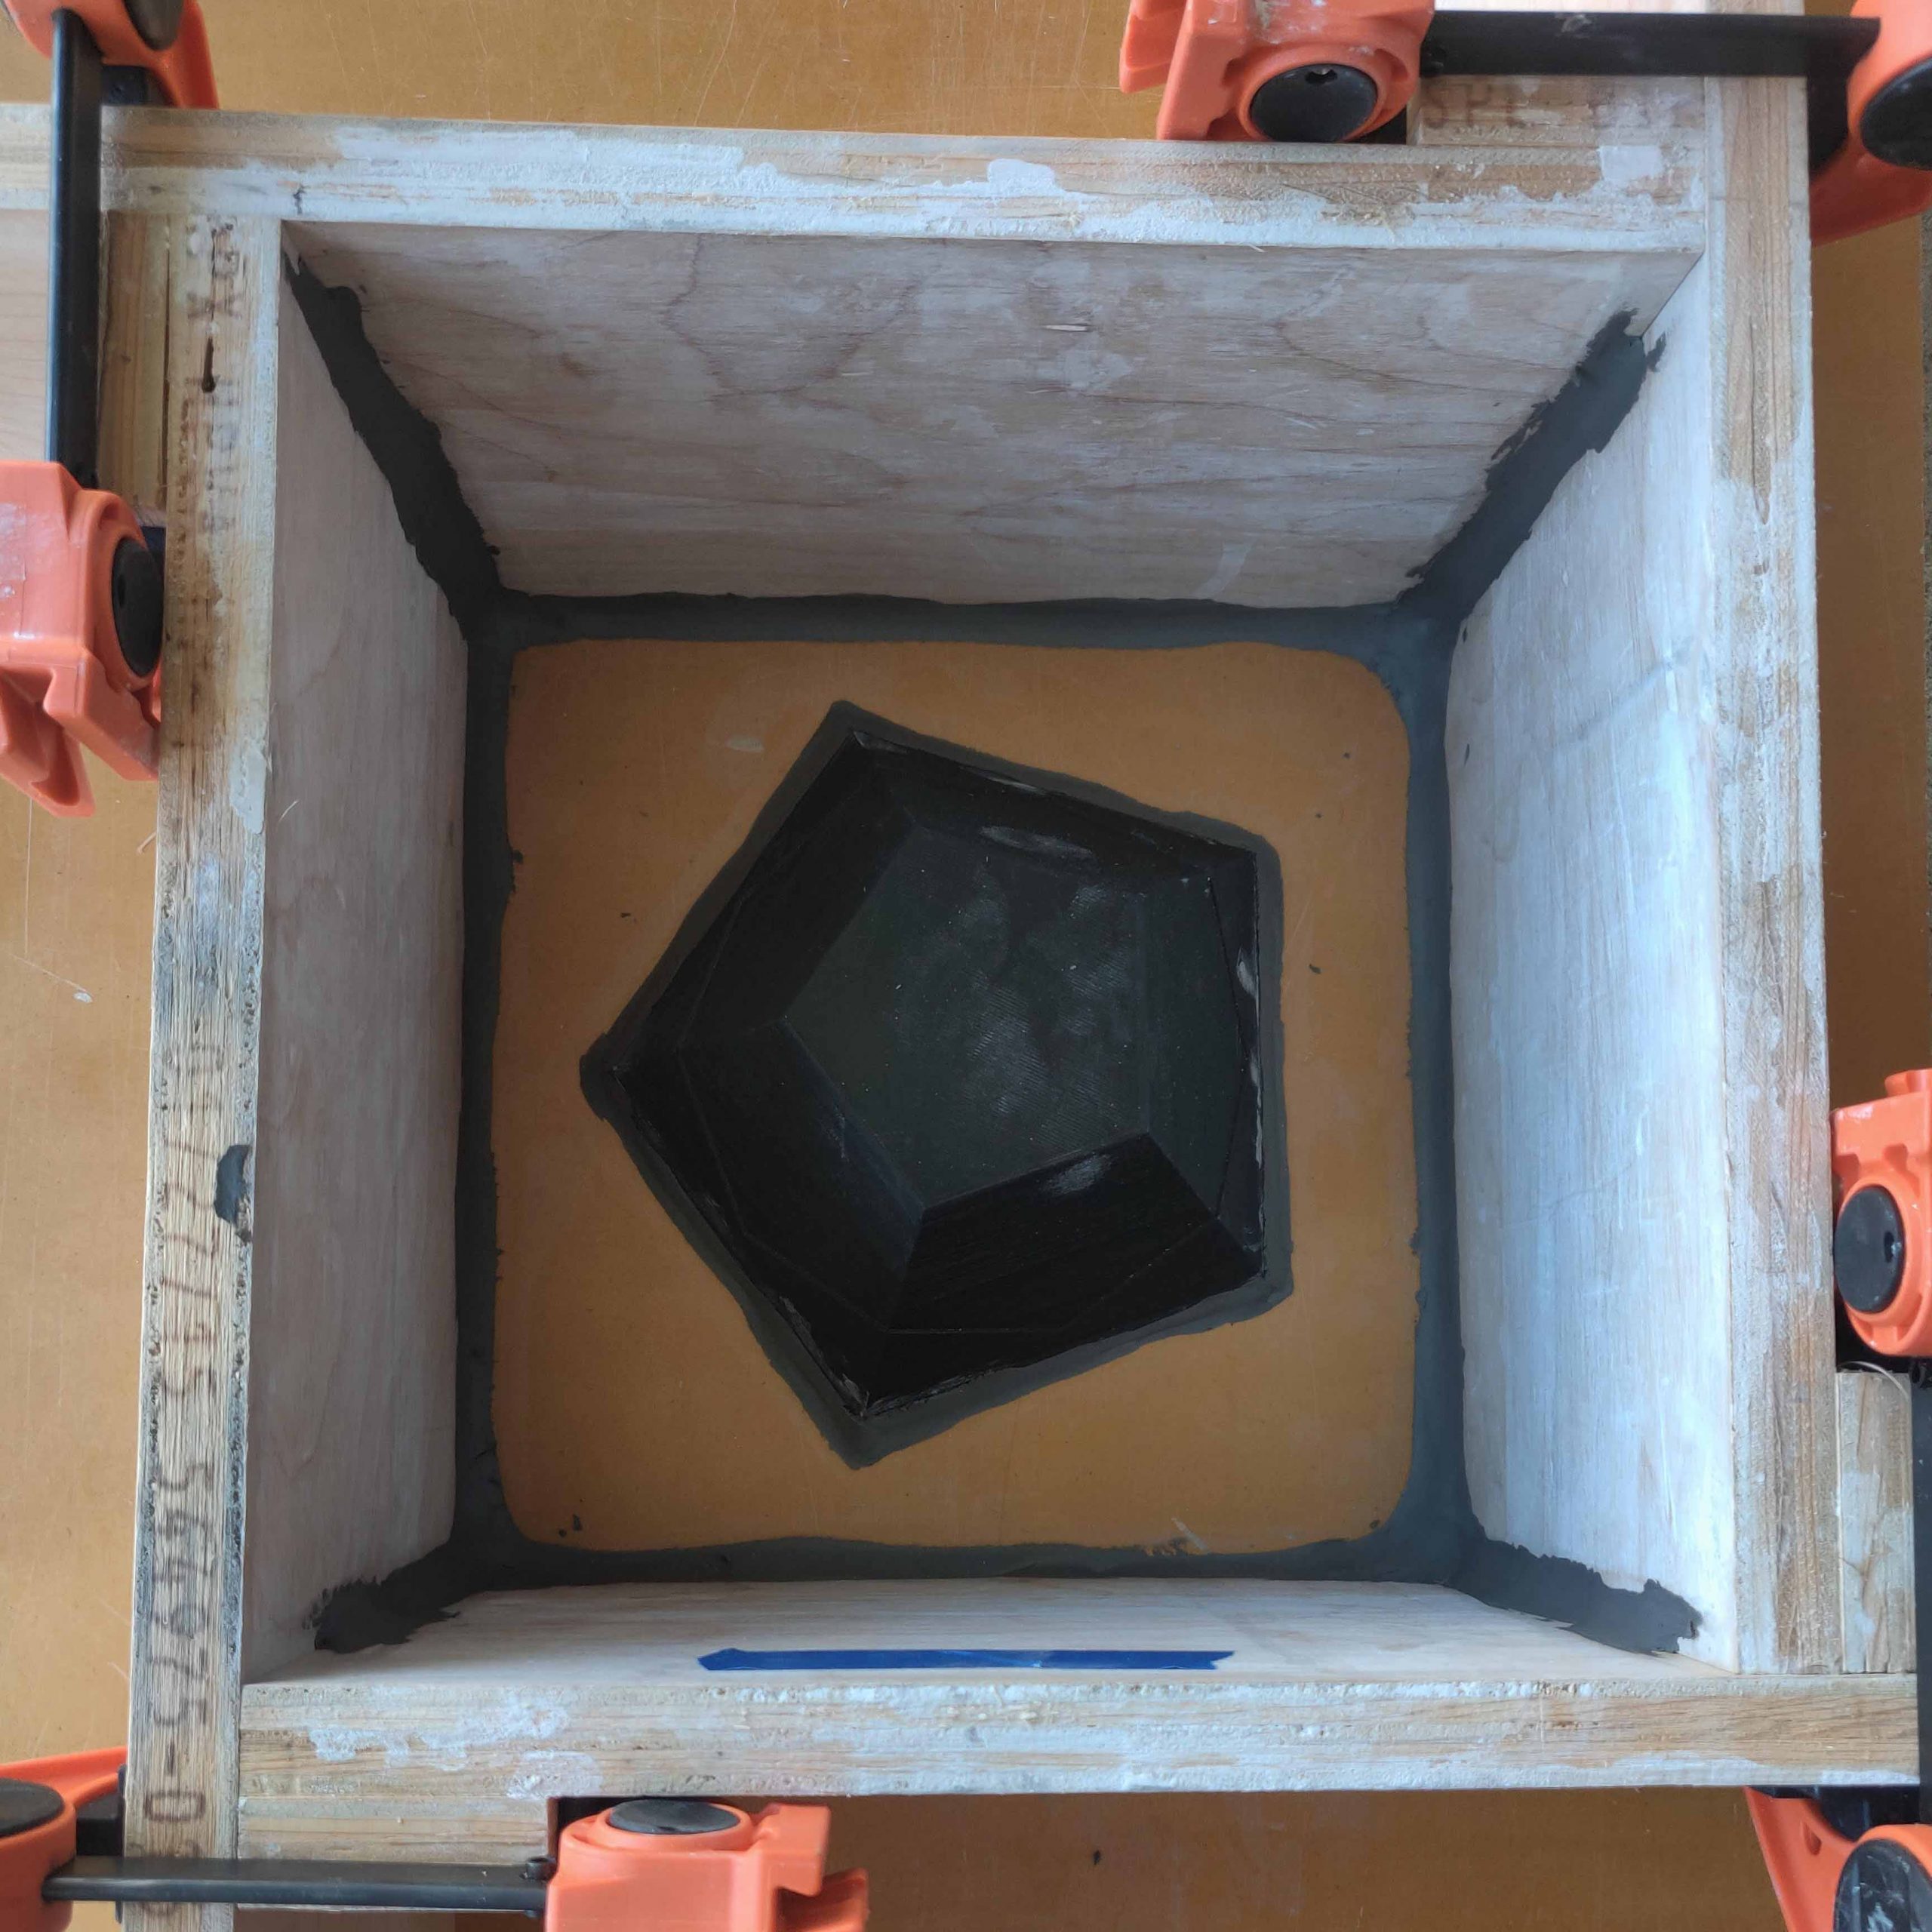
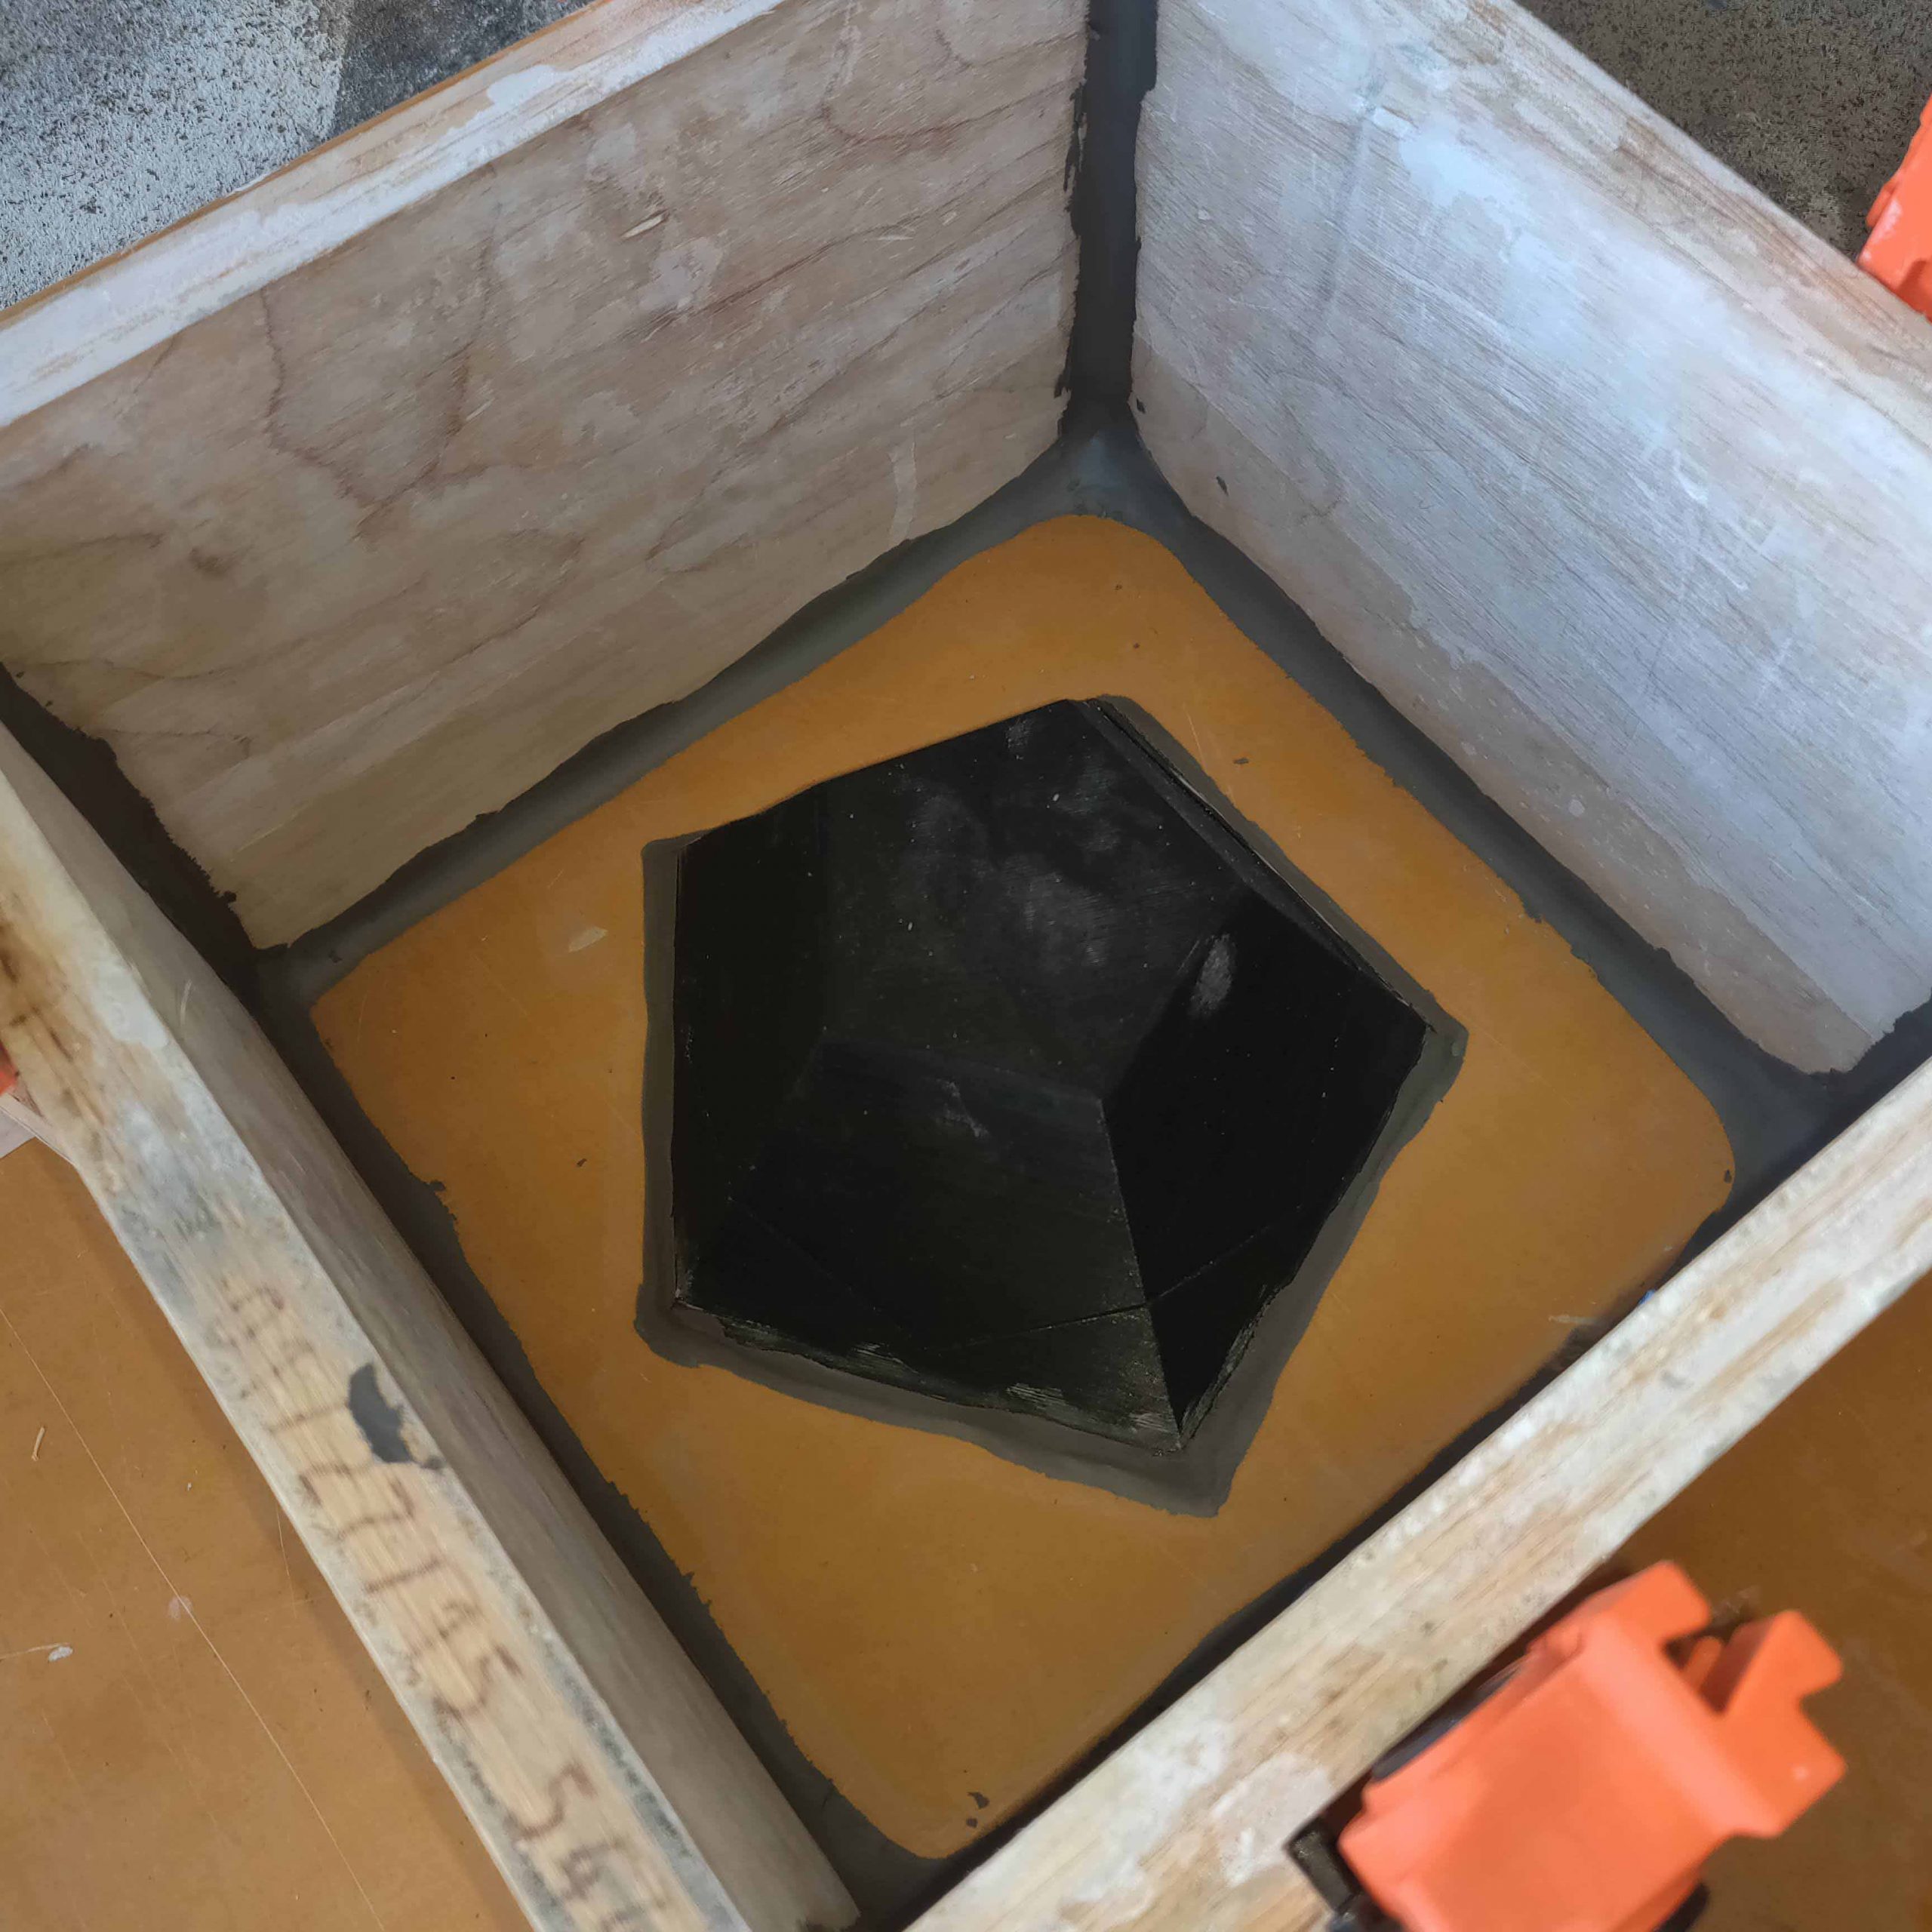
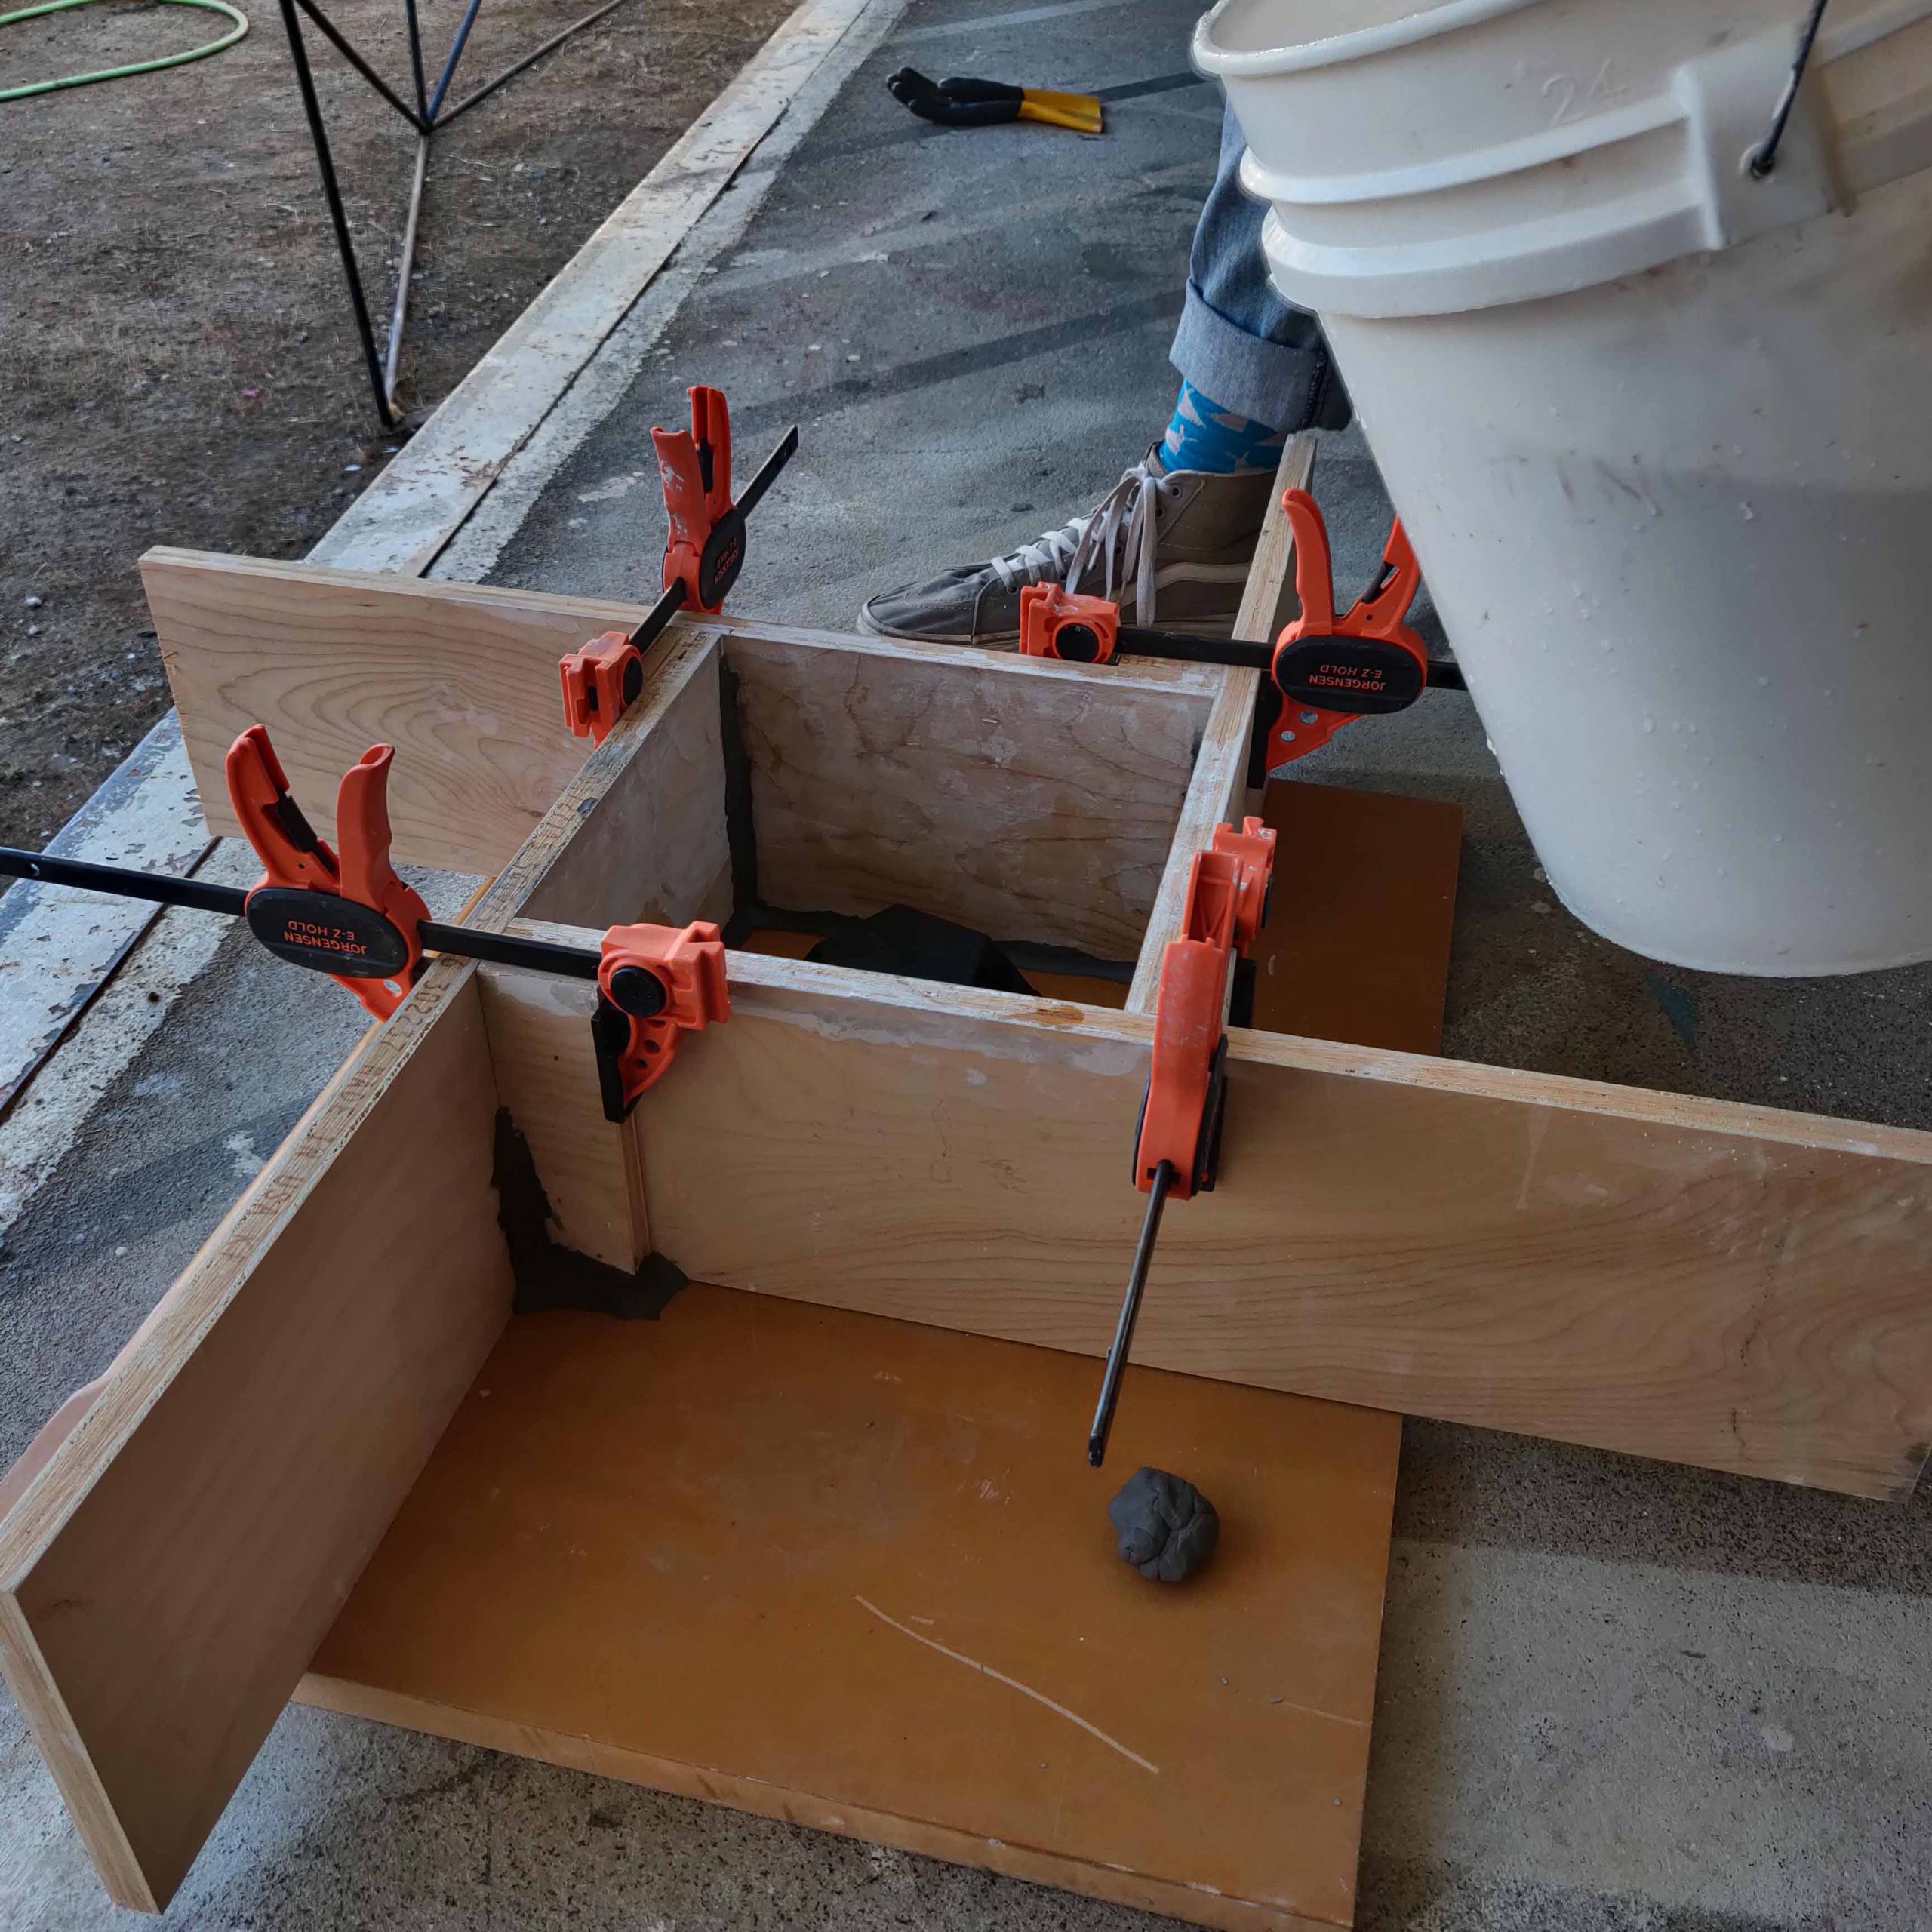
After that I needed to secure the model to the bottom piece of melamine, then seal all of the edges where plaster might seep out with clay. Then everything got a thin layer of lubricant applied to ensure that the plaster releases.
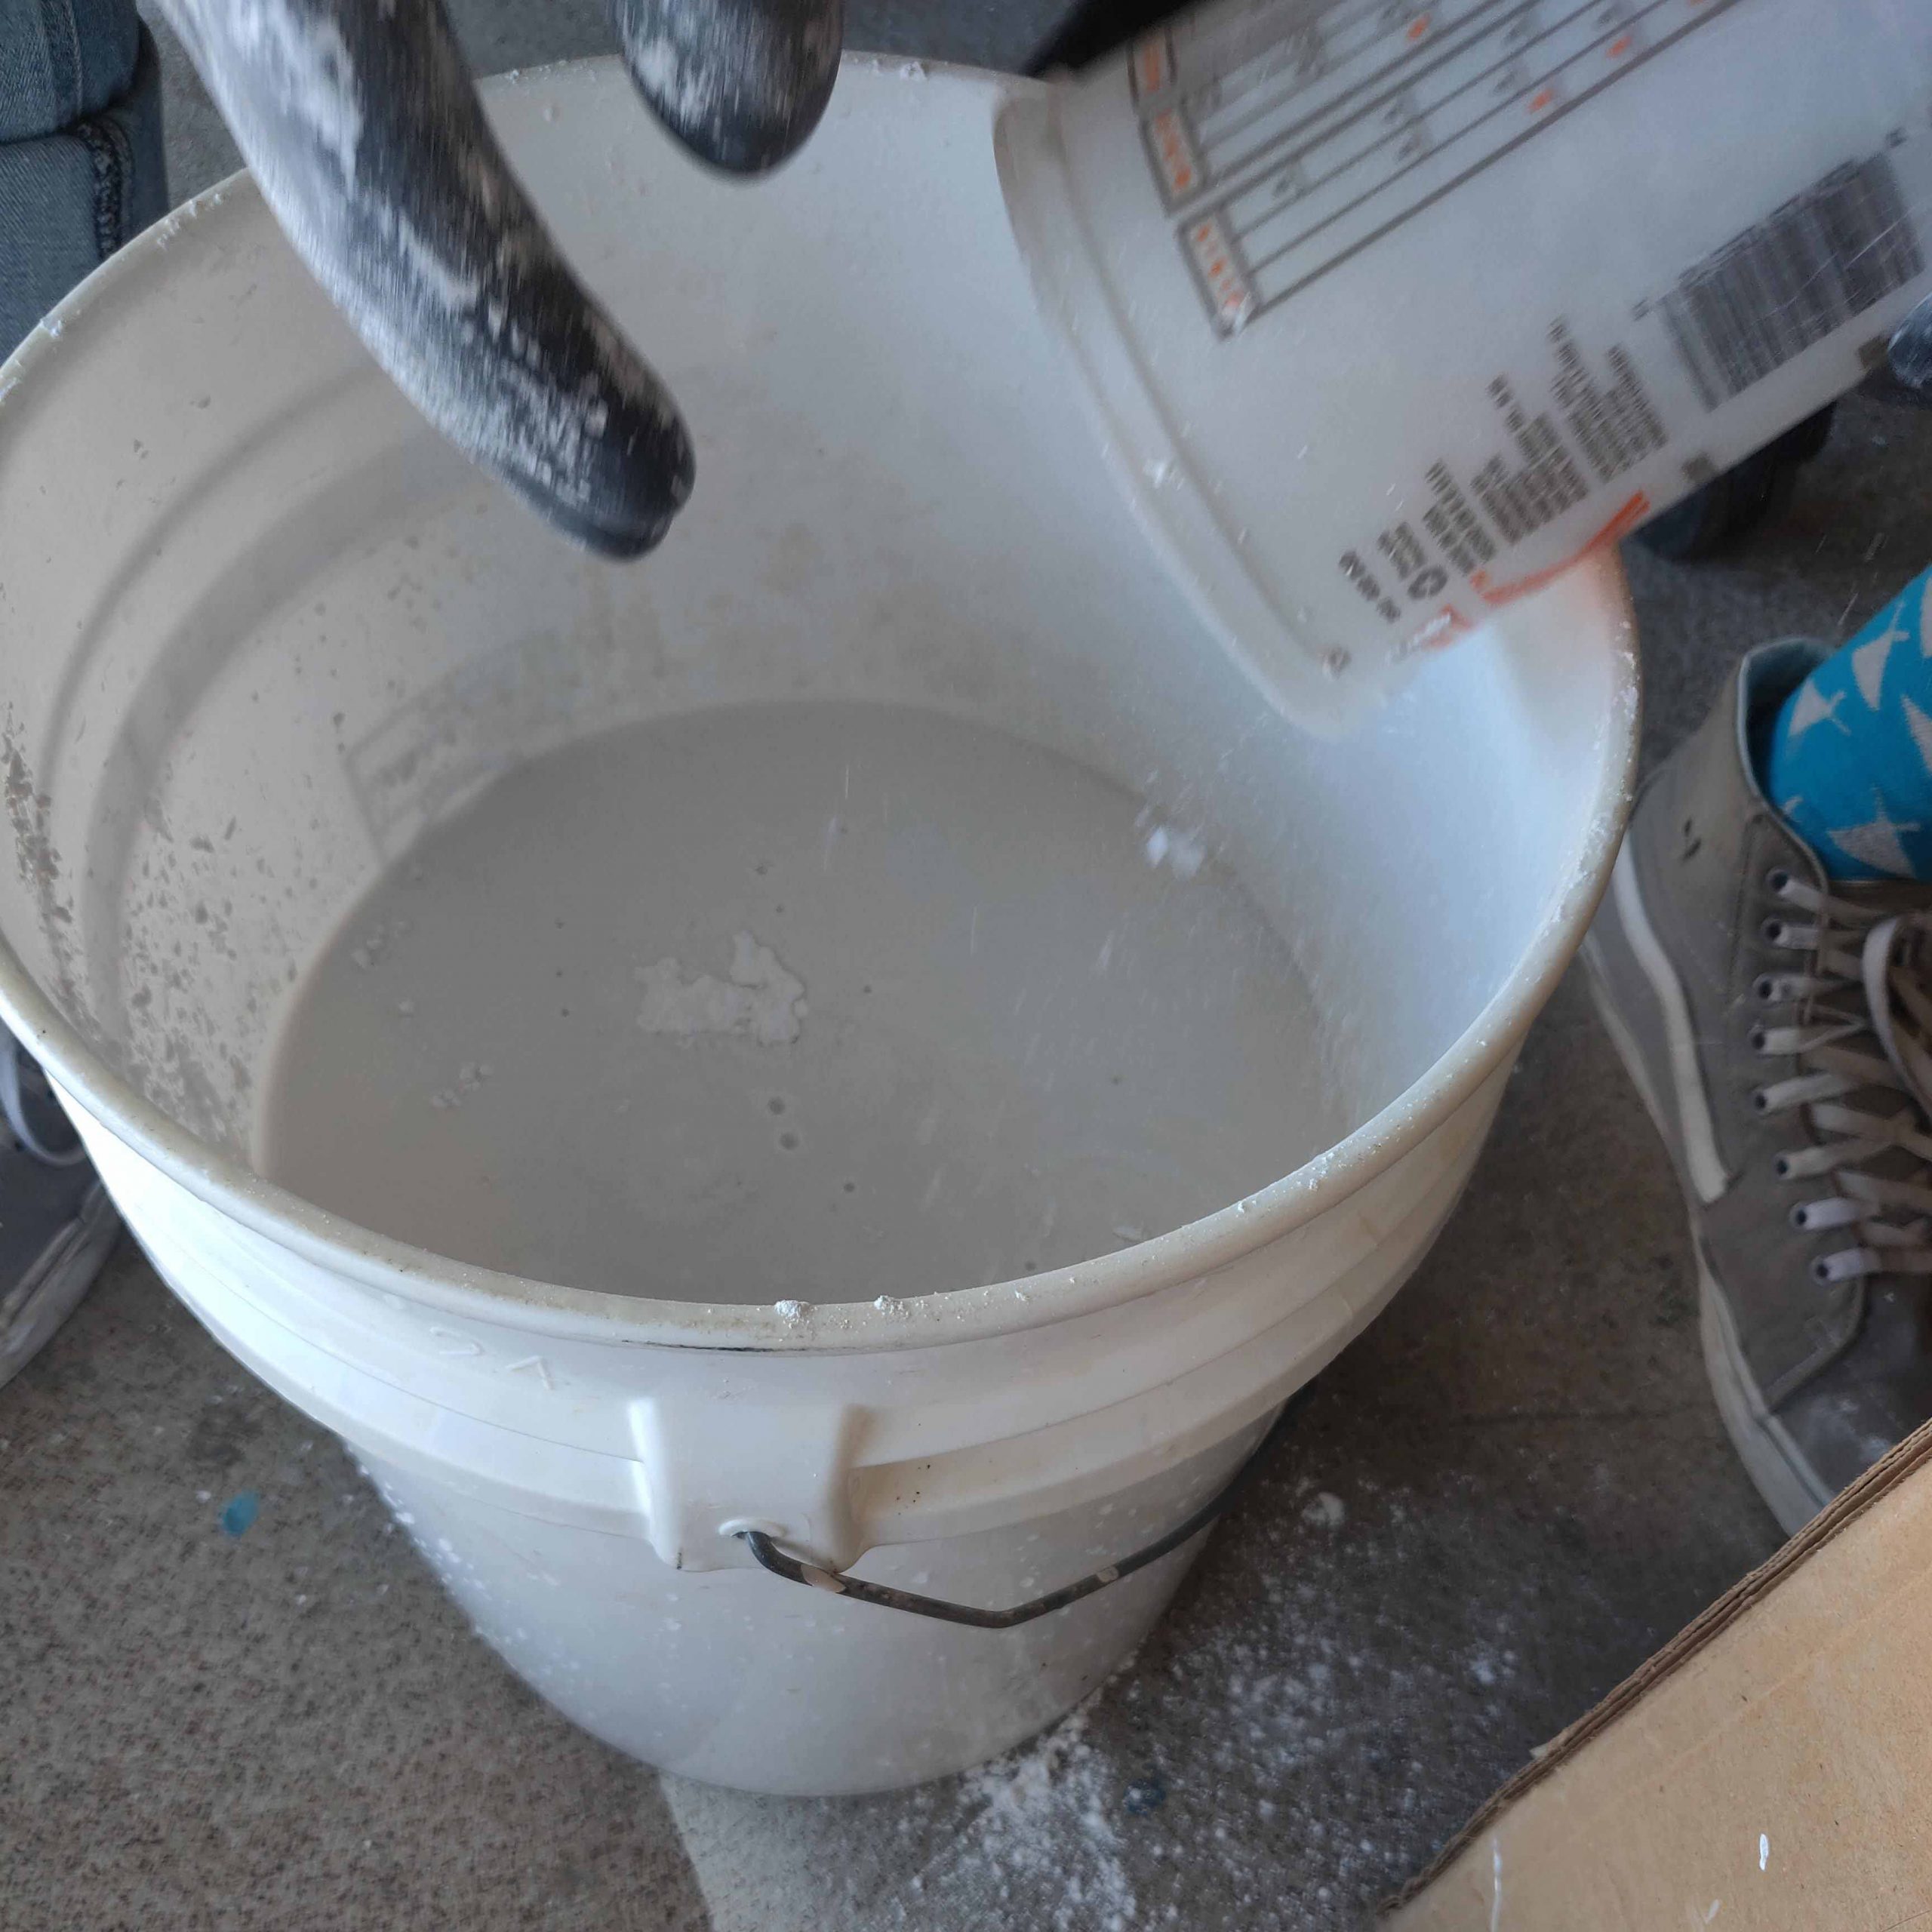
After that we mixed the plaster, and poured it over my model, and let it set for a day, before removing the model, and clay, and wiping the plaster cast clean.
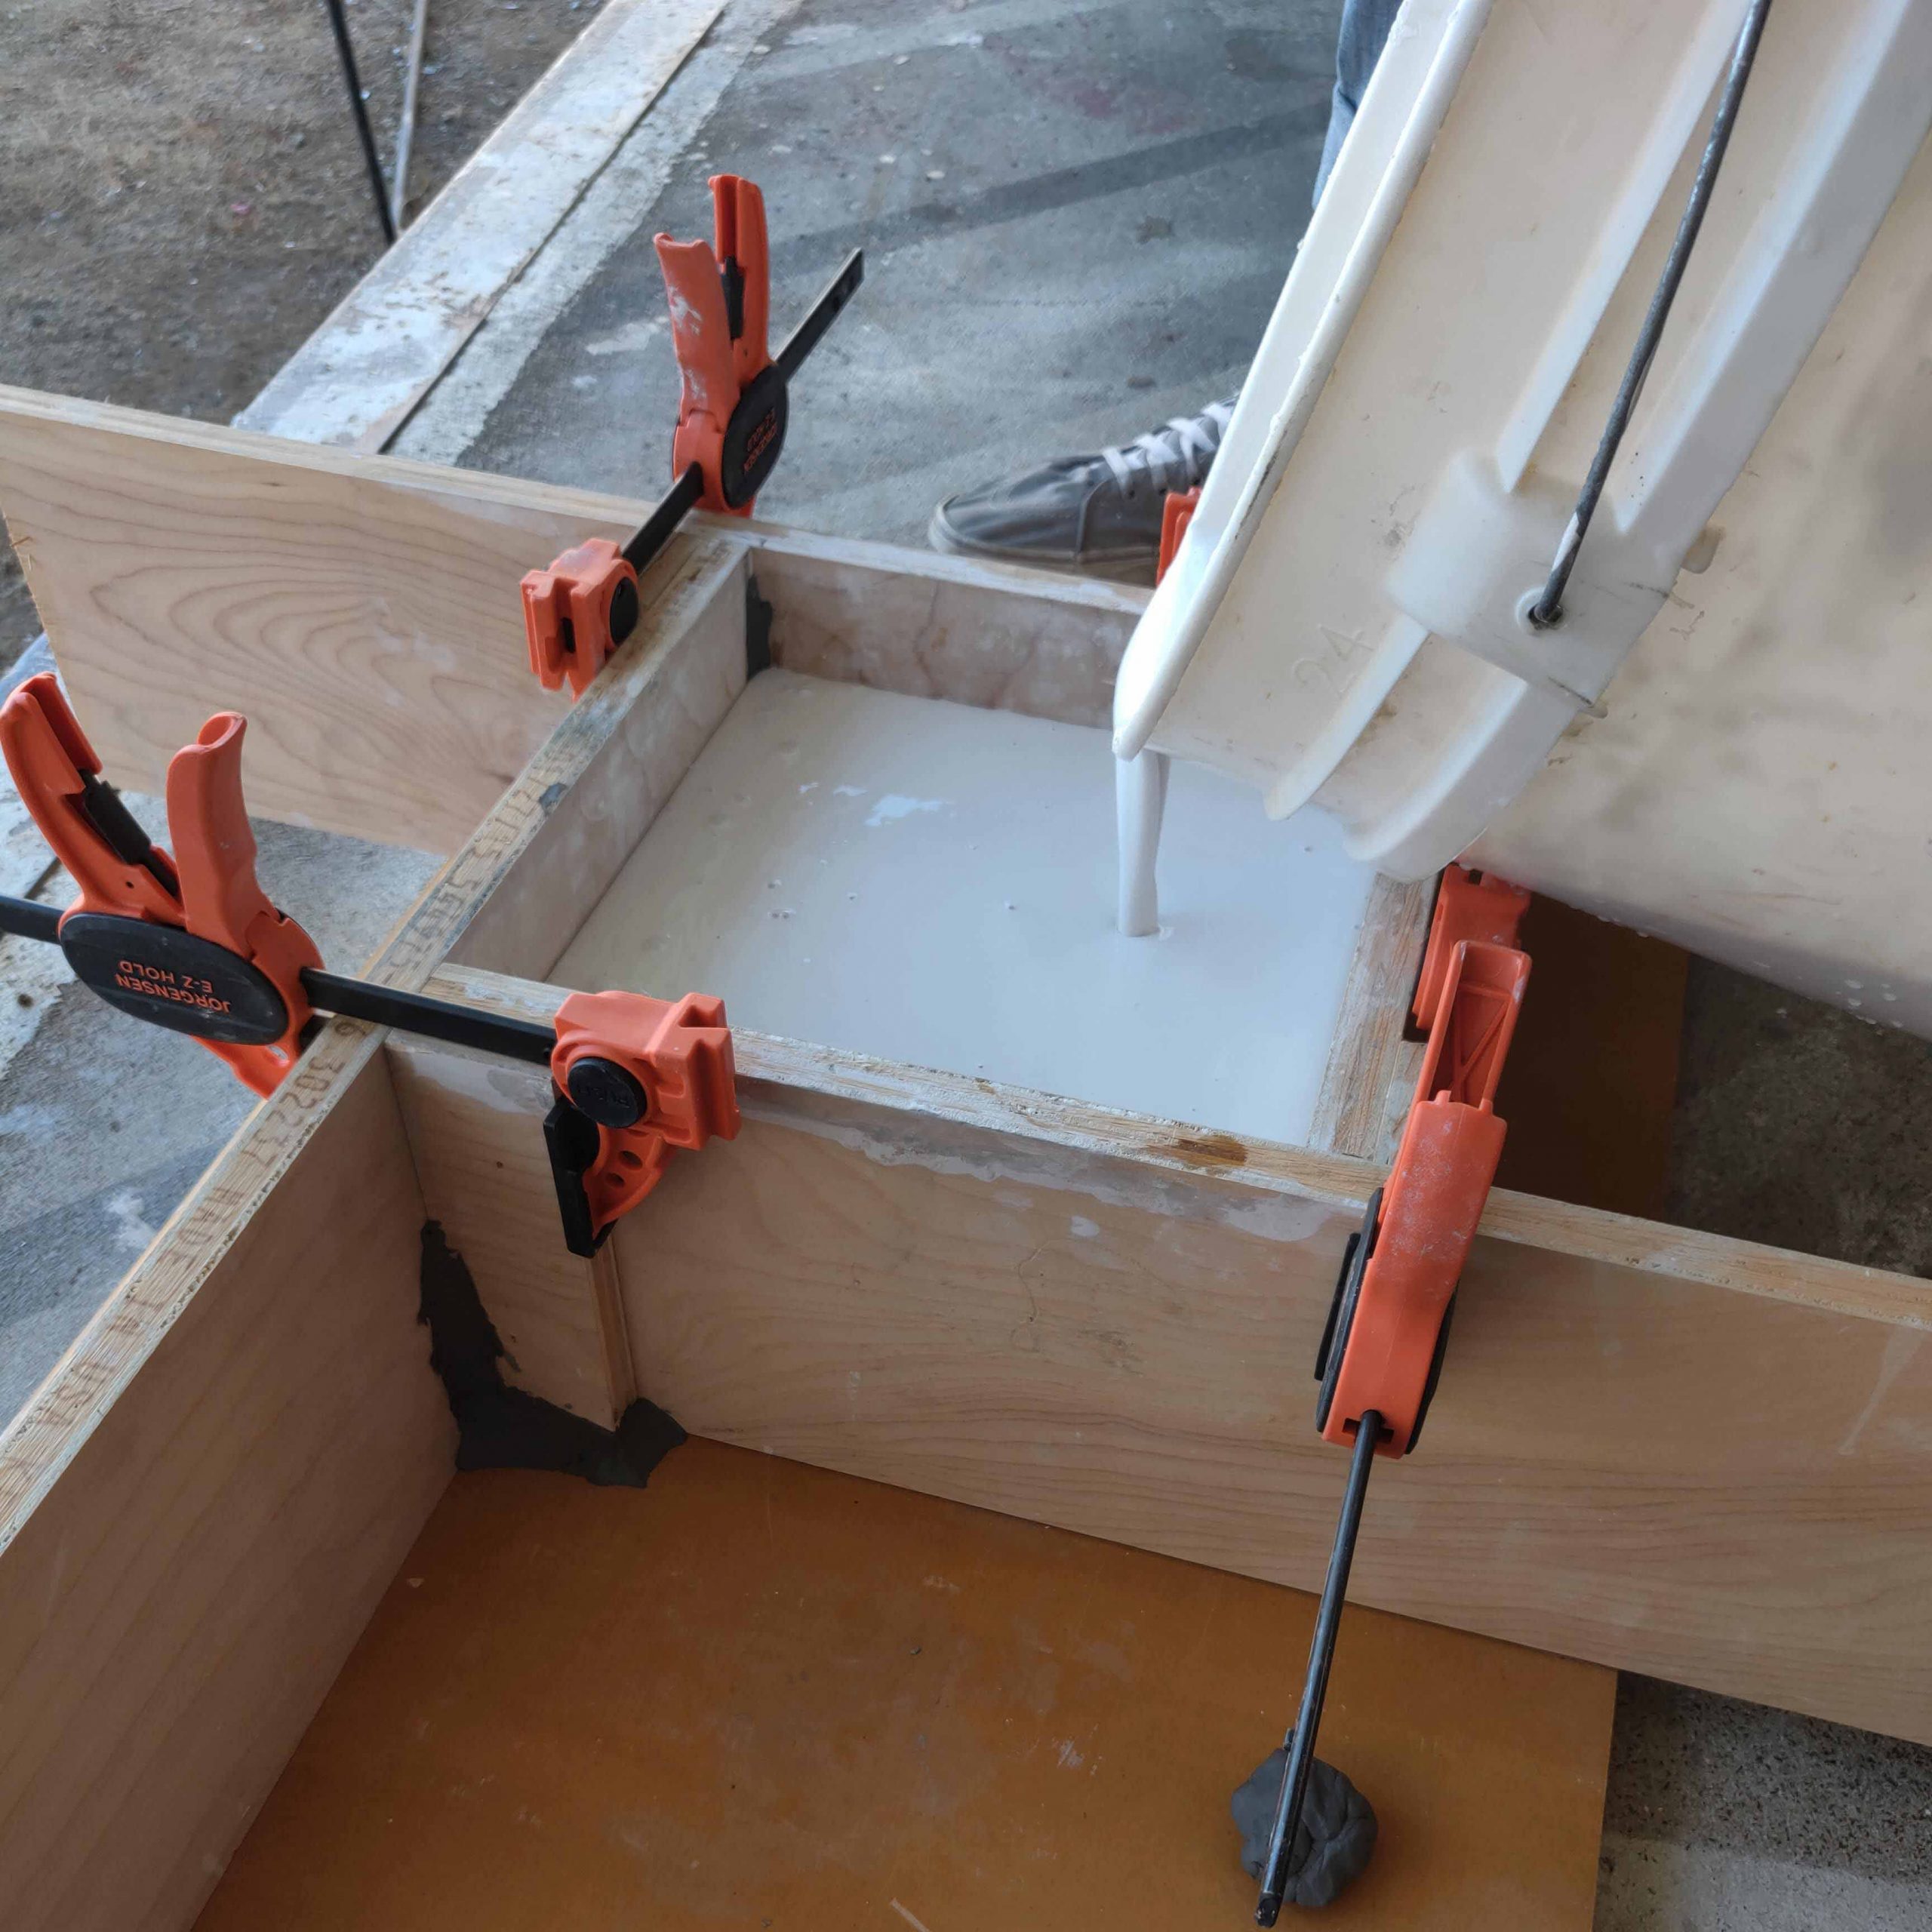
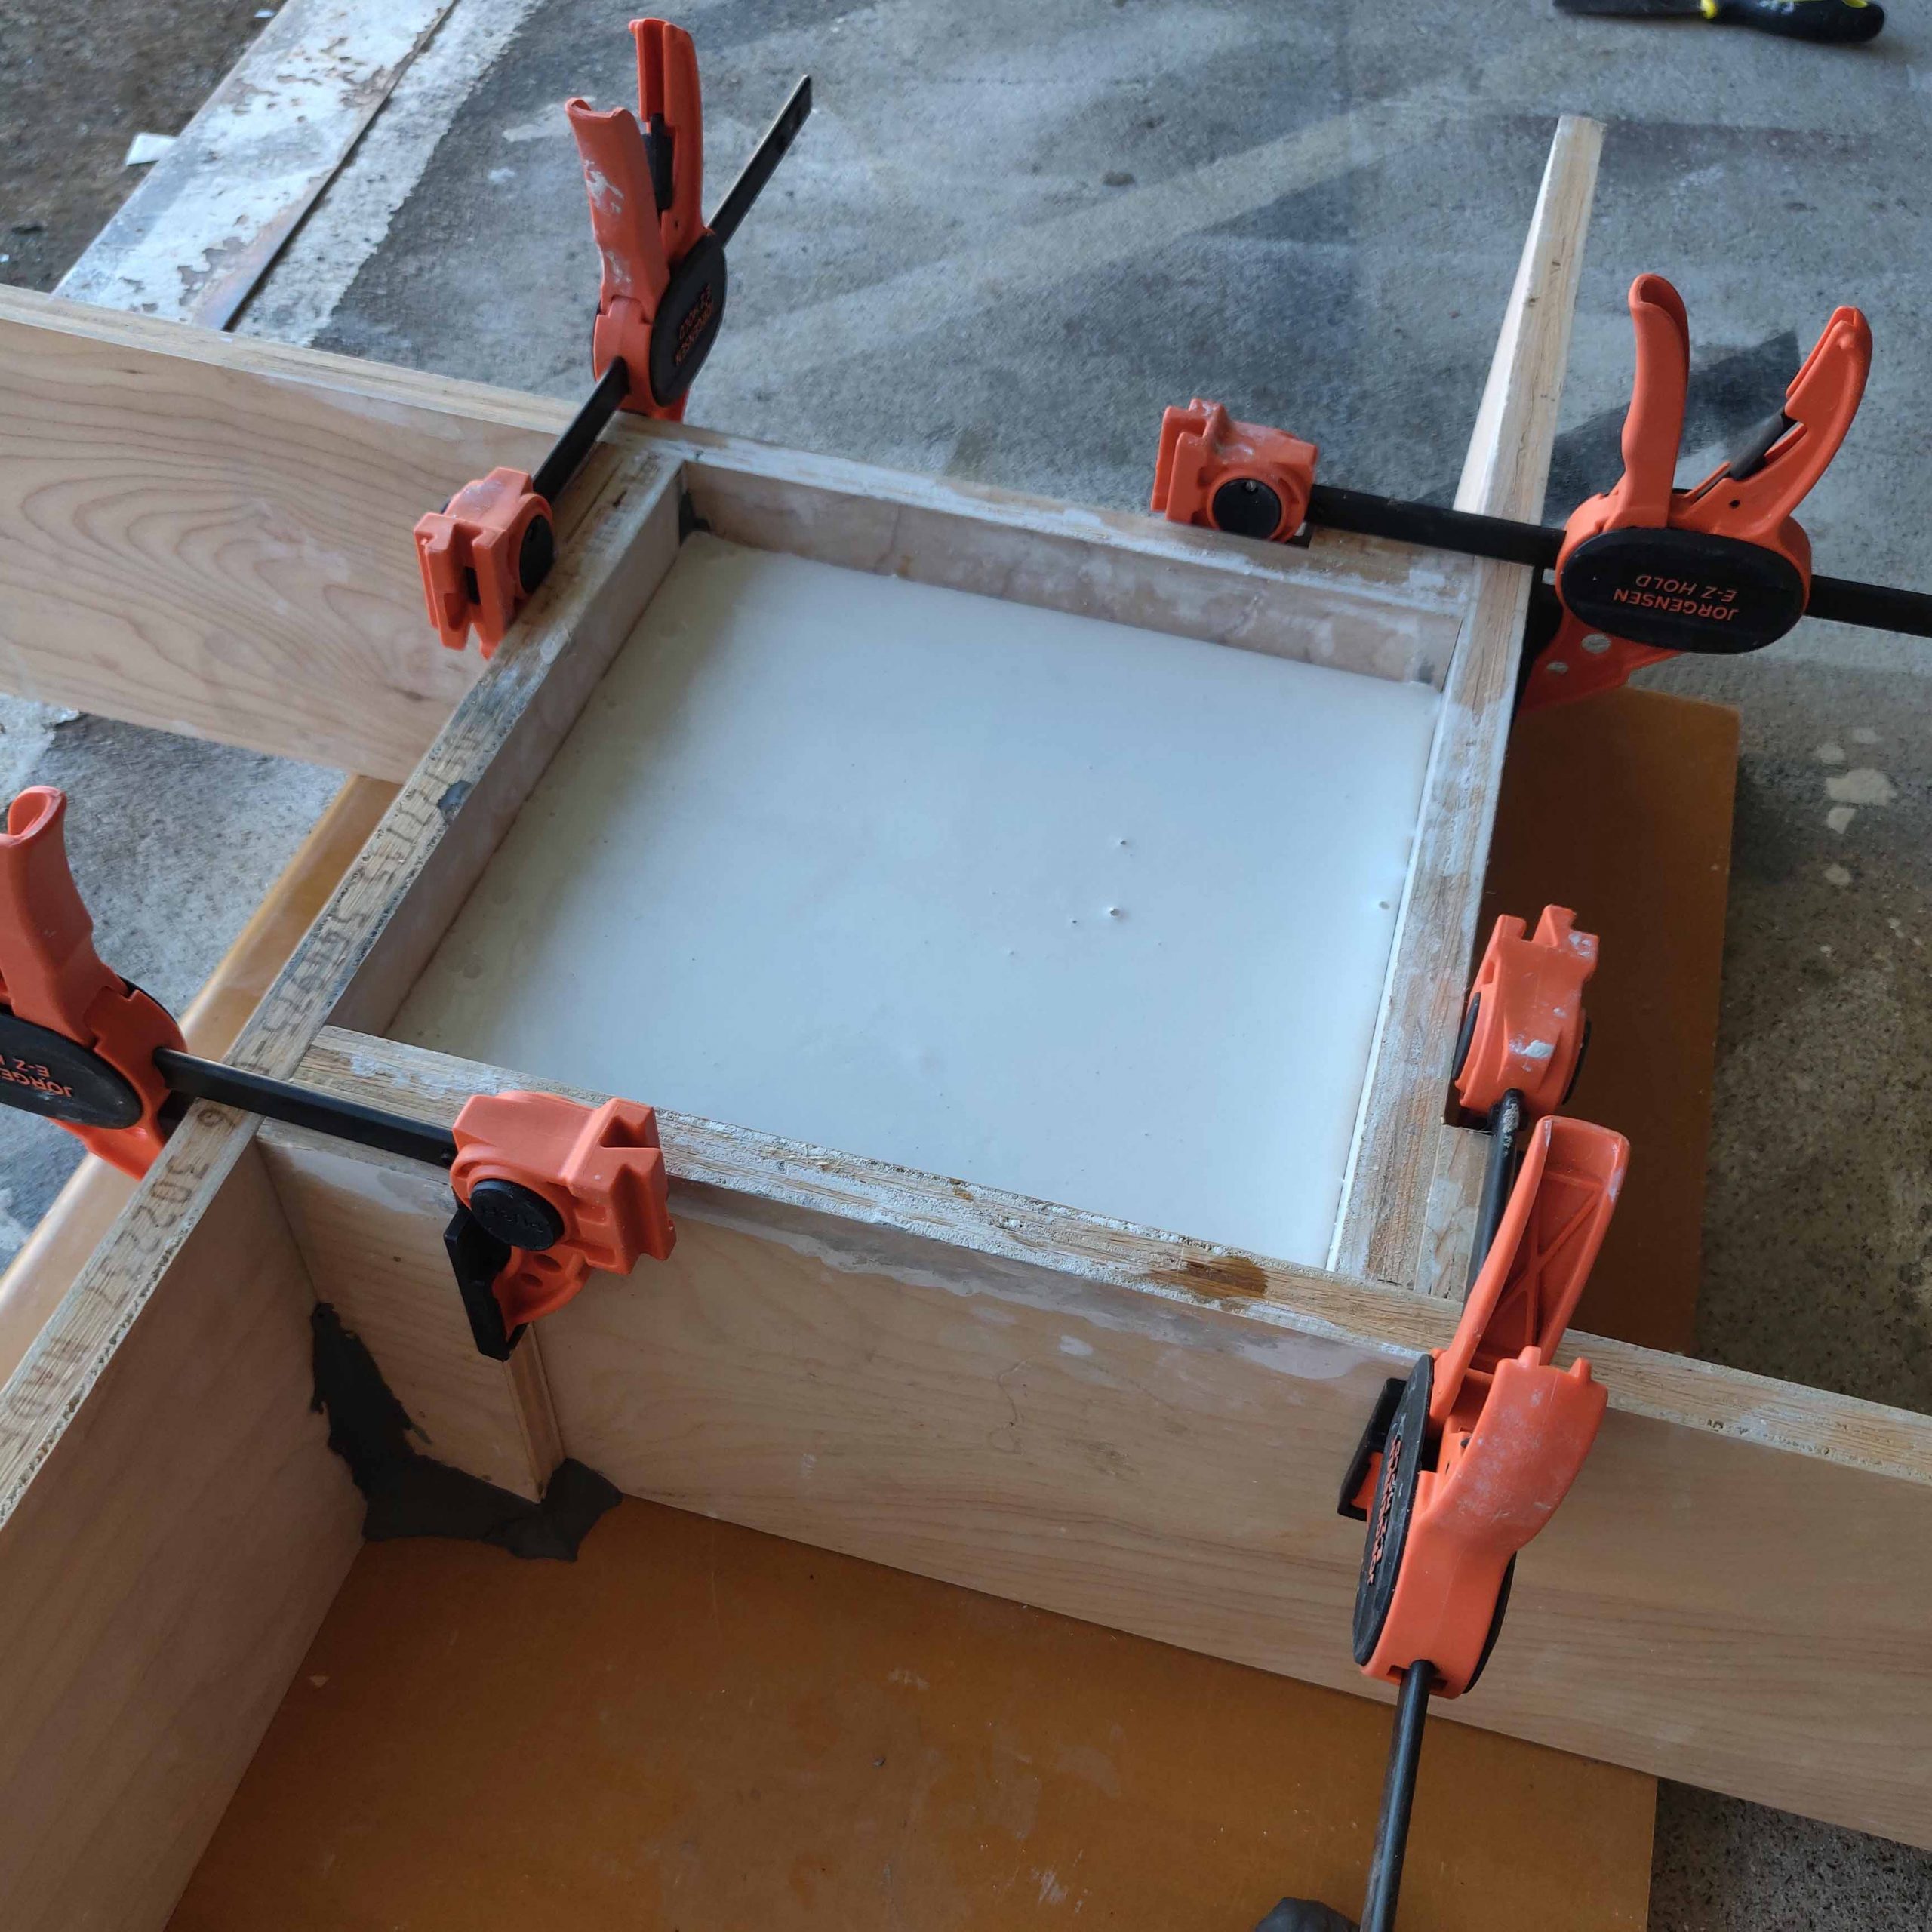
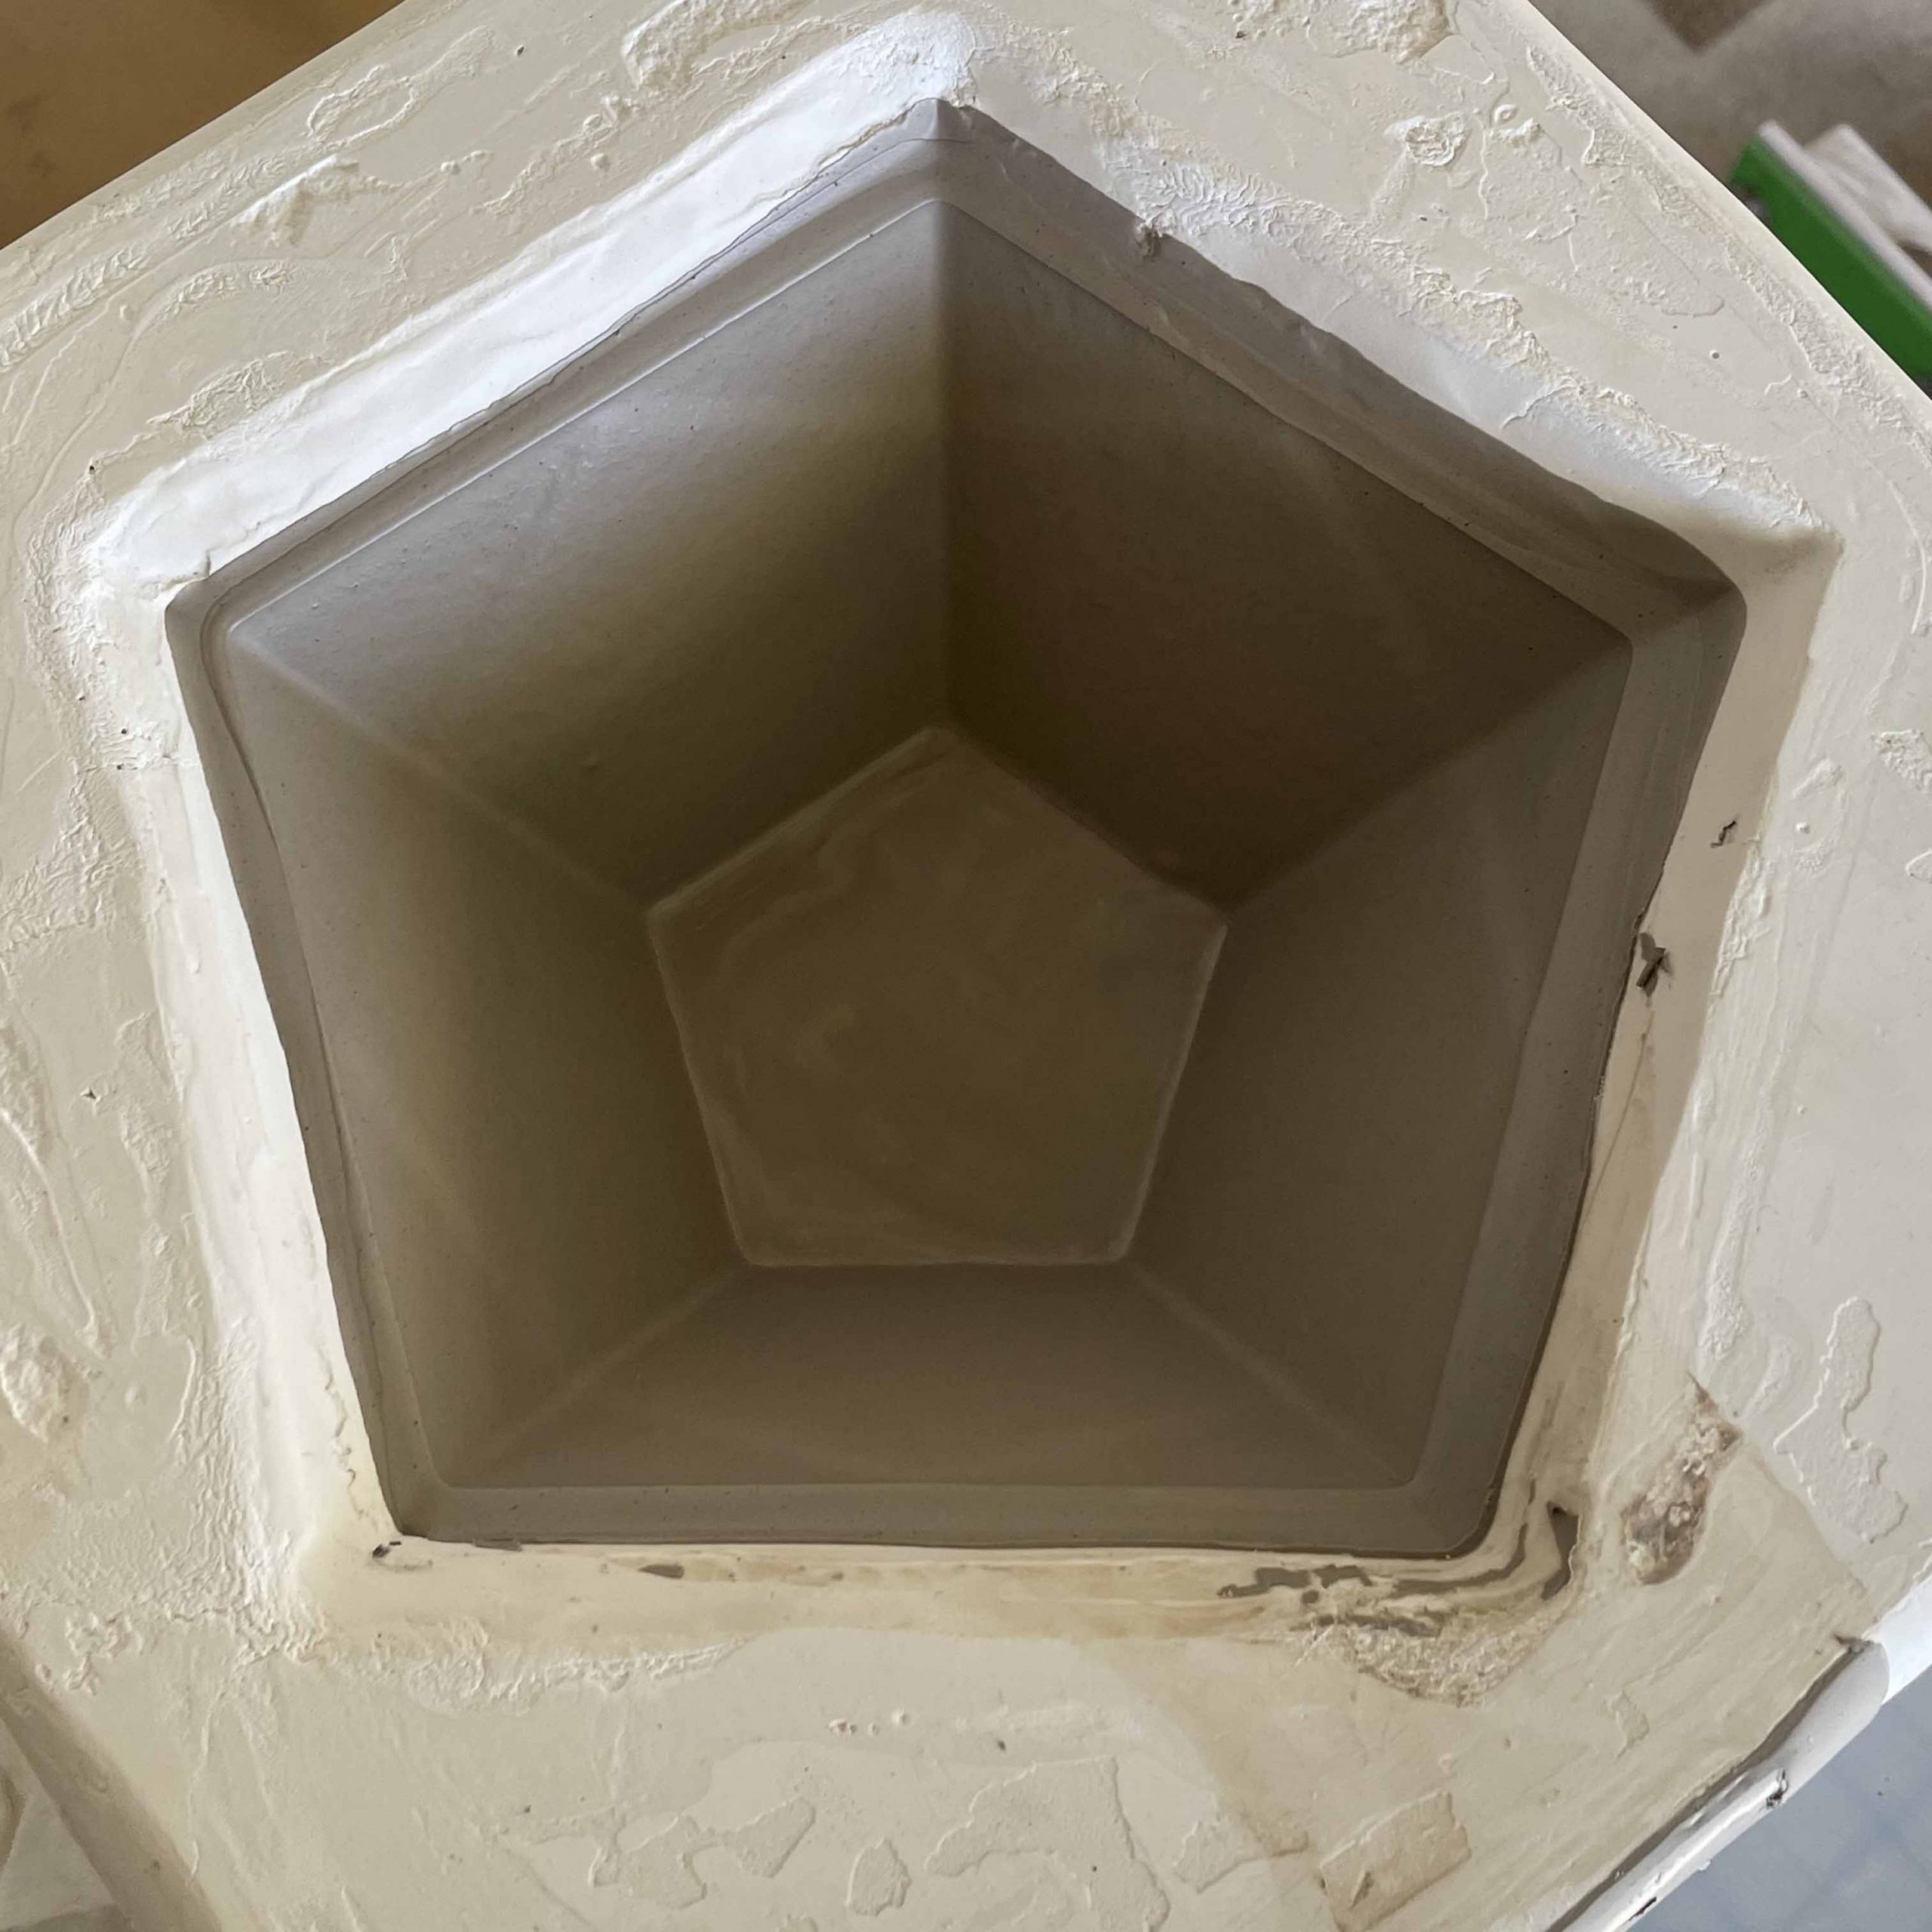
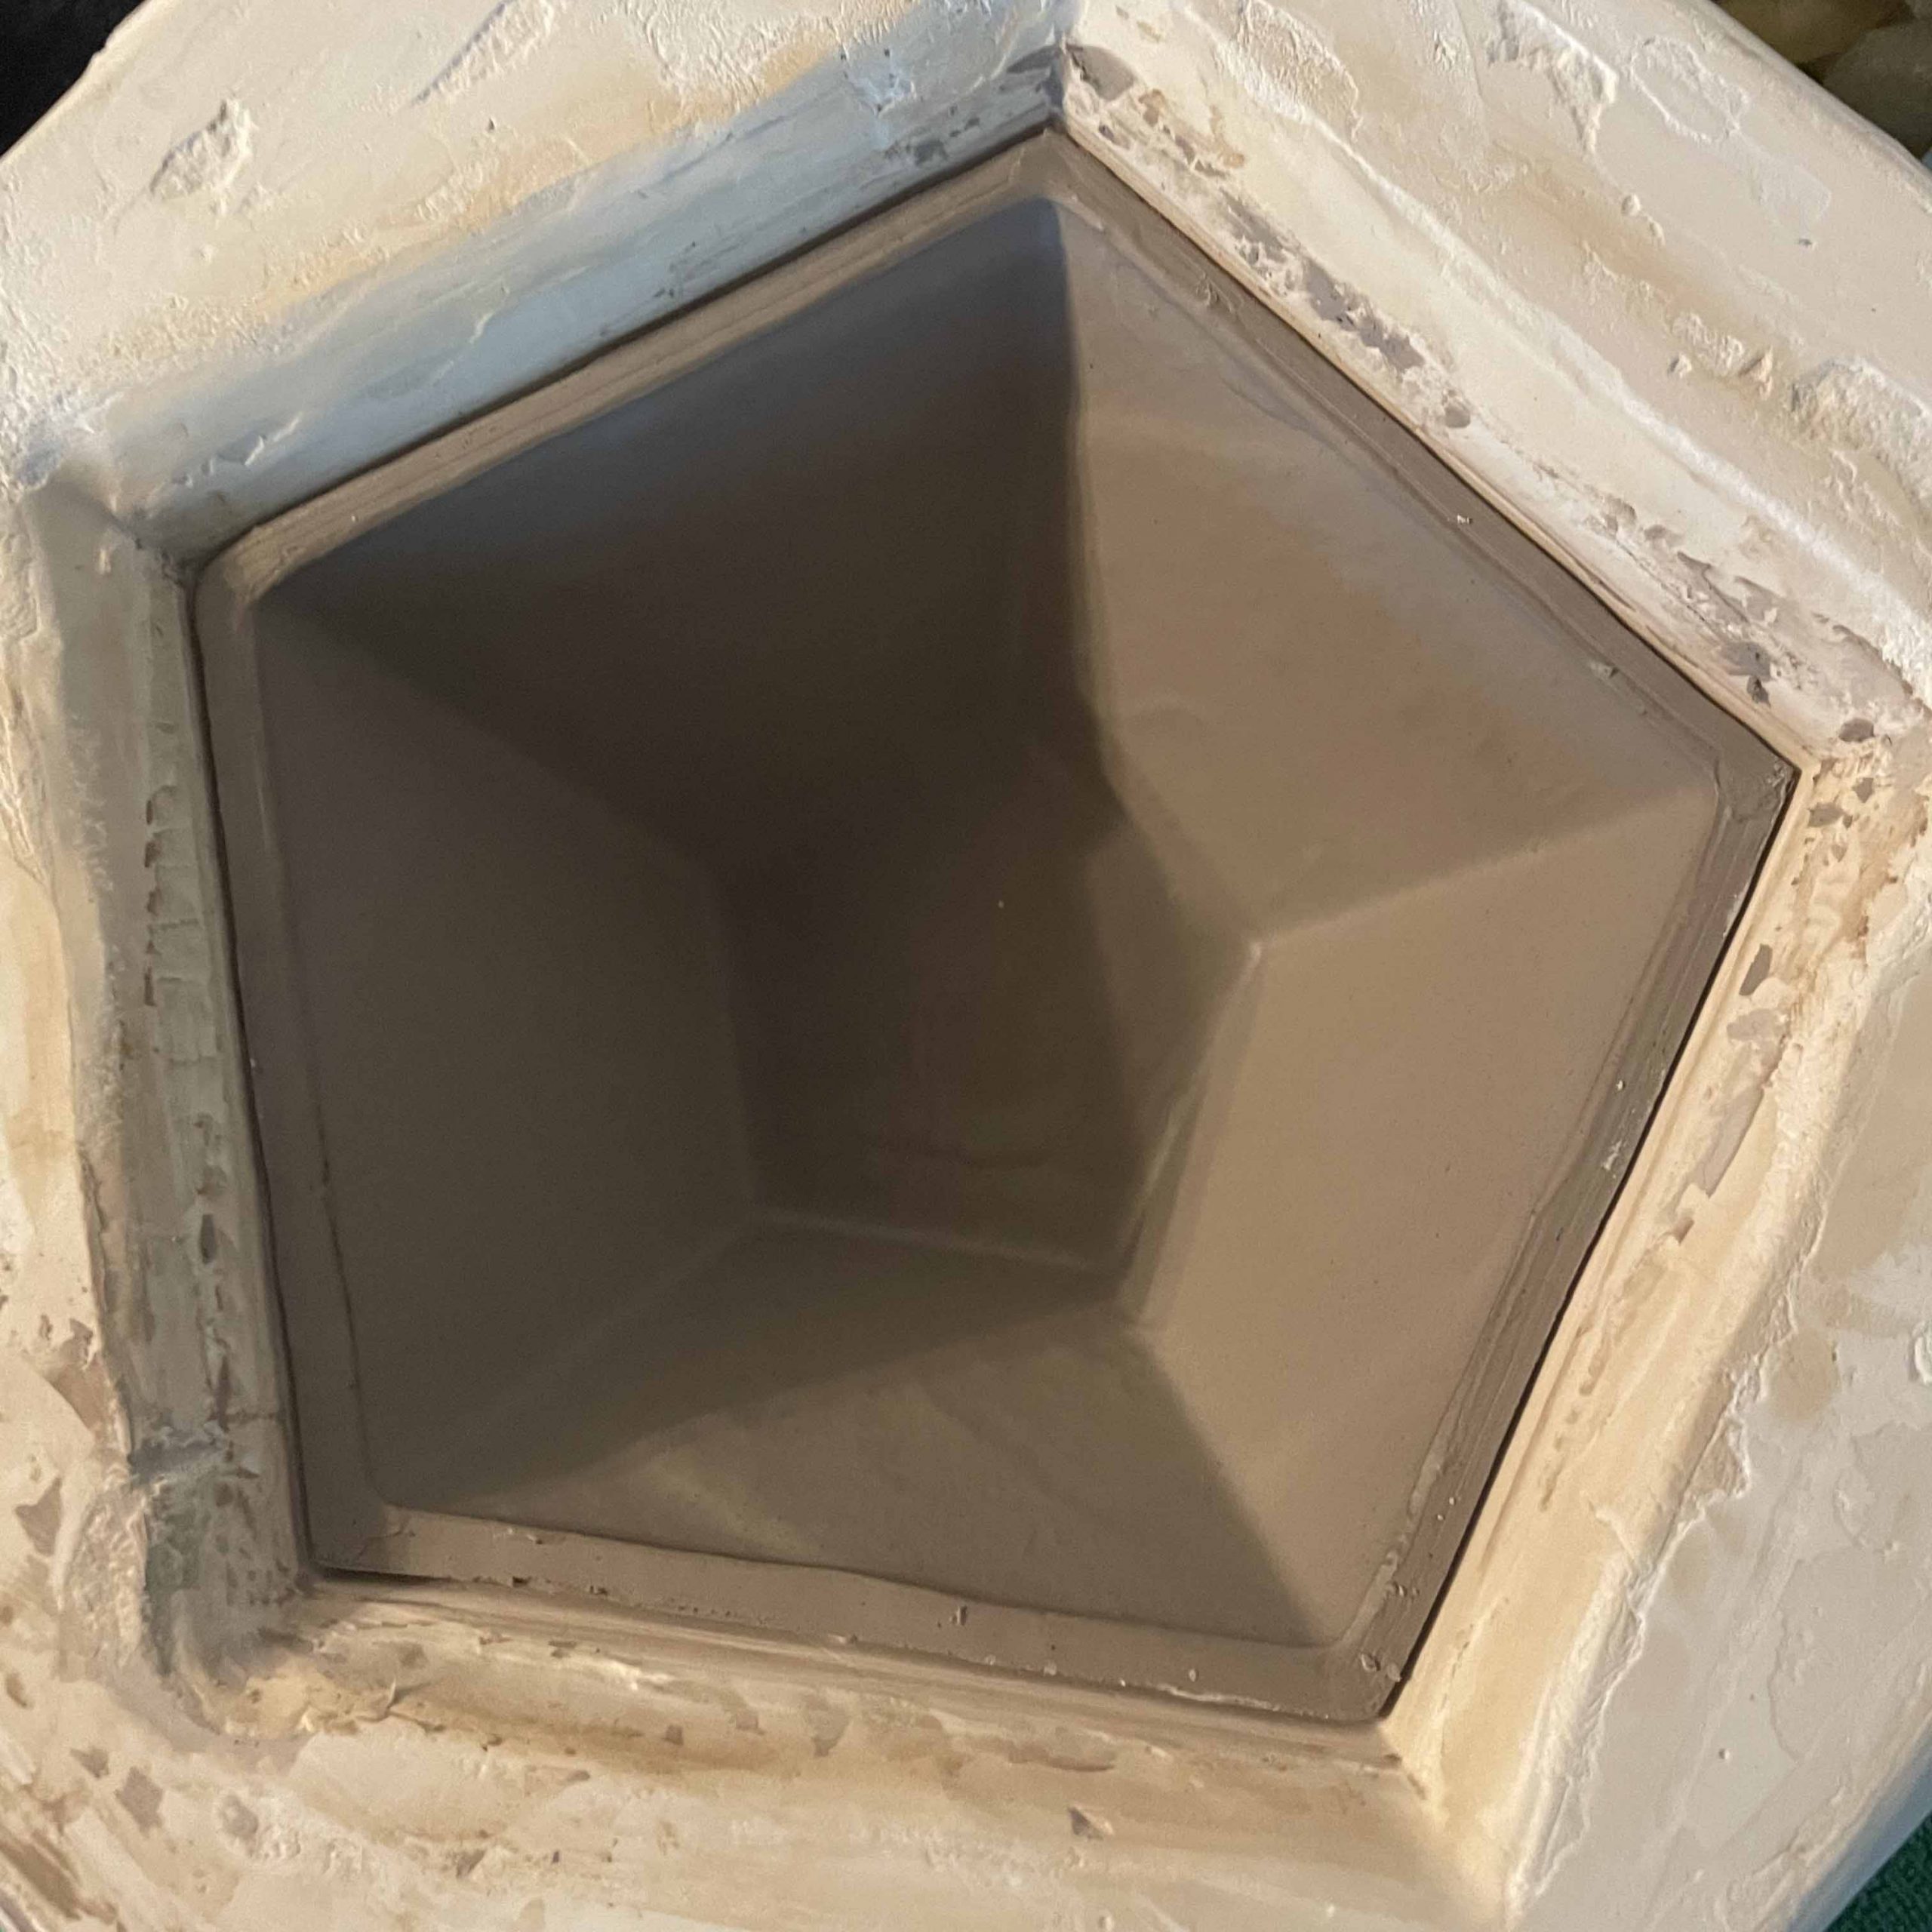
Here is process of creating the slip cast piece.
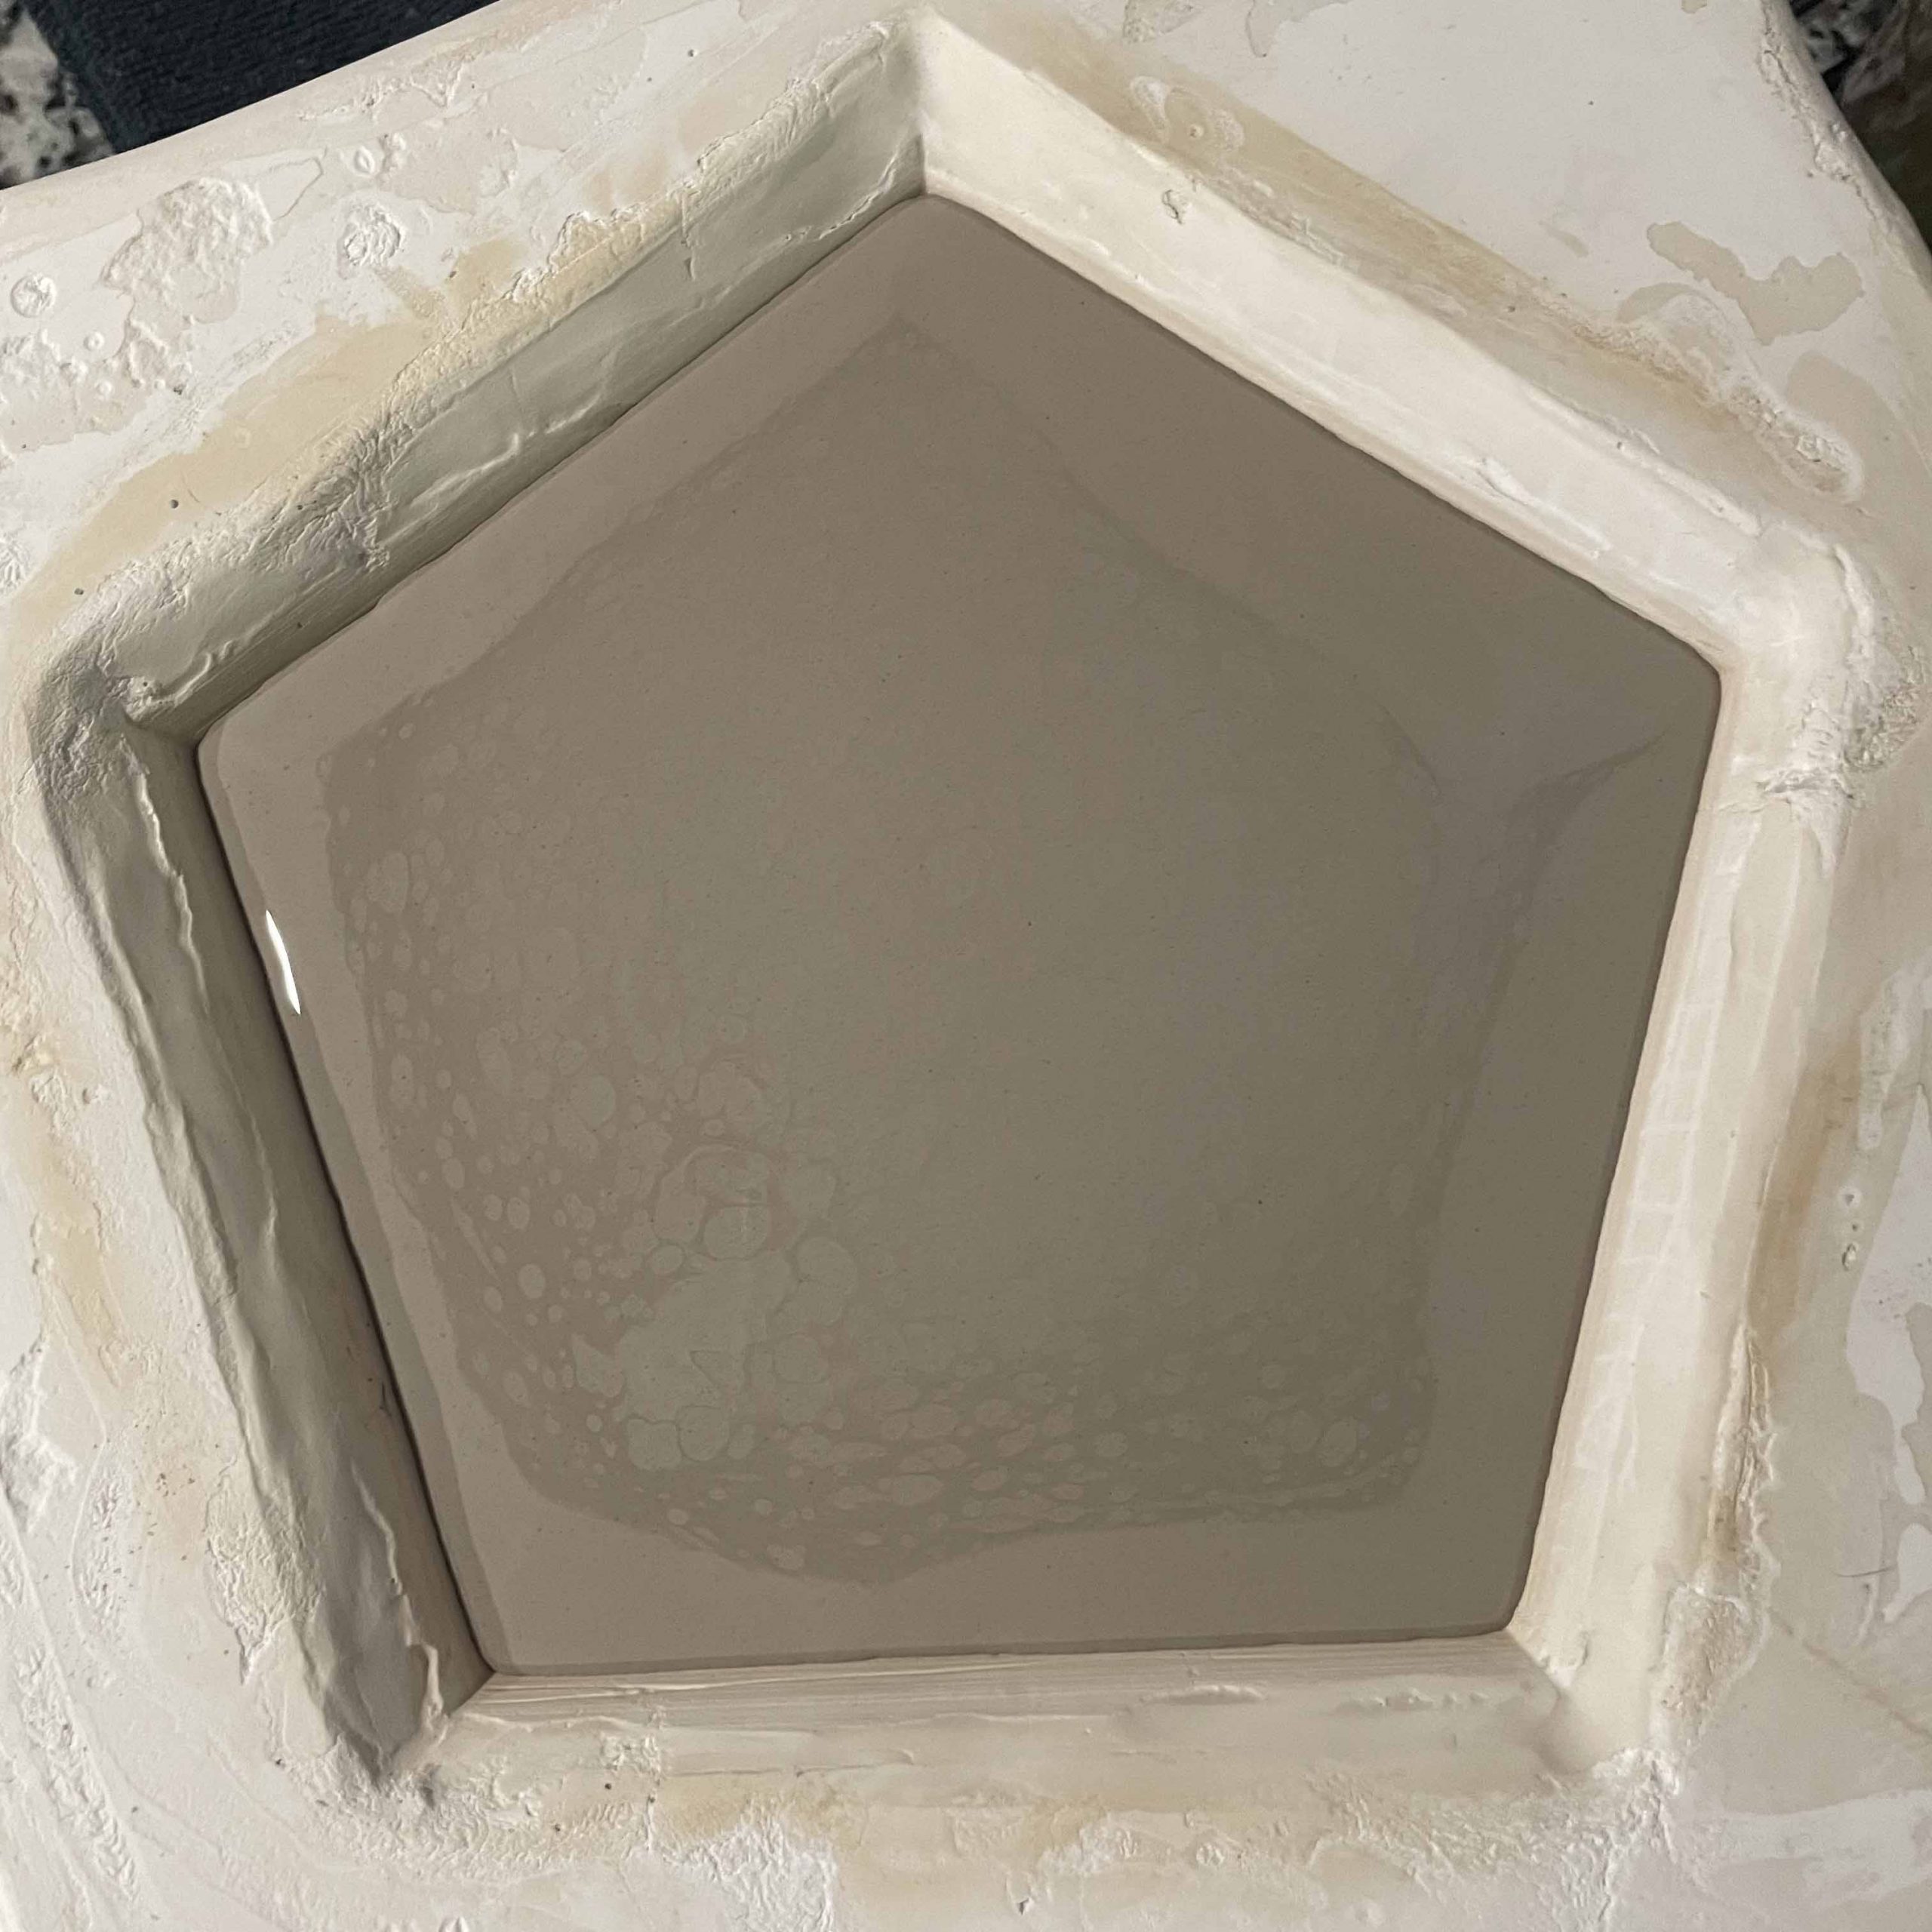
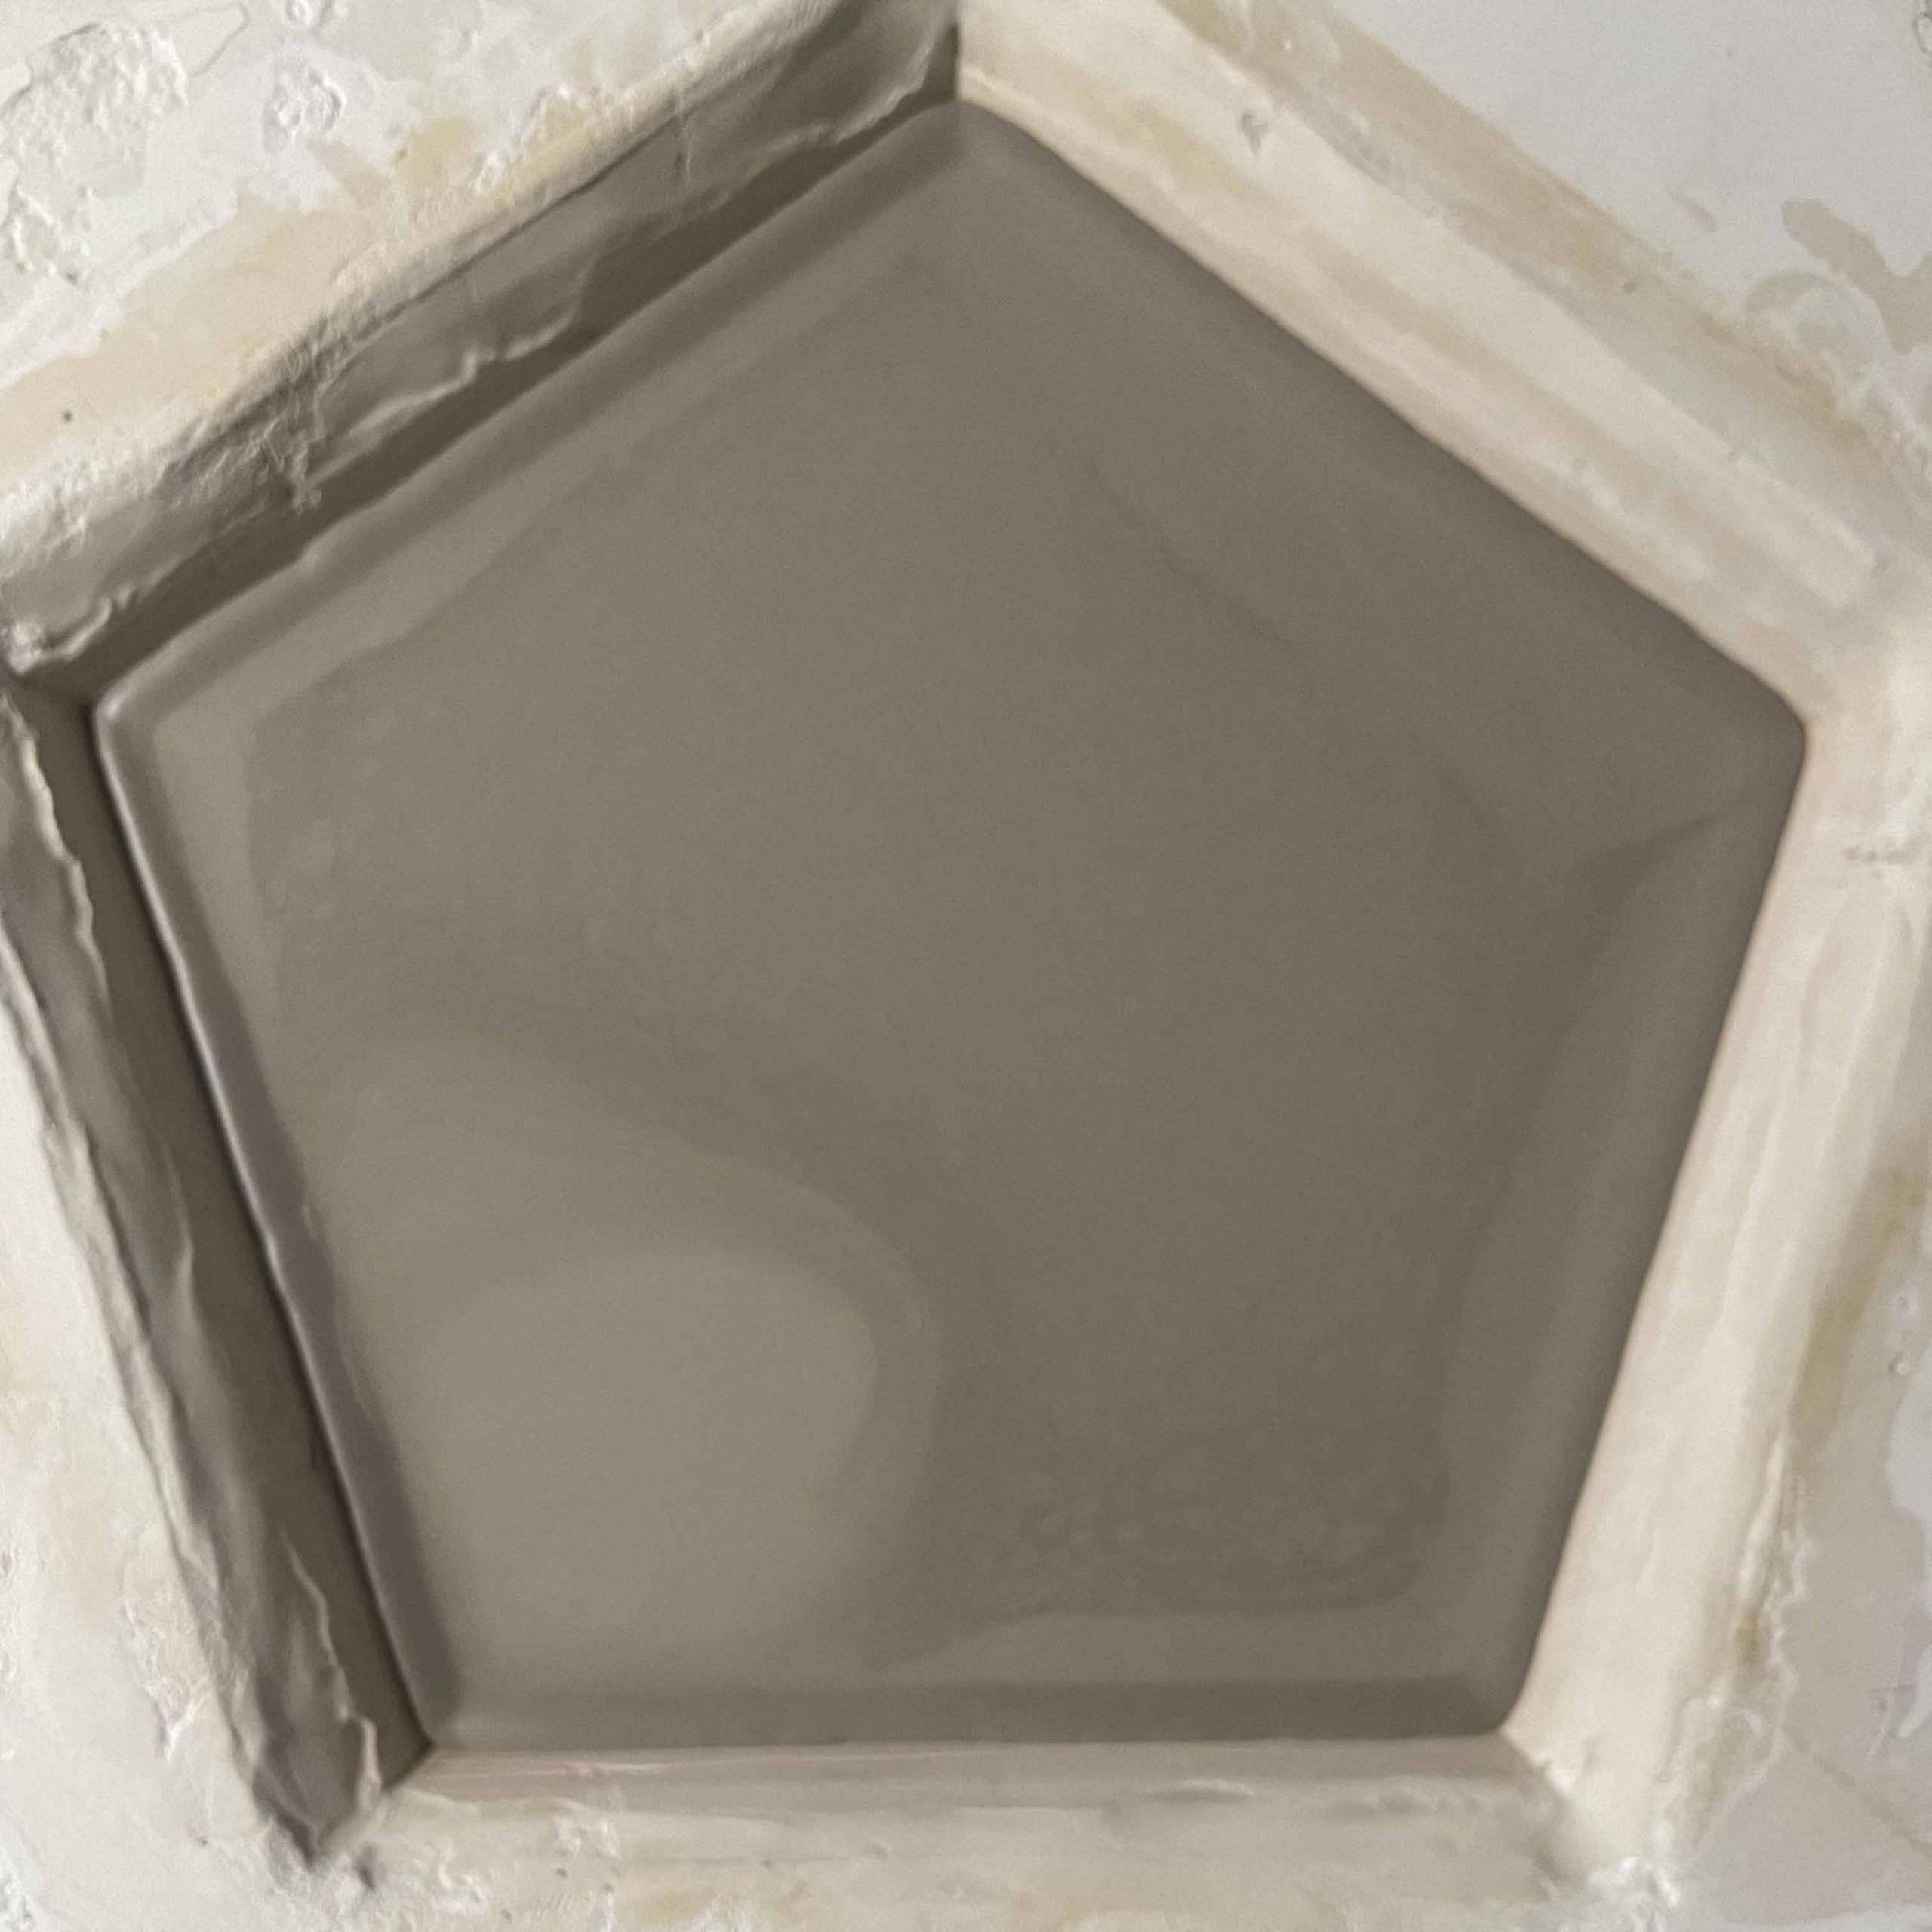
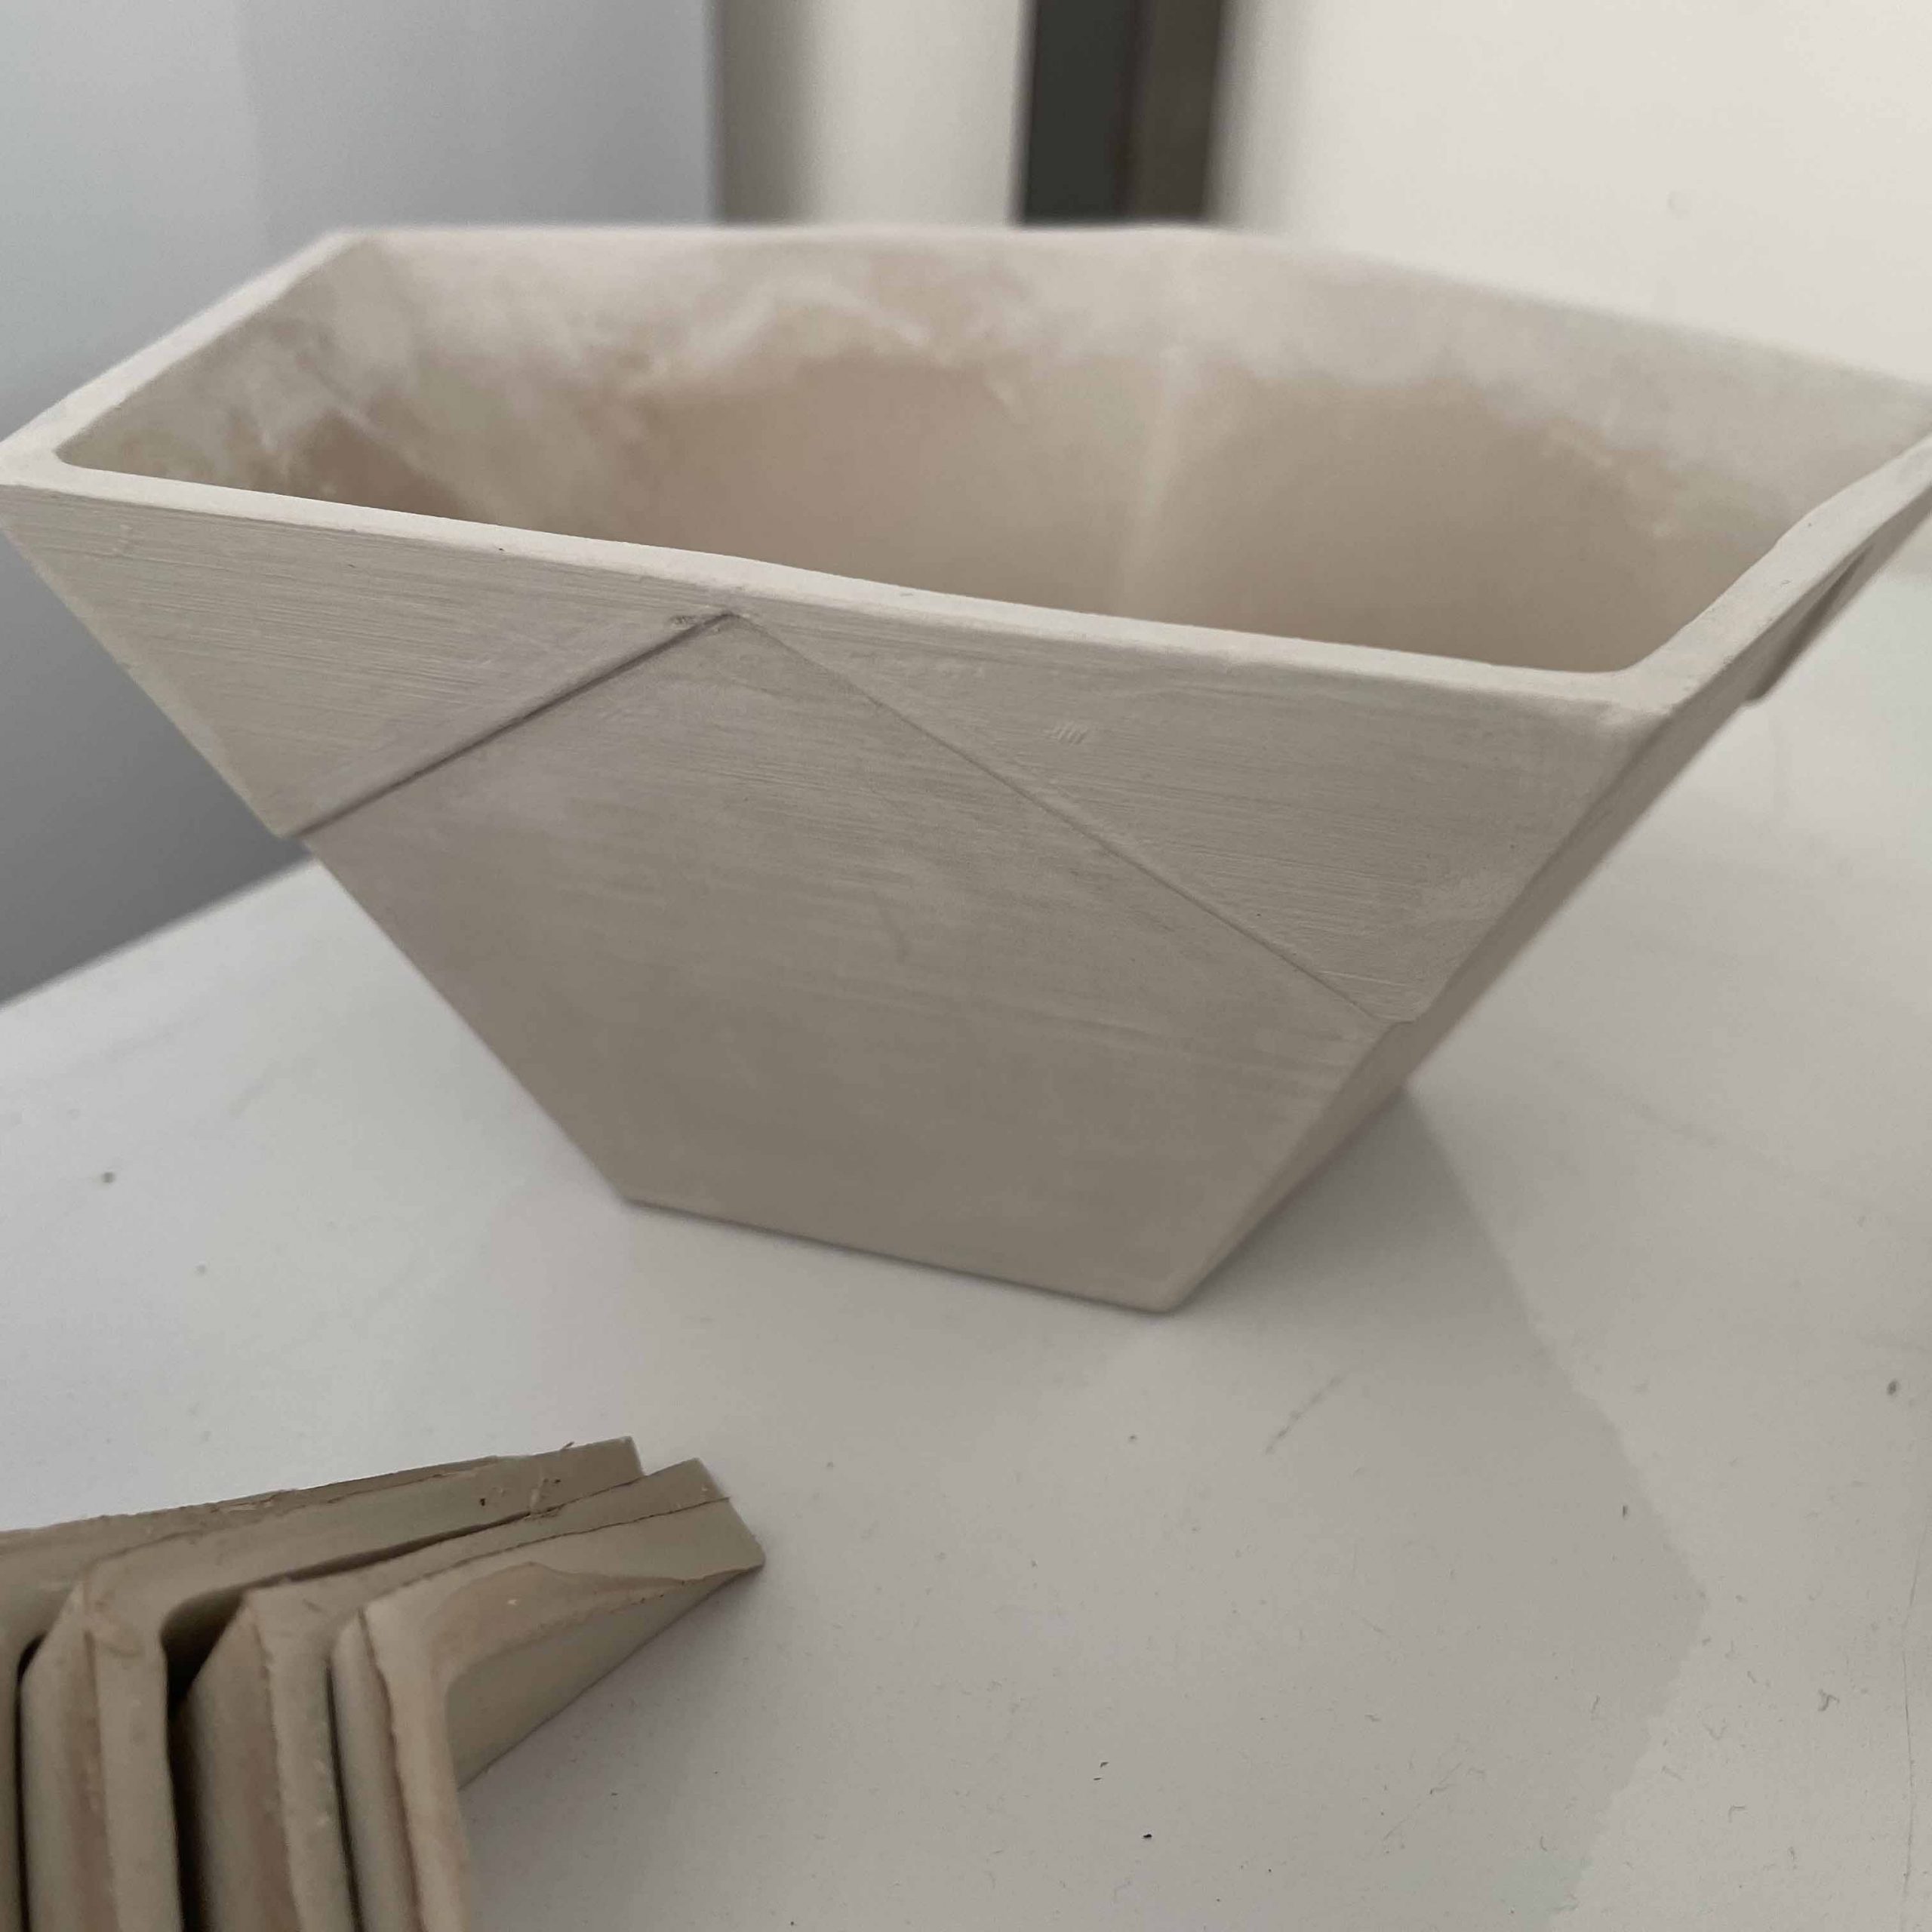
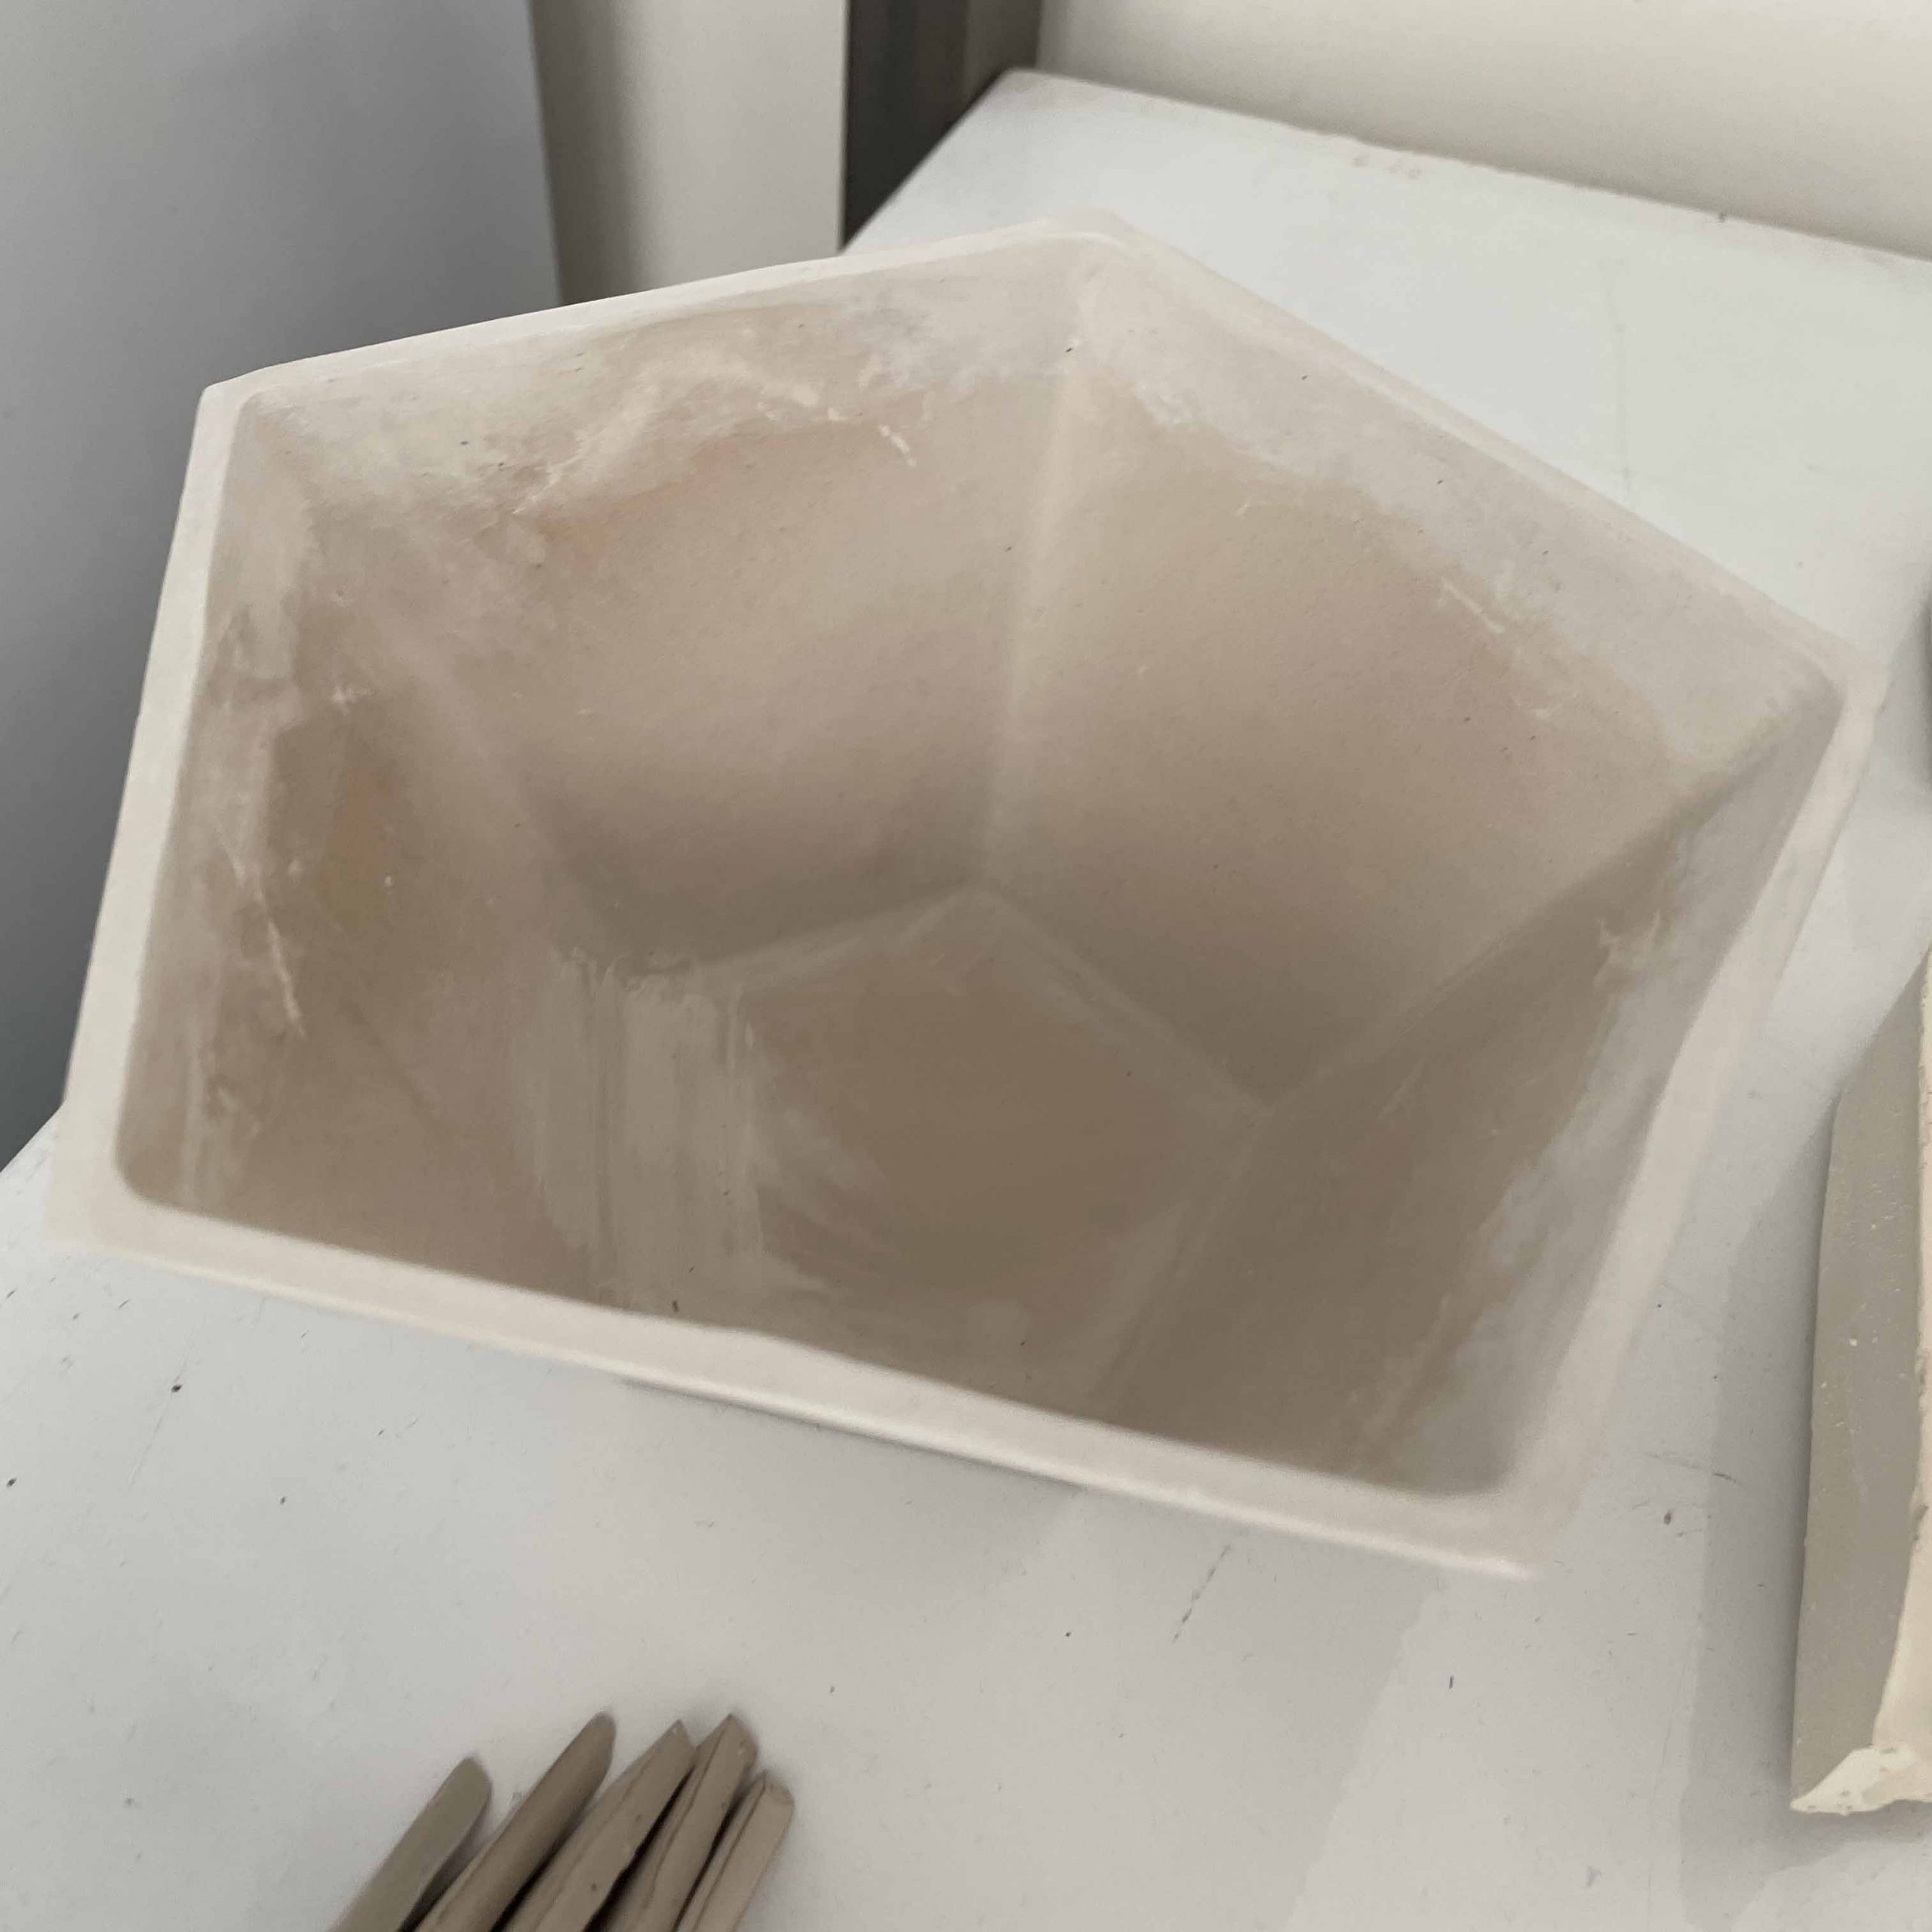
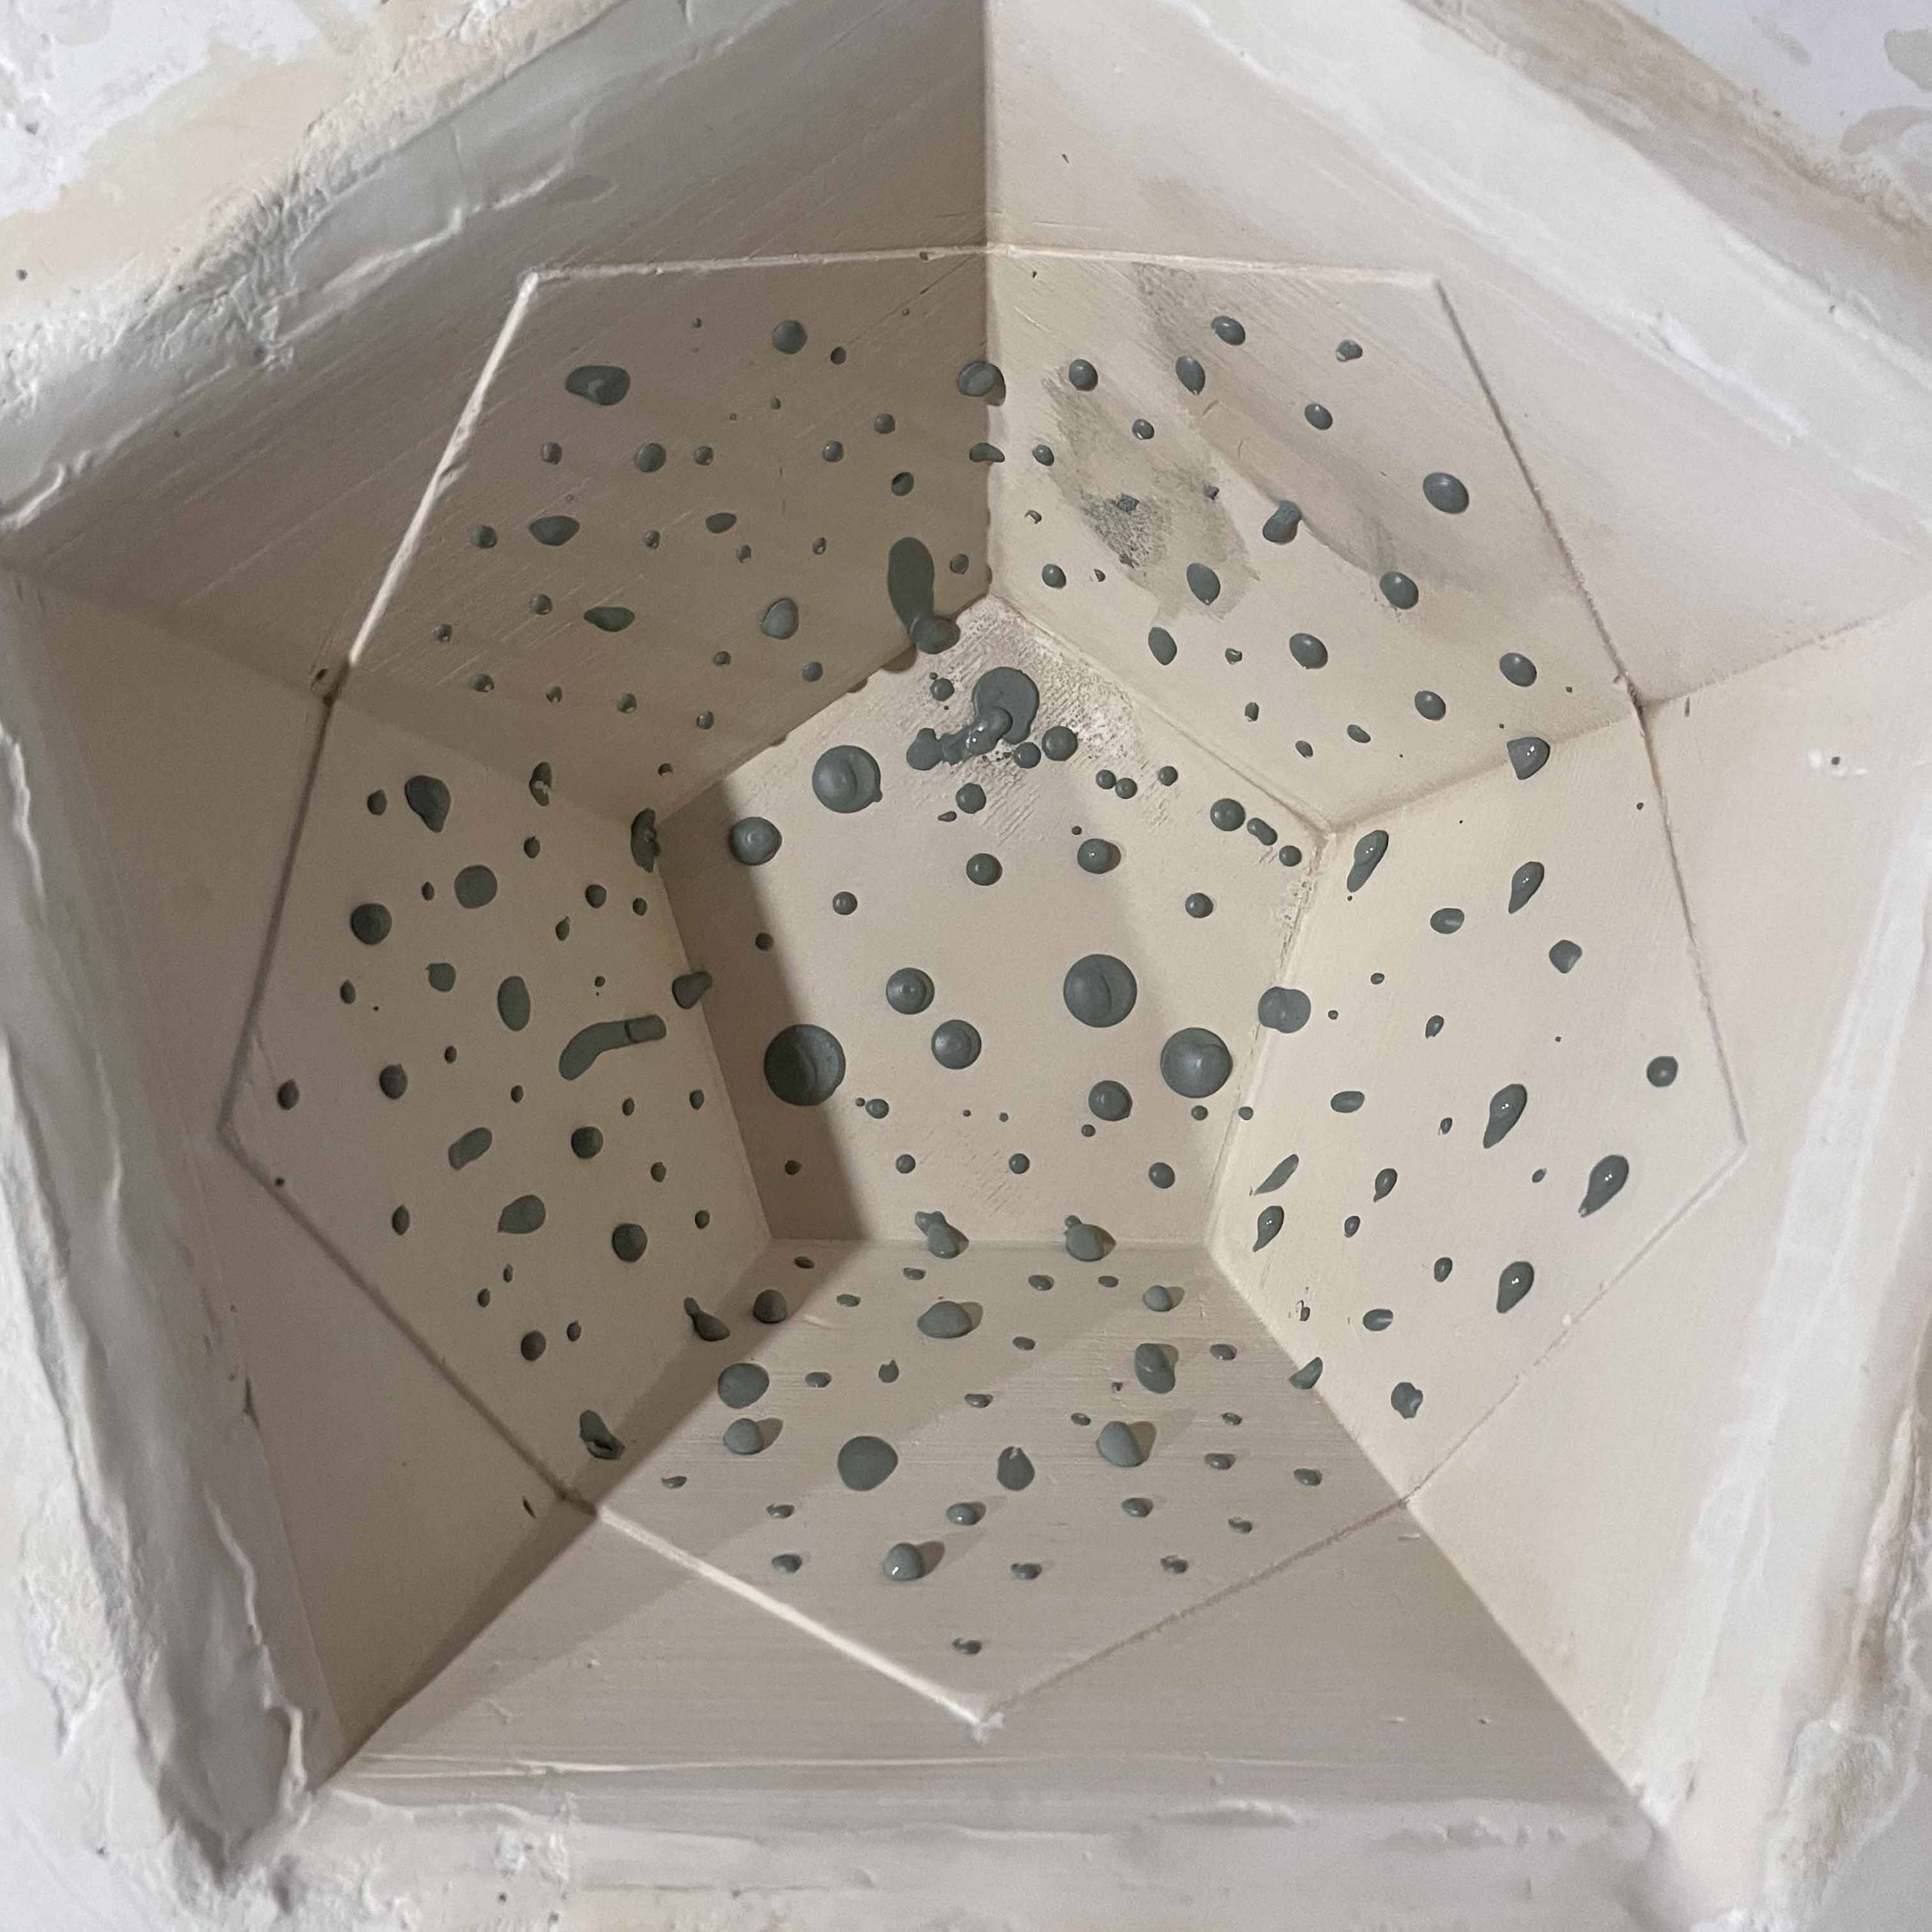
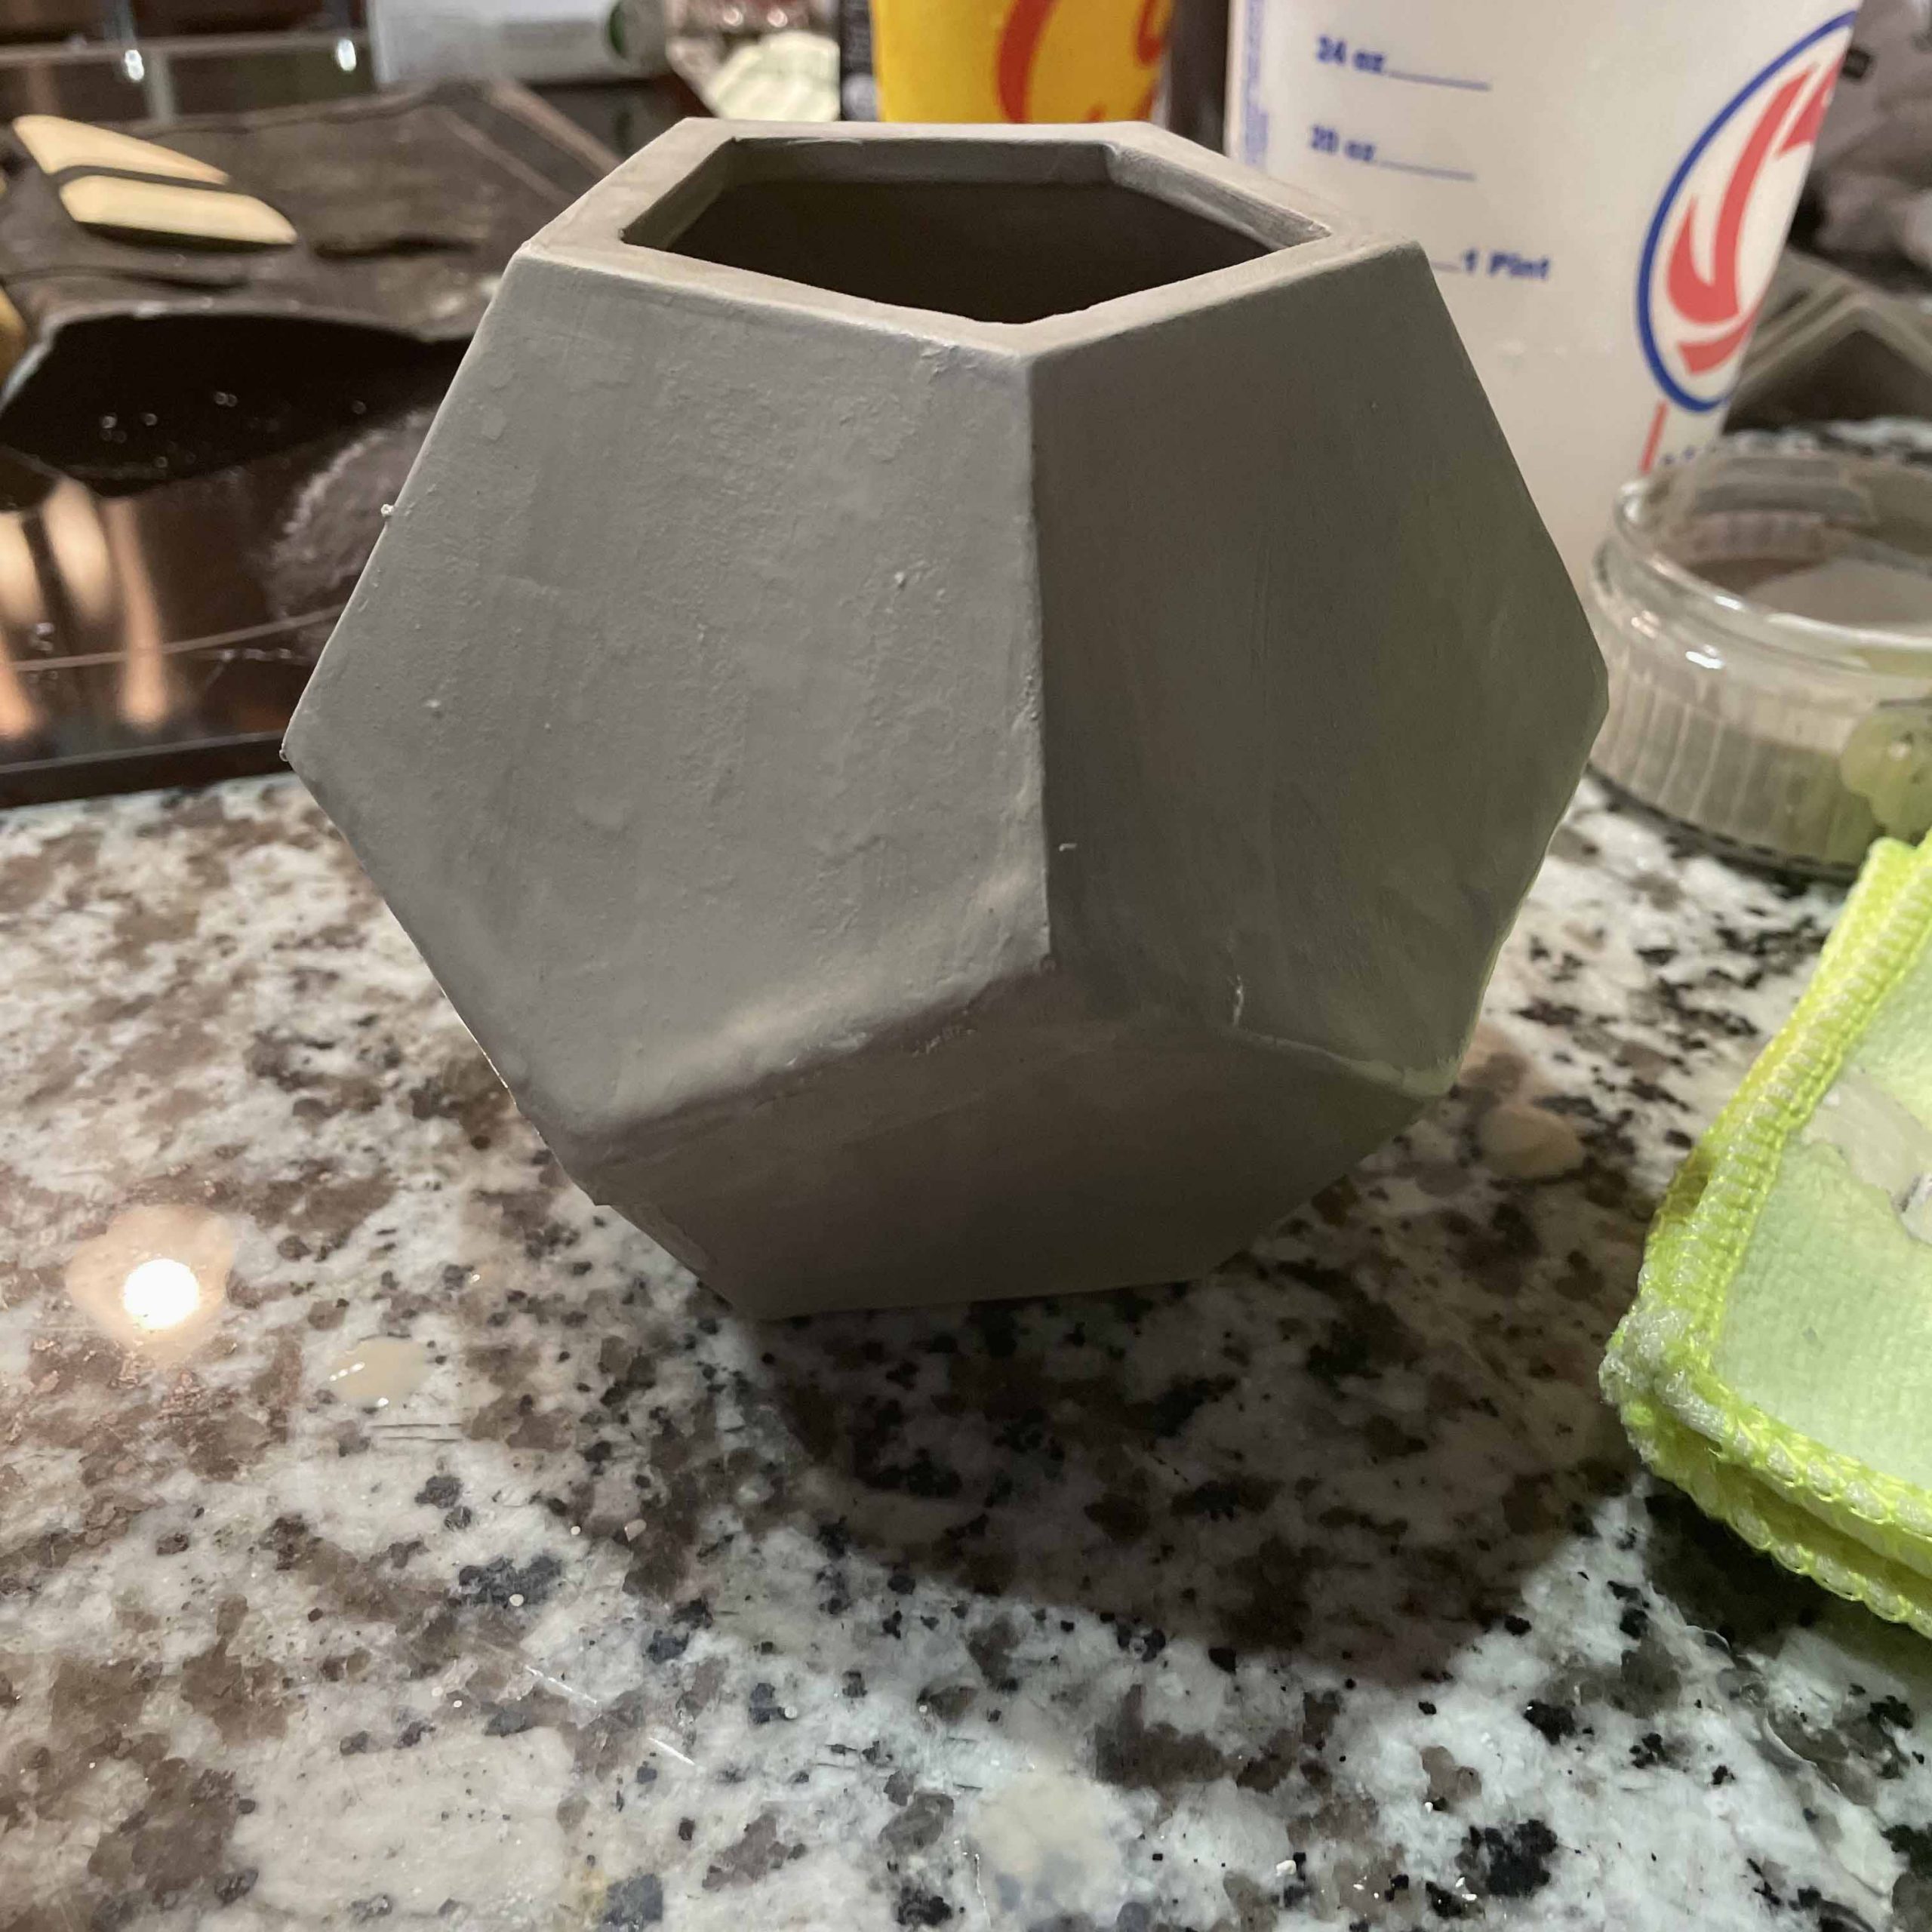
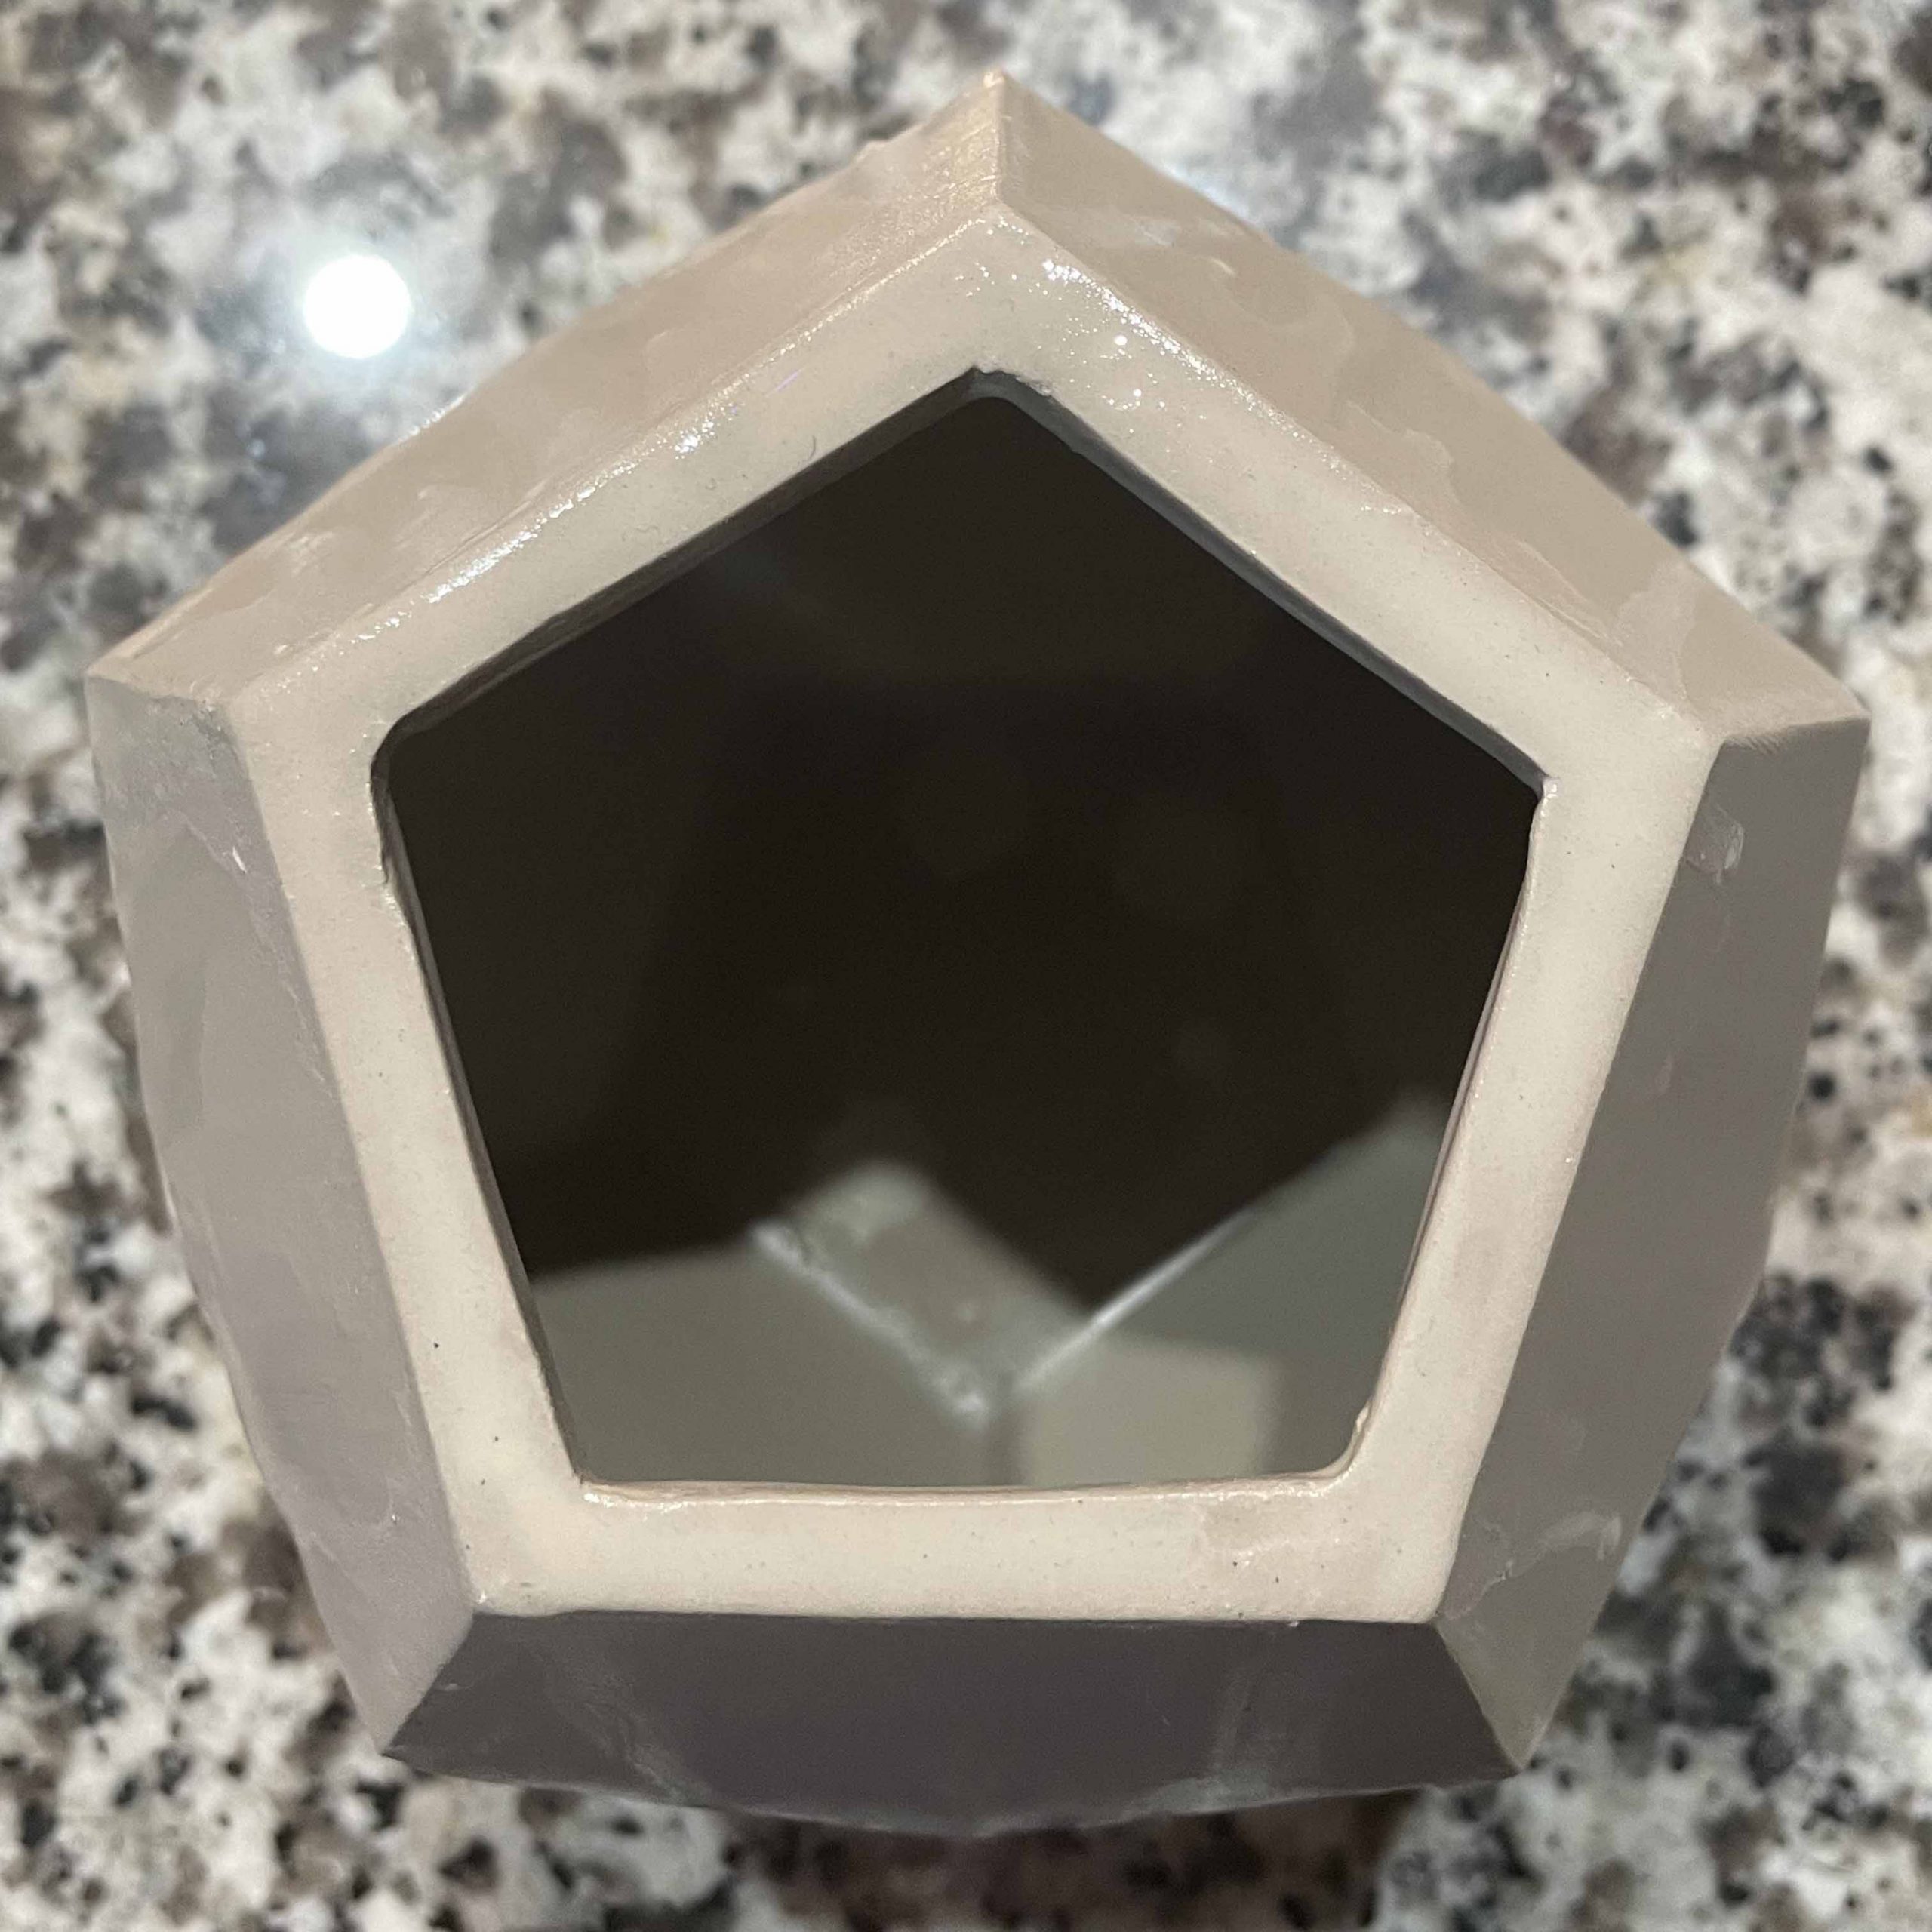
First I poured the slip into the plaster mold; then waited an hour and twenty minutes for it to be the thickness I wanted (about 1/8″), after that I oured out the excess slip, waited about 8 hours for it to dry and release from the mold, then pulled it out and trimmed and cleaned the piece up.
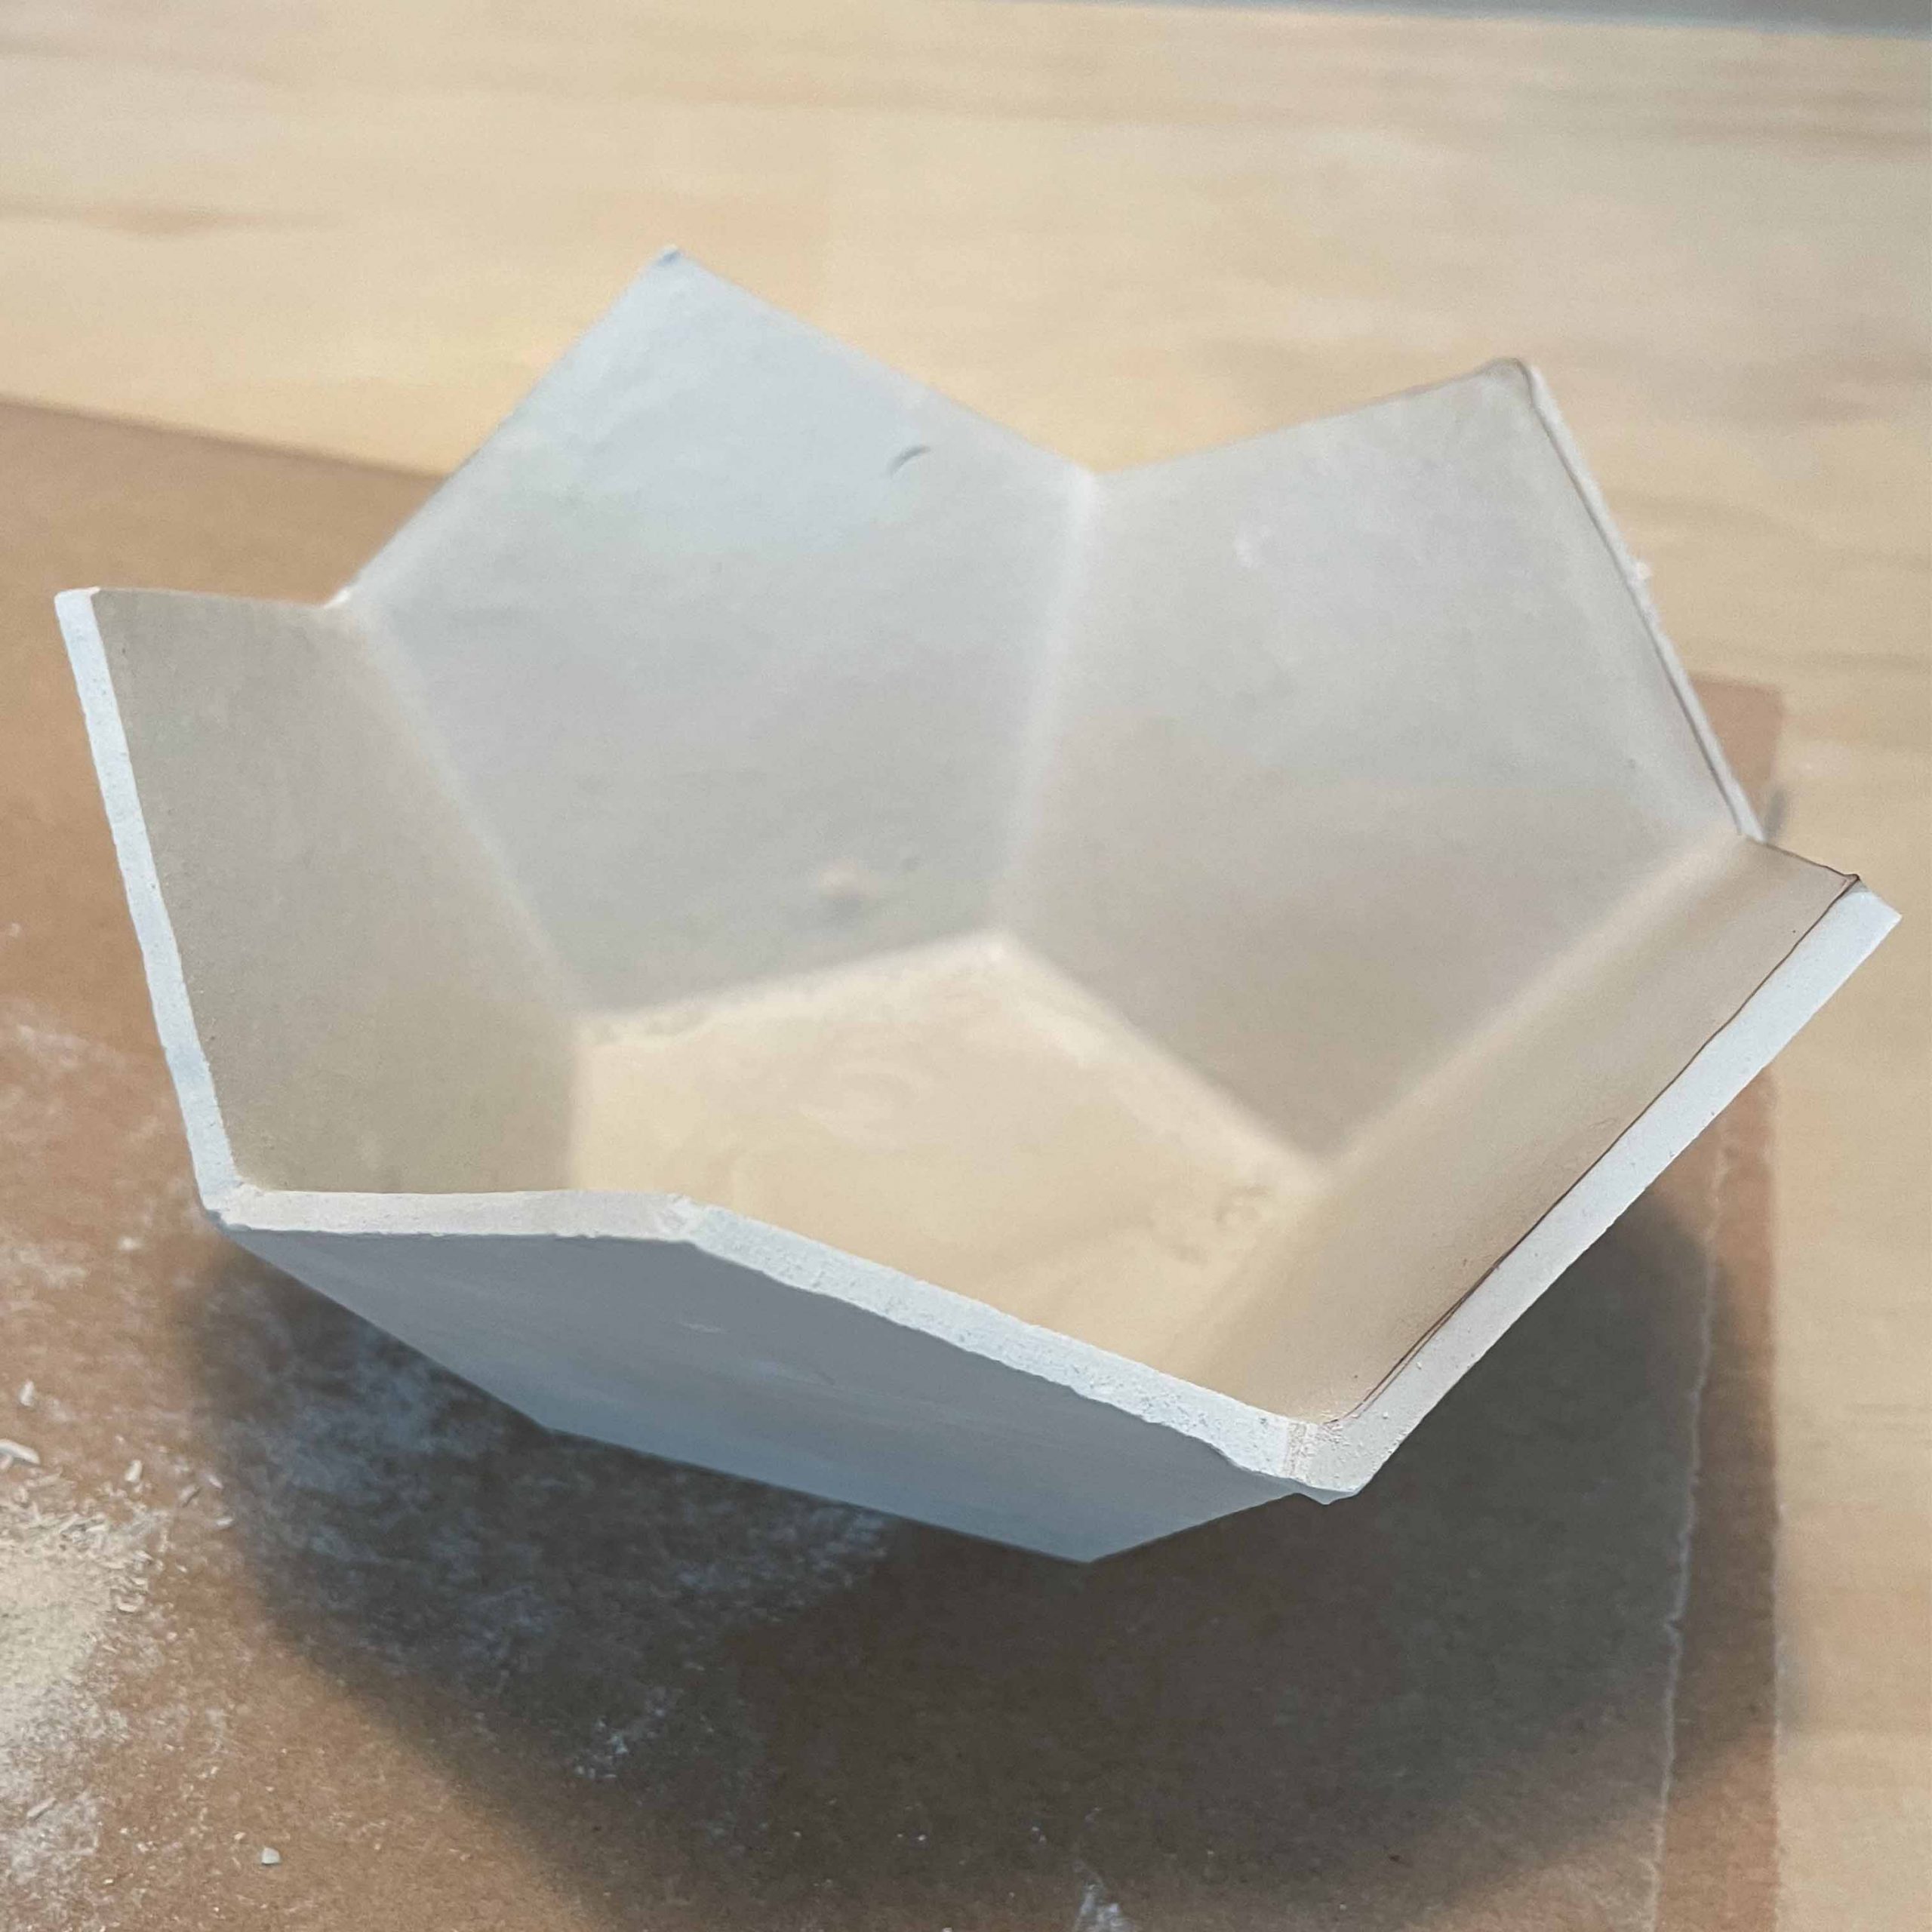
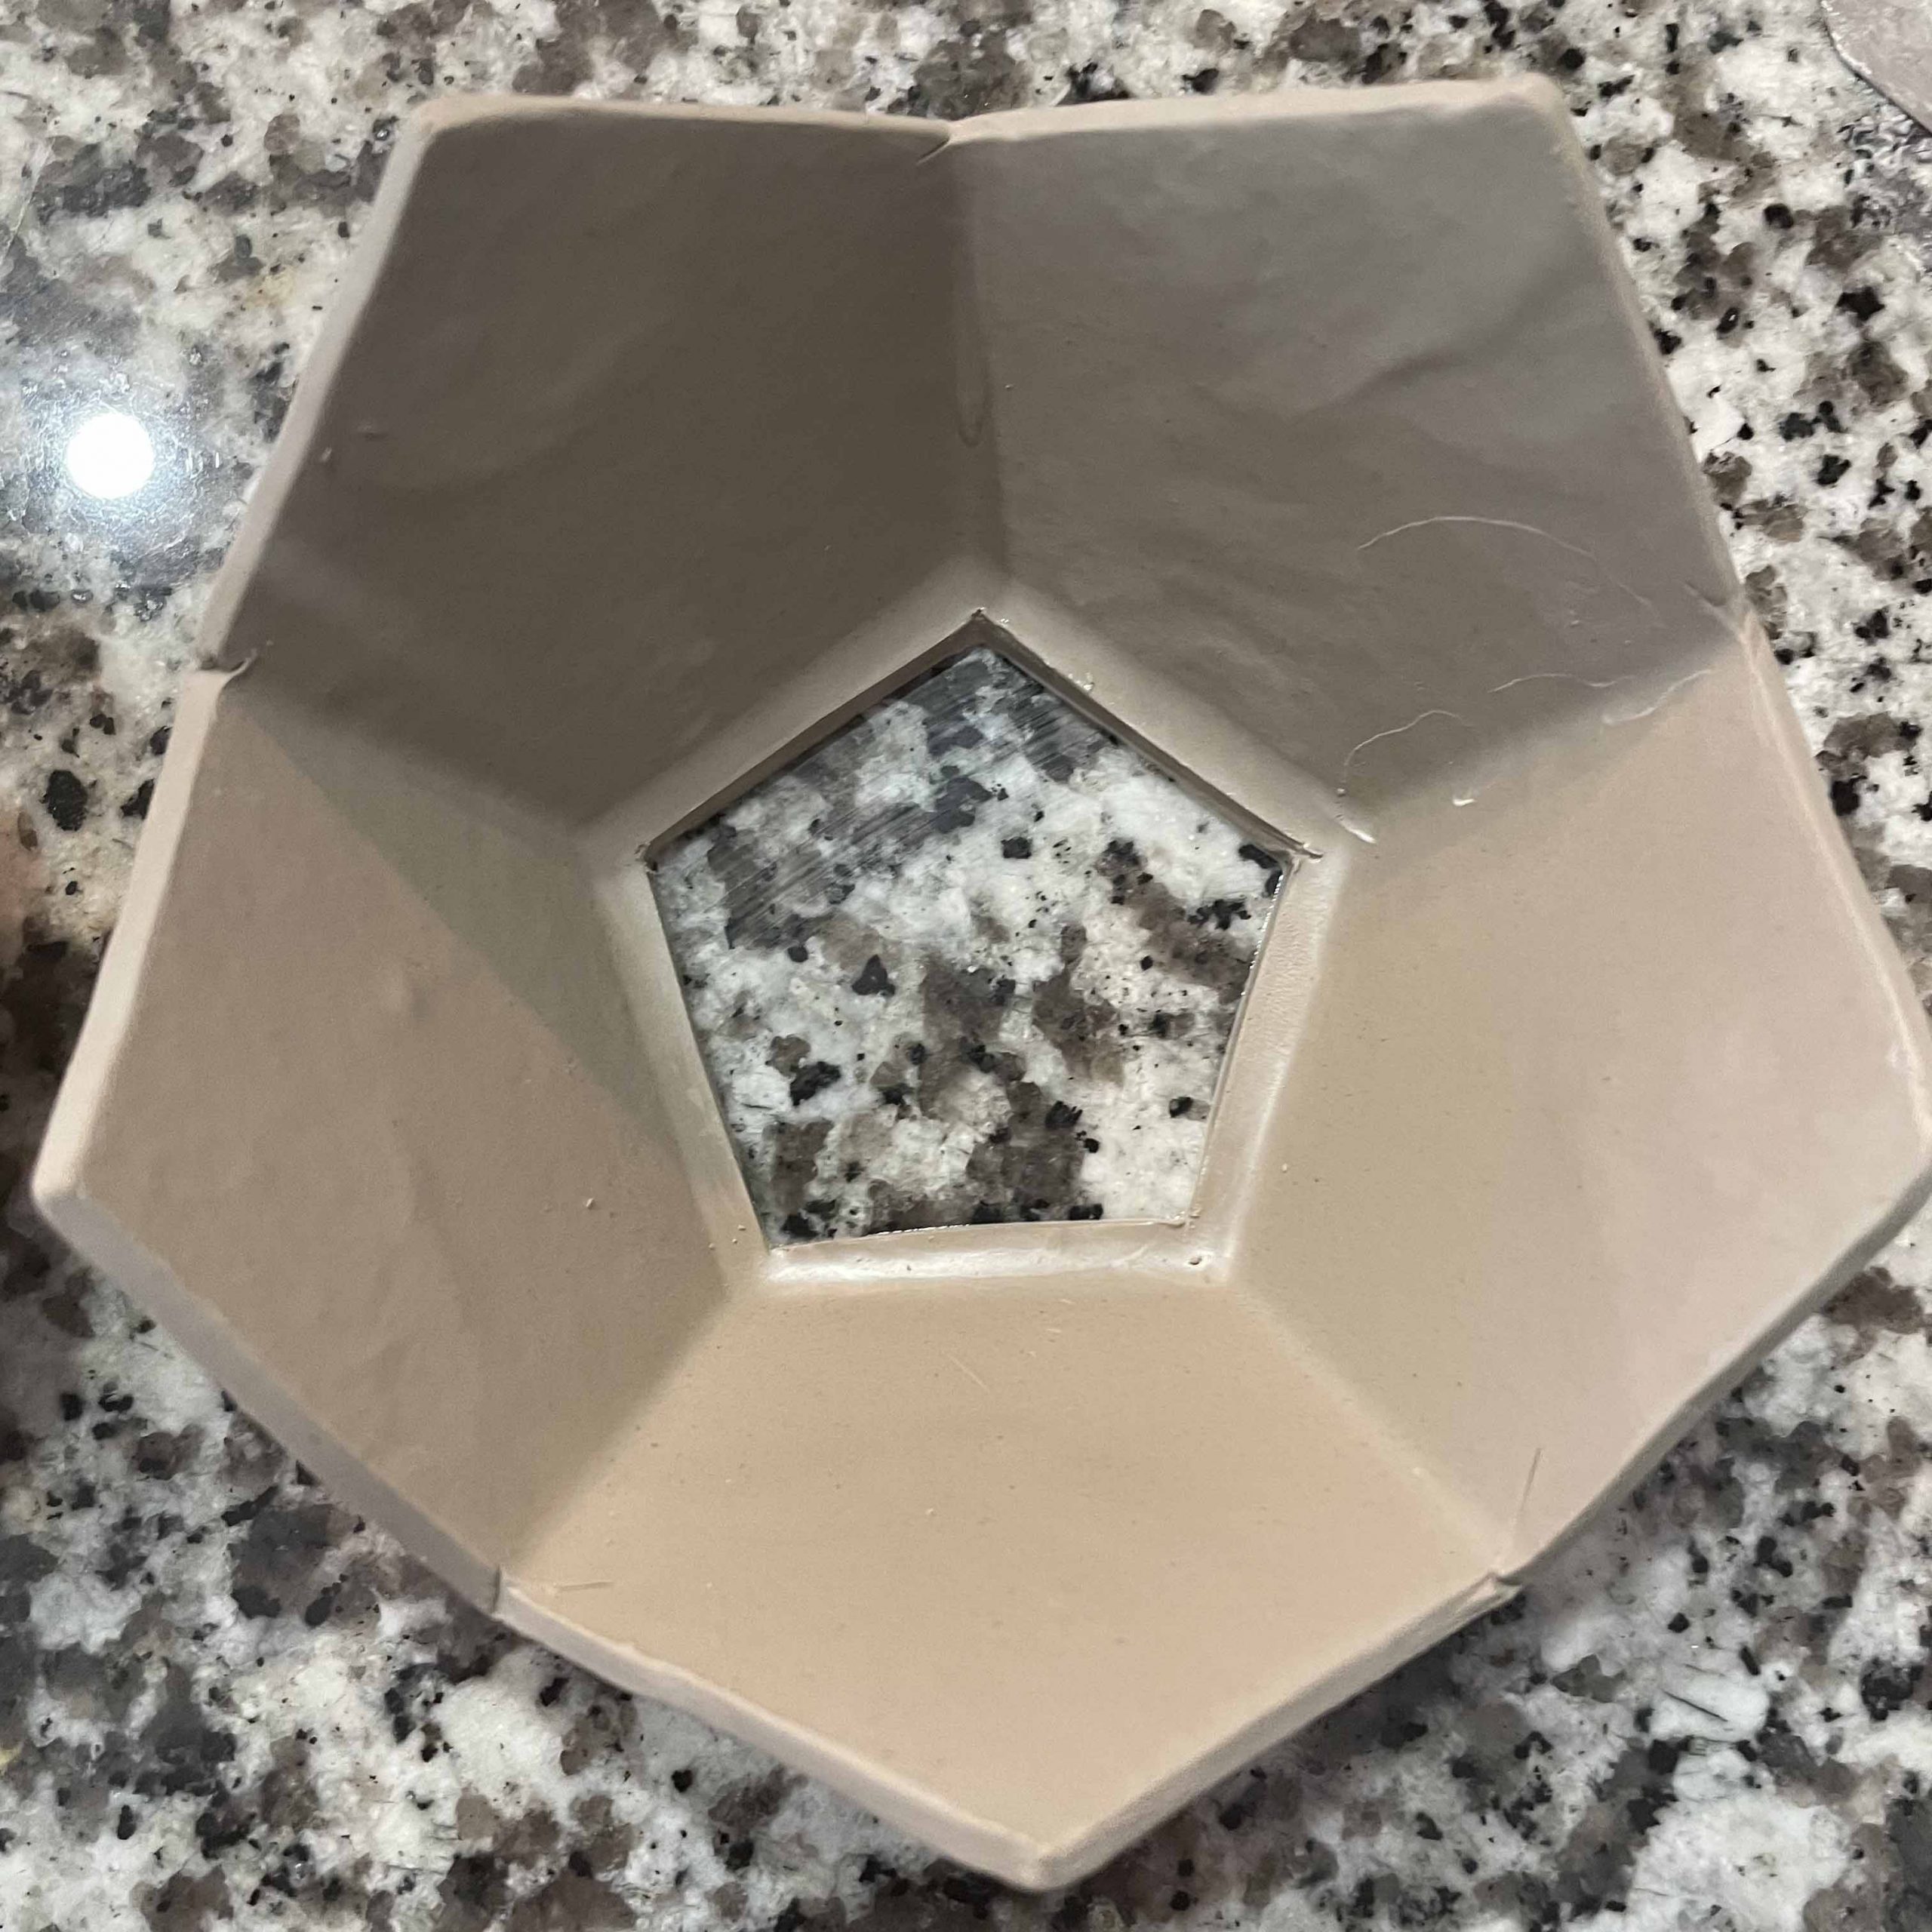
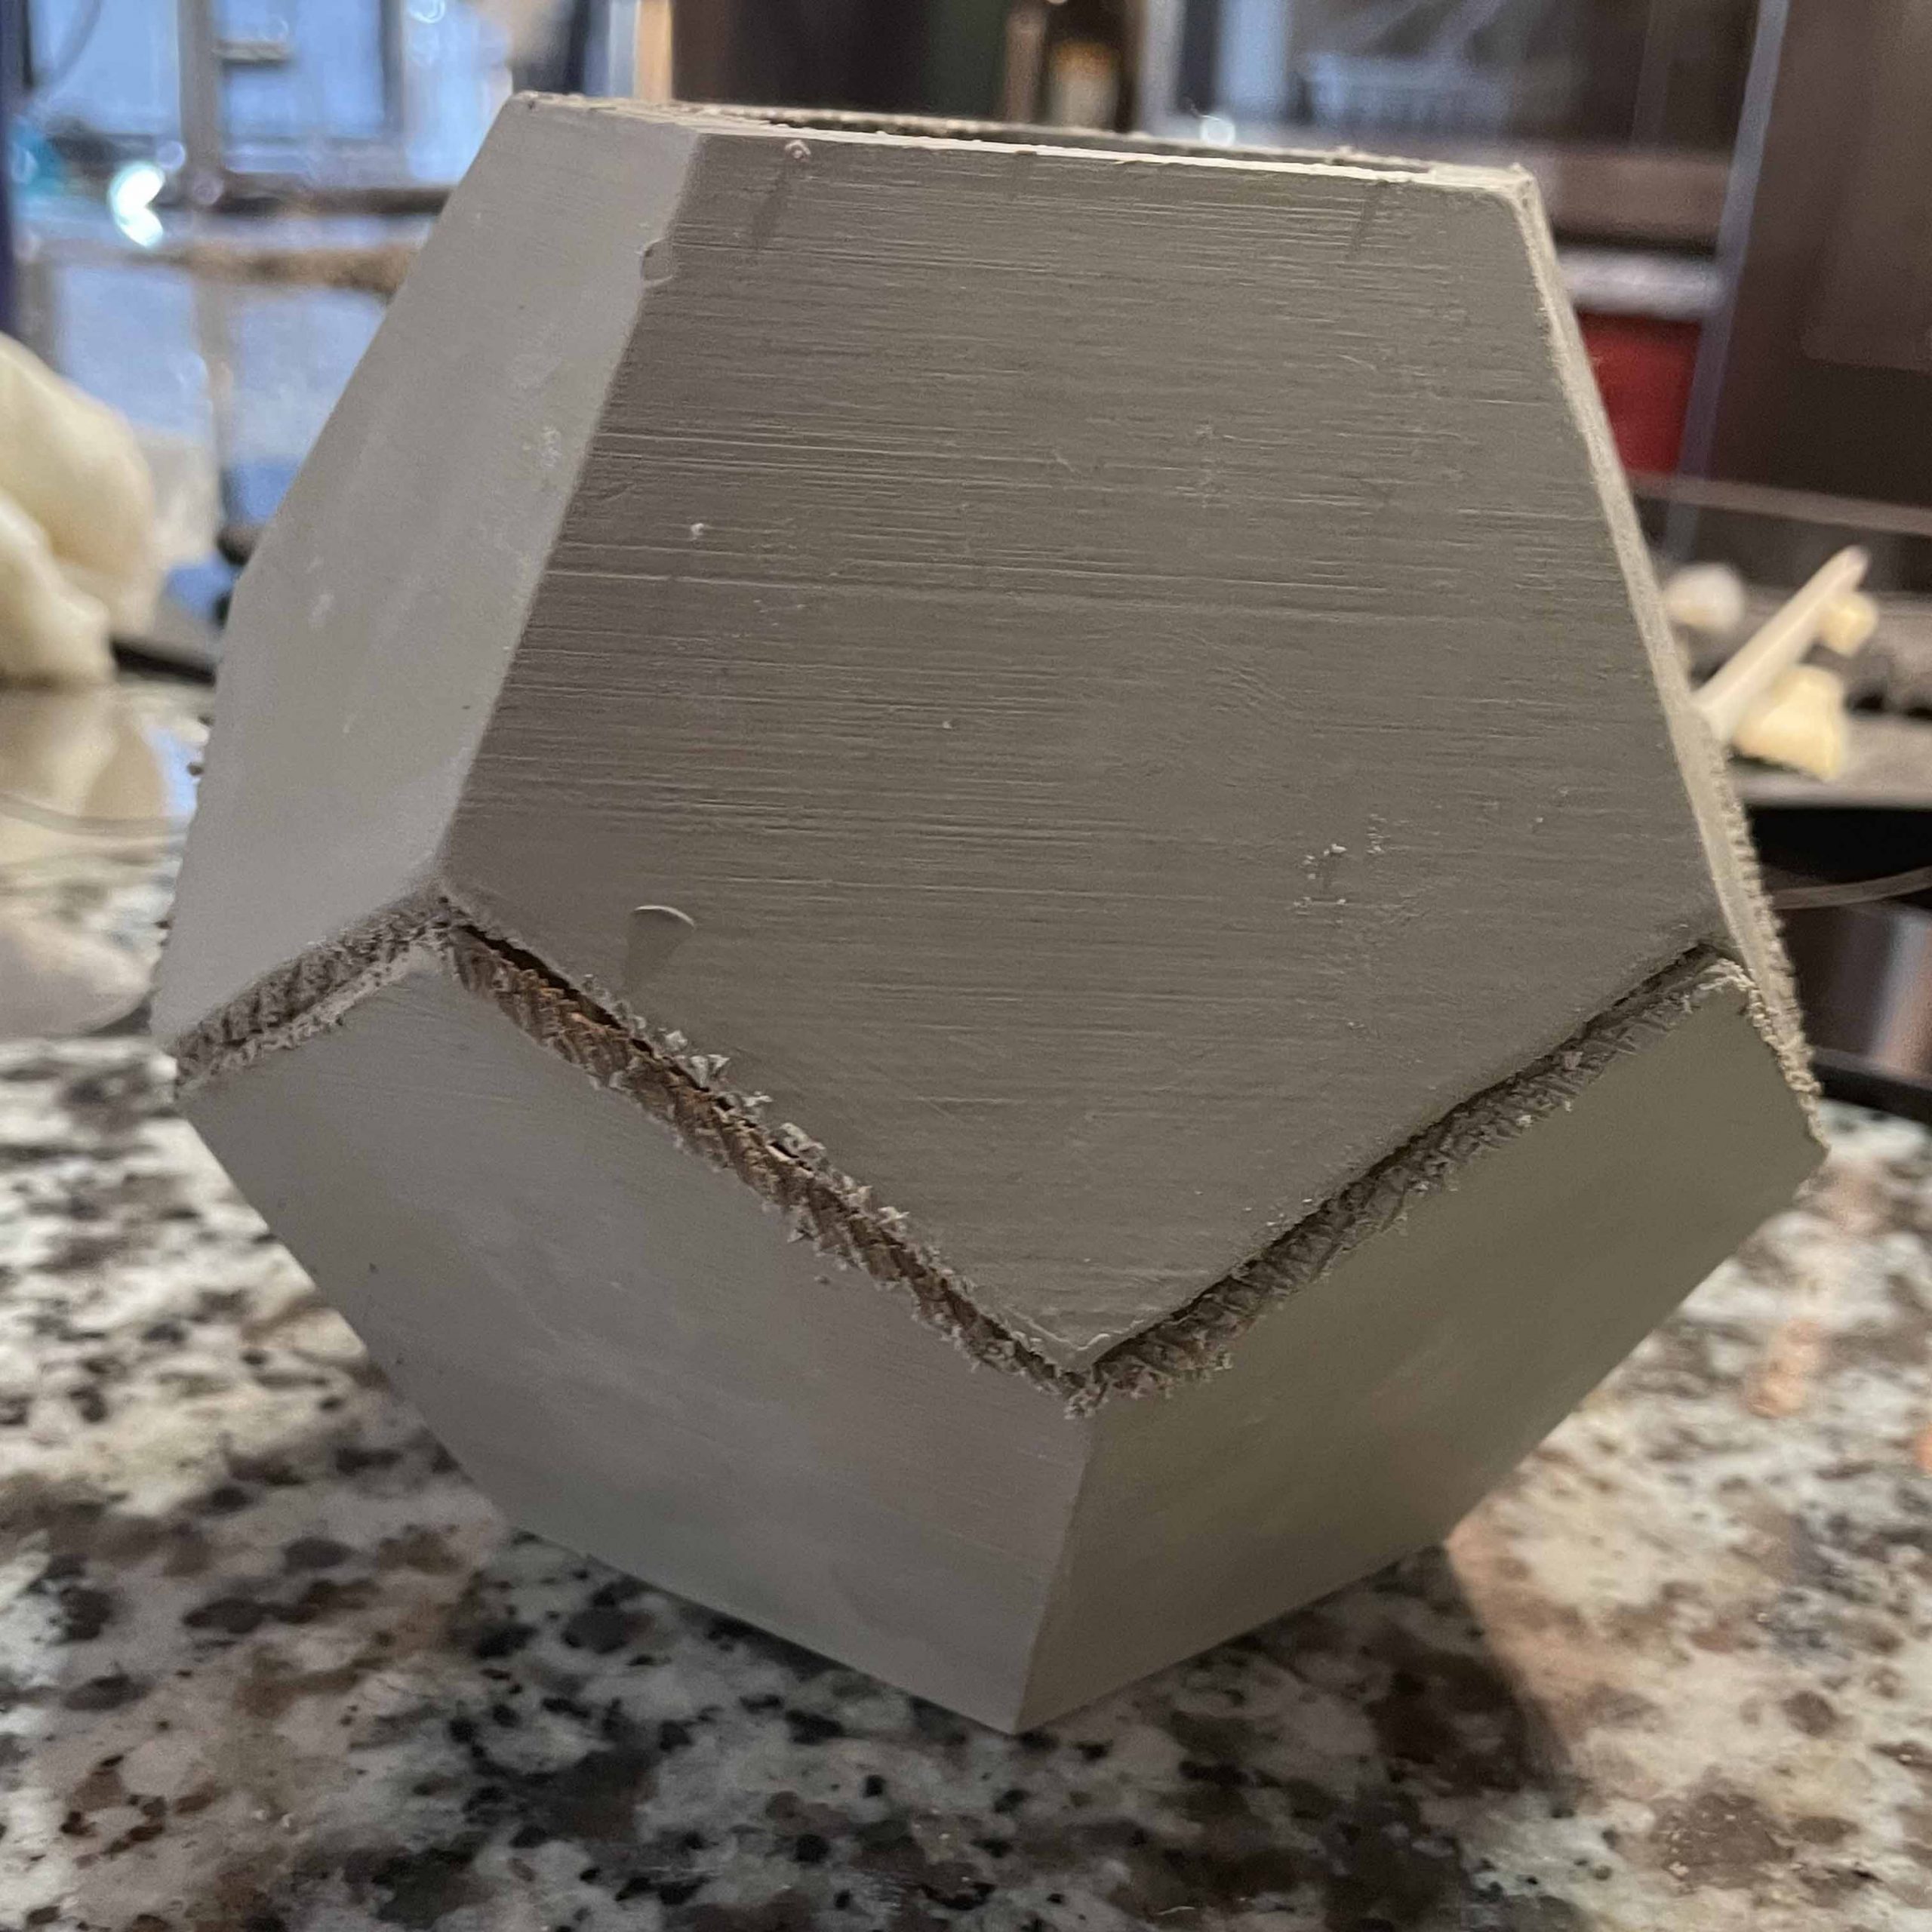
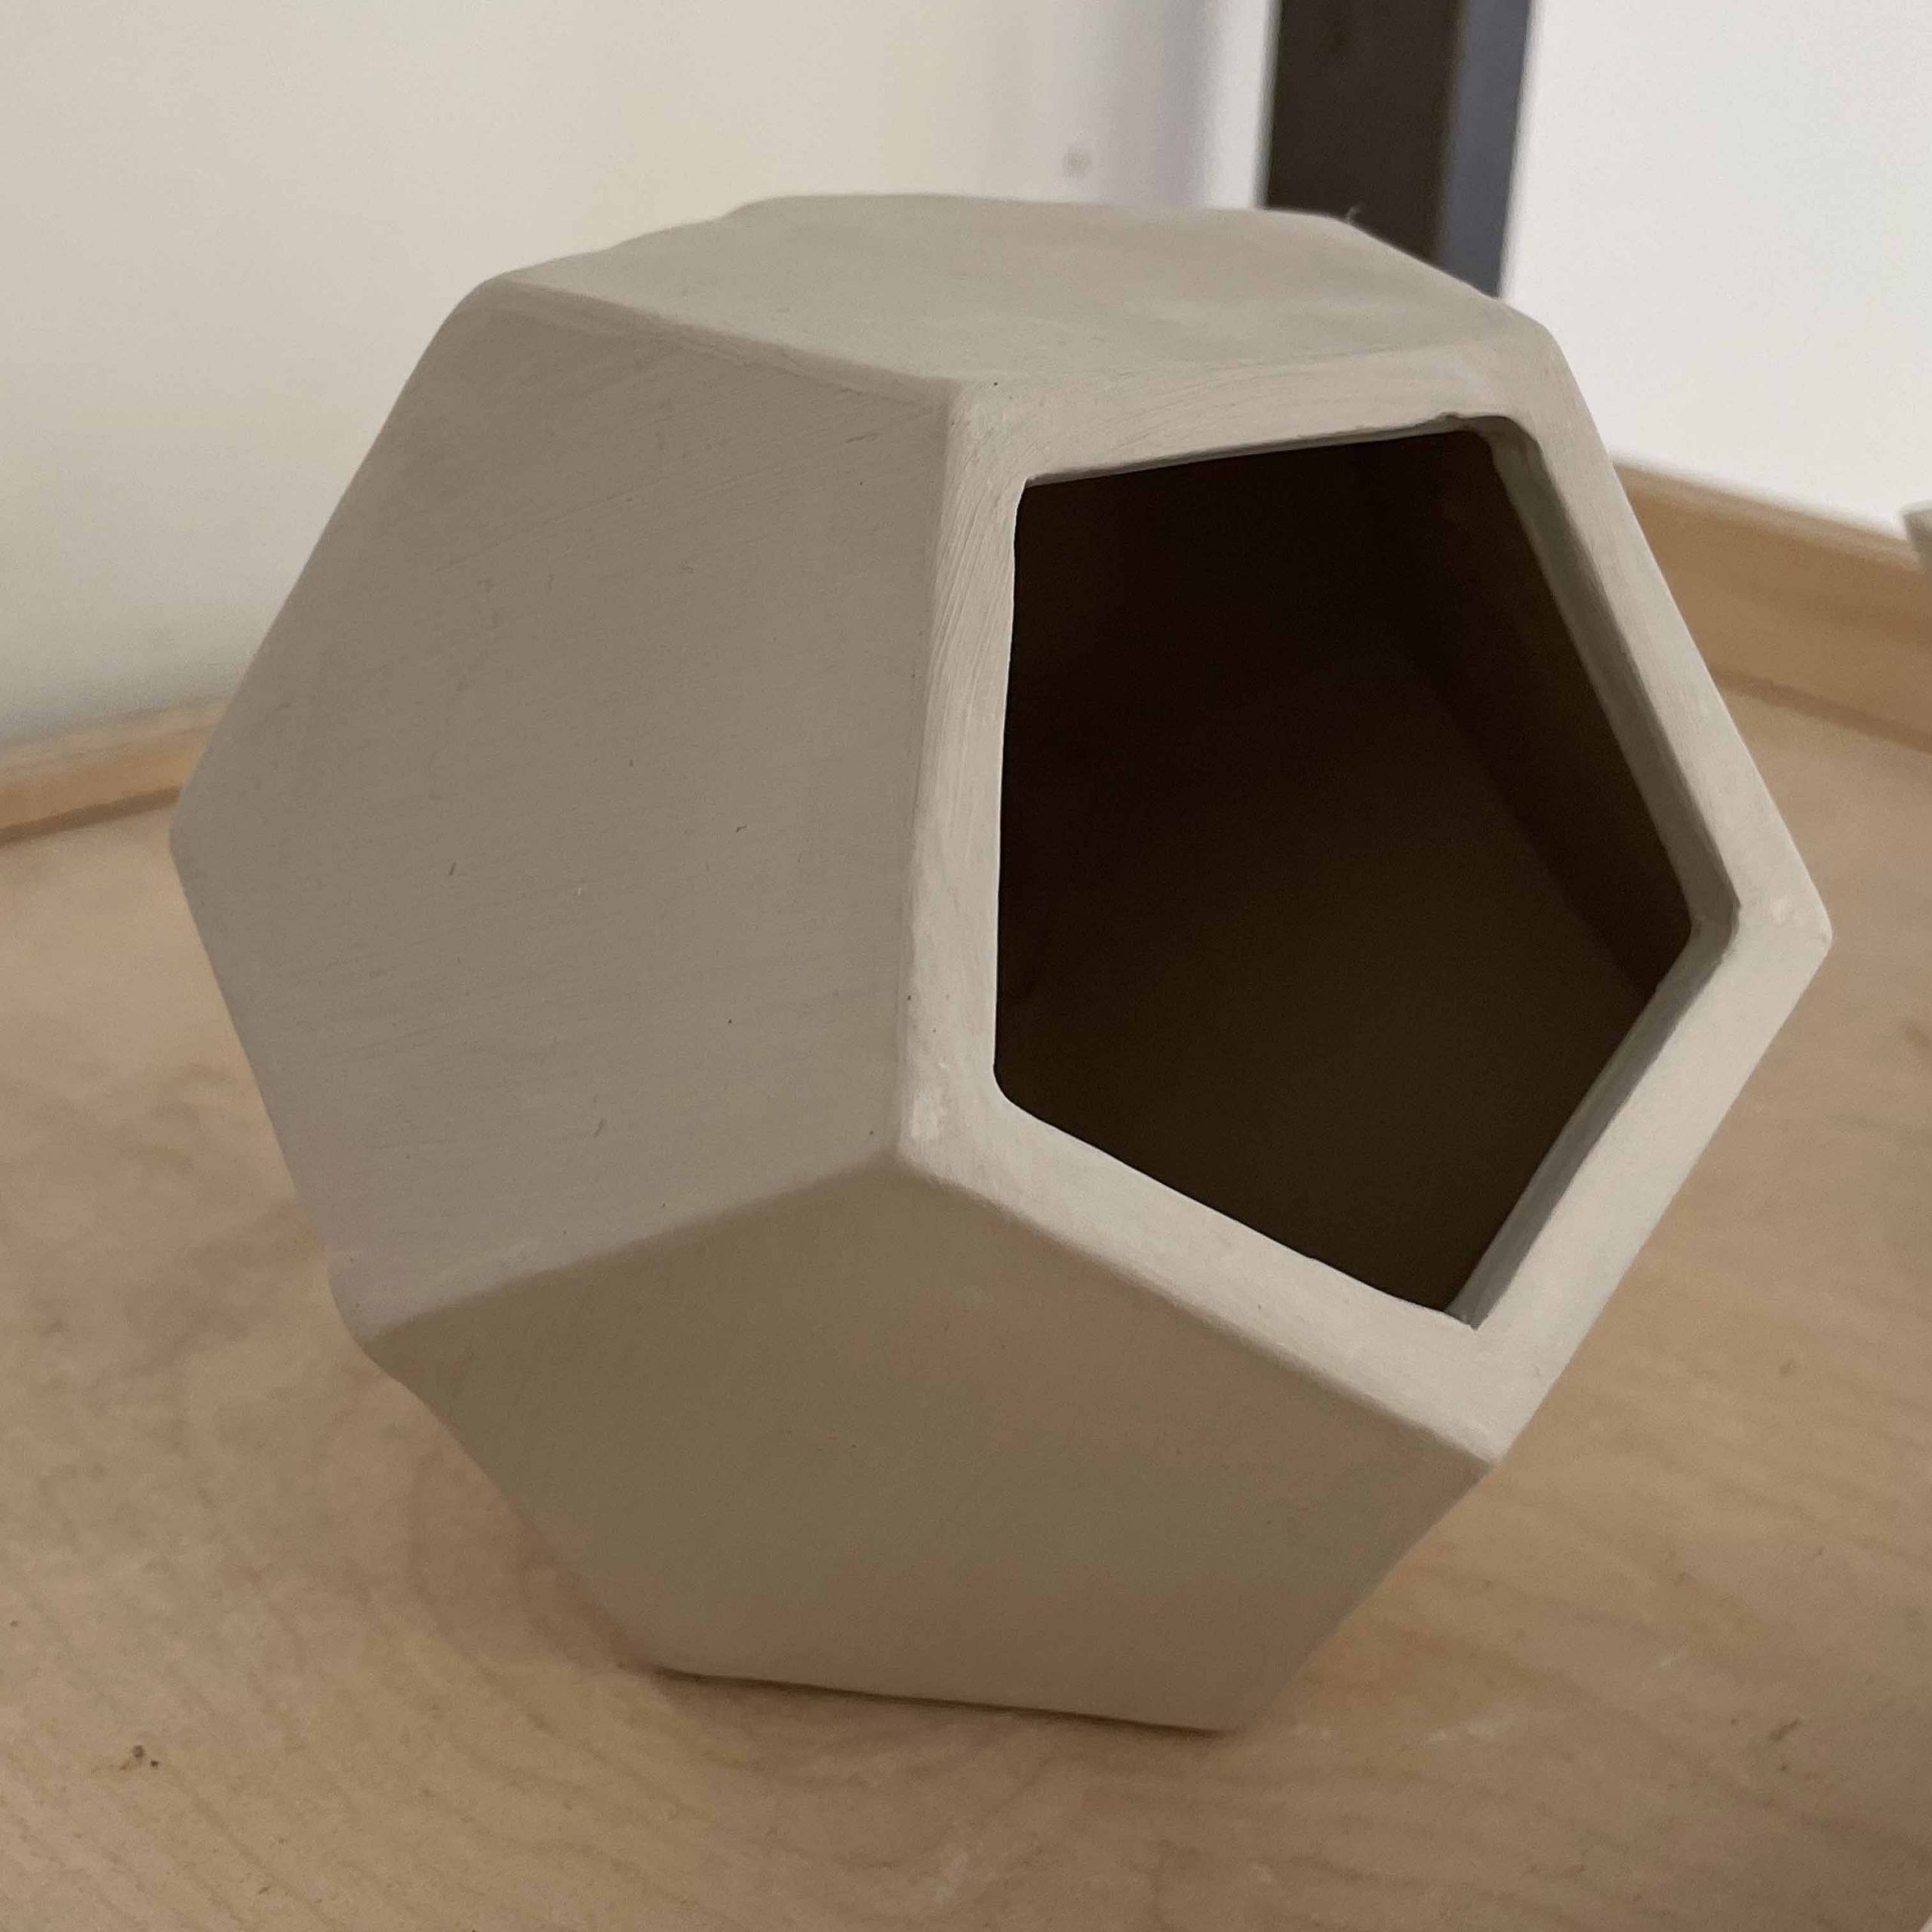
I also created bowls with pentagonal sides, and joined two pentagon bowls to create a dodecahedron.
These pieces are still awaiting a bisque firing, and will hopefully be done mid April.


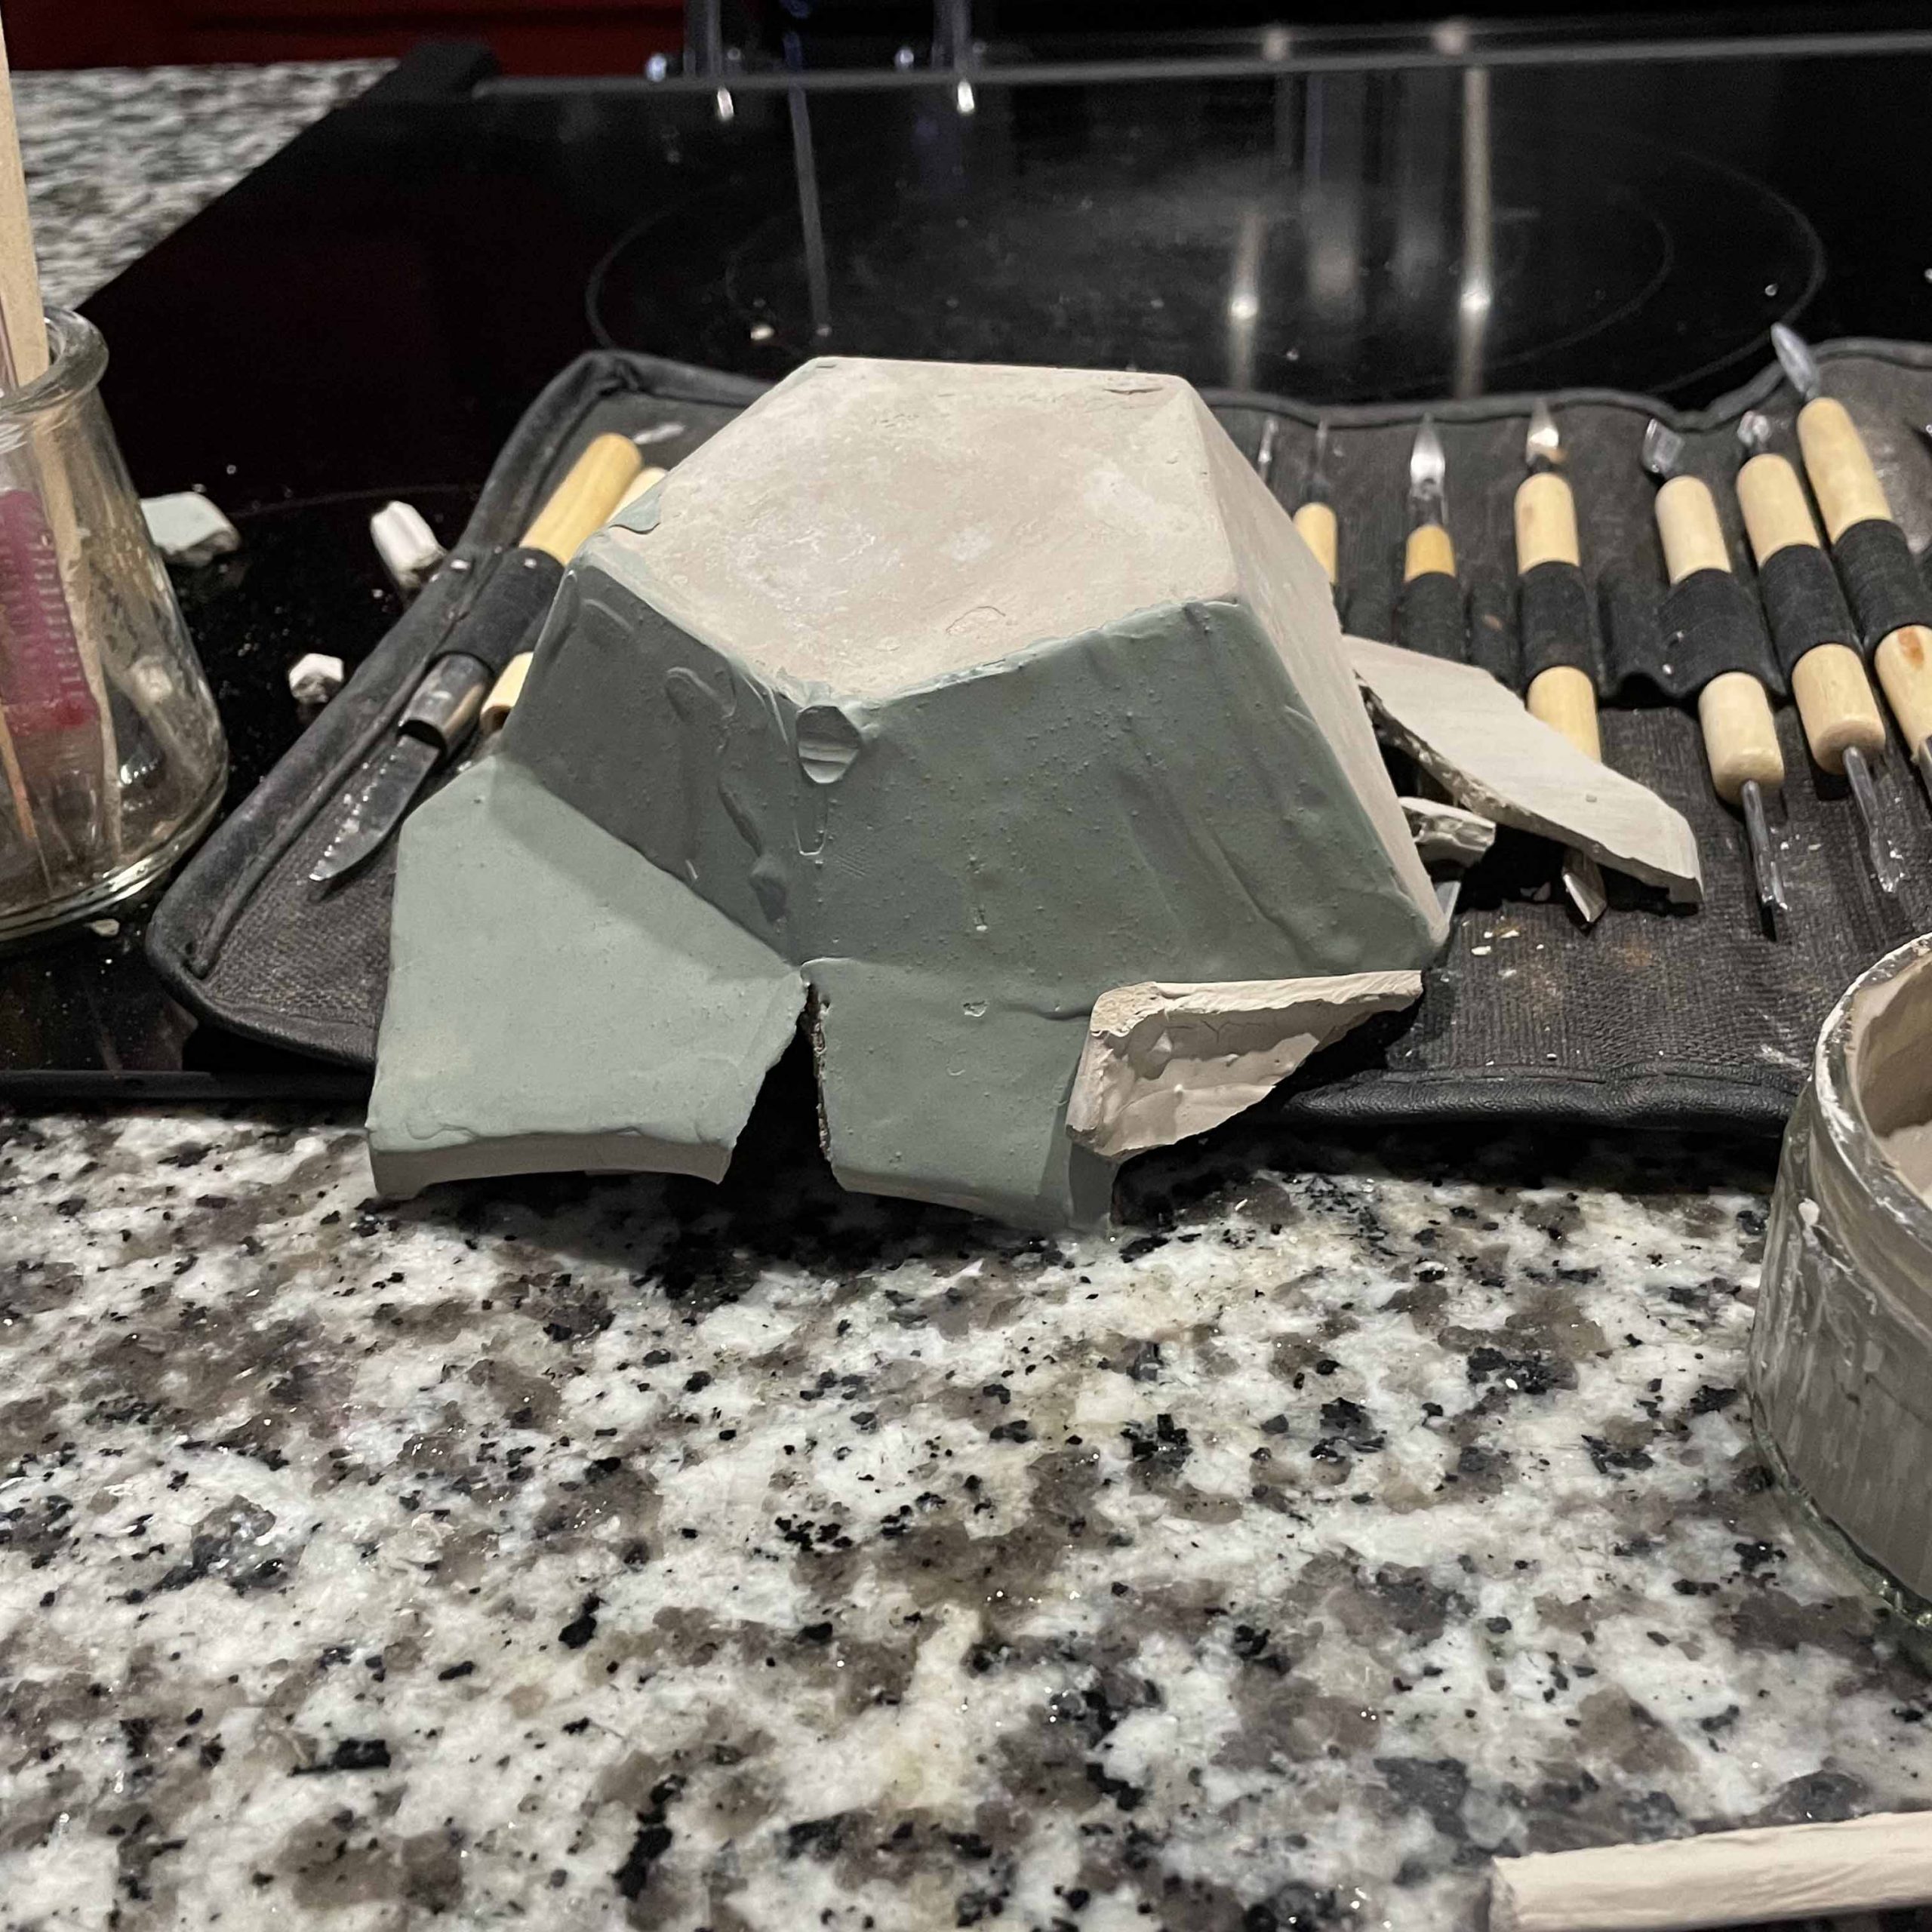
Mistakes were made, pieces were lost, and much was learned.